Calus Resplendent
Reprised bosses: Argos → Gahlran → Calus.
Start here to practice paired mechanics and symbol calls.
Read the Calus Resplendent path → d2raidguideAN ARM'S RAID GROUP PROJECT
Pantheon 2.0 / 2026 encounter guideSource-reviewed · Not yet verified in game · Updated · What changed
This week: Shows this week’s featured Reprise and Encore bosses.
Whole guide: Published: all seven bosses, playlists, difficulty and rewards.
Main changes since the September 2026 rewrite, newest first. Corrections fix something that was wrong; site-wide layout changes aren’t listed. Source review means checked against the cited sources, not played.
Pantheon brings raid bosses into a separate activity. Calus Resplendent revisits older fights; Morgeth Surpassing combines bosses with mechanics from elsewhere in their raids. This guide covers the 2026 encounters, including the Insurrection Prime finale.
Use Adventure to learn. Before each pull, assign a mechanic caller, role partners and a backup. Read the encounter’s short loop aloud, then confirm how damage starts and what ends it.
Bring reliable enemy clear, ranged precision damage and a way to survive while holding a position. Coordinate team healing and damage buffs. Check the selected modifiers for Champion counters and prepare ammo for final stands.
Reprised bosses: Argos → Gahlran → Calus.
Start here to practice paired mechanics and symbol calls.
Read the Calus Resplendent path →Encore bosses: Warpriest → Consecrated Mind → Morgeth.
Expect Brand rotations, relay defense and Heart symbol calls.
Read the Morgeth Surpassing path →The full gauntlet includes all six bosses above and finishes with Insurrection Prime. The reference below groups bosses by their shorter playlist.
Each week one Reprise boss and one Encore boss also run as standalone nodes, so you can practice or farm that encounter without the full path. See this week’s pair →
Shattered Vault: activity lineup · Bungie: reprise, encore and Godsbane
This is a complete three-boss Pantheon path that ends at Emperor Calus. Choose the Calus Resplendent activity when your team wants this run. These are updated encounters drawn from Eater of Worlds, Crown of Sorrow and Leviathan.
Keep three pairs for Argos and Gahlran, then divide into three Mindscape readers and three throne-room players for Calus. Name a countdown caller and a backup before the first rally.
Prepare ranged boss damage, a reliable primary for Calus’s skulls and enough survival to hold your assigned platform. Decide who watches detained teammates during Argos damage.
For a teaching run, select Adventure and explain each boss before starting. For Standard or Custom, check the shared difficulty and Feat rules first. Confirm whether Challenges is enabled before briefing Gahlran’s crystals.
After Calus, collect rewards and inspect the end-of-path vendor for available Spoils rerolls. This path is complete at Calus; the seven-boss gauntlet is a separate selection.
Agree on elemental calls and cranium runners. After the shield opens, complete the body weak-point interruption before the team commits to damage. Argos roles, steps & recovery →
Reset assignments around Witch’s Blessing, name each pair’s vessel and rehearse the Deception melee countdown. Refresh buffs before regrouping at the real boss. Gahlran roles, steps & recovery →
Switch to the reader/throne split. Agree on symbol call order and the first damage plate; move between plates together and retain ammo for the final shield. Calus roles, steps & recovery →
Shattered Vault: activity lineup · Bungie: reprise, encore and Godsbane · Bungie: difficulties, Feats and rewards
This separate three-boss path ends at Morgeth. Its encounters combine boss mechanics with other parts of their original raids: Totems with Warpriest, relay defense with Consecrated Mind, and the Heart with Morgeth. Brief the Pantheon version even when everyone knows the original raid.
Prepare three different assignments: two rotating trios for Warpriest; five relay defenders and one runner for Consecrated Mind; three collector/cleanser pairs for Morgeth. Reassign explicitly between encounters.
Bring sustained enemy clear for fixed positions, ranged damage for the moving Harpy and the Champion counters listed on your selected activity. Agree on Last Wish symbol names before Morgeth.
Use Adventure to practice handoffs and relay coverage. Move to Standard once every player can explain their replacement’s job. Add Custom Feats only after checking how they change the run’s requirements.
Morgeth’s final stand completes this path. Collect your rewards and review the vendor before leaving. A Morgeth Surpassing clear is not a full Insurrection Prime Revolutionary gauntlet clear.
Call who holds the Totem, who is bringing the next Brand and who deposits. Name the two damage extenders and the pillar where everyone will shelter. Warpriest roles, steps & recovery →
Give every relay a name and coordinate the runner’s route. Keep eye calls, Enlightened refreshes and mote deliveries distinct so defenders know when help is coming. Consecrated Mind roles, steps & recovery →
Name each collector’s cleanser and the outside symbol caller. Repeat that outside calls identify symbols to avoid. Assign the damage-reset relic before starting, then save resources for the final stand. Morgeth roles, steps & recovery →
Shattered Vault: activity lineup · Bungie: reprise, encore and Godsbane
| Mode | Rules and rewards | Suggested use |
|---|---|---|
| Adventure | No Power cap, unlimited revives and more forgiving mechanic timers; a smaller pool of lower-tier rewards. | Teaching and practice. |
| Standard | No Feats; weekly Tier 5 encounter rewards. | Build consistent clears. |
| Custom | Selectable Feats increase reward grade. Encounter bonus rewards are repeatable. | Targeted challenge and farming. |
Reward-grade contributions: Cutthroat Combatants +4; Challenges +3; Shocktroopers +2; Token Limit and Phase Limit +1 each. Reward grade is not the number of Feats enabled. Read the selected Feats and encounter challenge before rallying.
CALUS RESPLENDENT / REPRISE
Read elements → charge craniums → open shield → break weak points → damage.
↑ Encounter index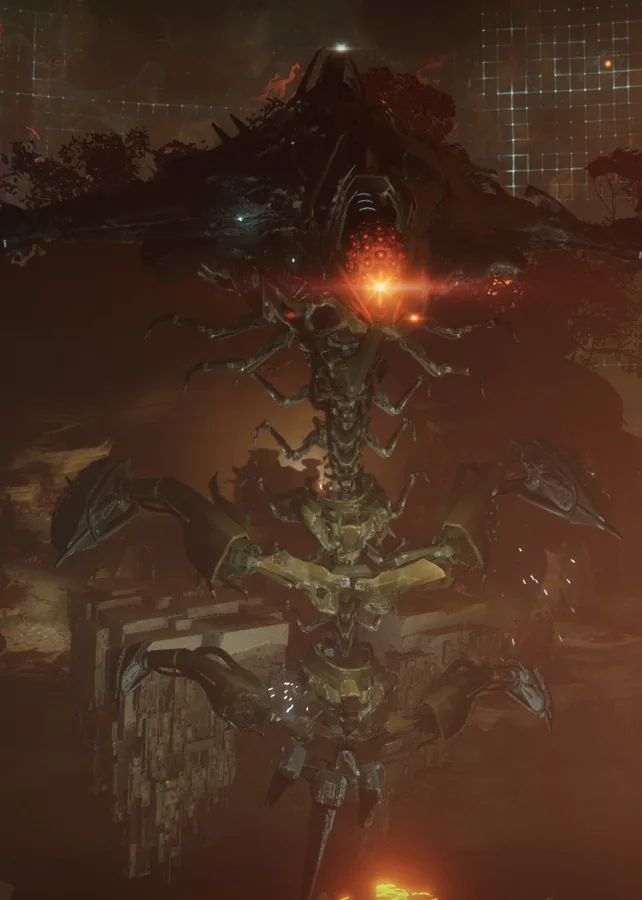
Start by breaking the crystals on Argos. Find the side showing three elemental orbs and call their colors. Kill the Malignant Hobgoblins for Vex Craniums; charge each at the platform matching a required element. Duplicate colors need duplicate charges.
Bring the three charged craniums to the active side. On one countdown, use matching beams to guide all three orbs into the central opening together. Use the appearing platforms to reach and destroy two body weak points before committing heavy ammo. In Pantheon this interruption comes before damage.
Shoot the exposed boss. Break a detained teammate’s bubble immediately; they cannot free themselves. If Argos survives, repeat with a fresh pair of body weak points.
Total Apex: Calus Resplendent mechanics · Community observations: Pantheon encounter changes
CALUS RESPLENDENT / REPRISE
Balance Blessing → stun Deceptions → trigger cleaver → reveal the real boss.
↑ Encounter index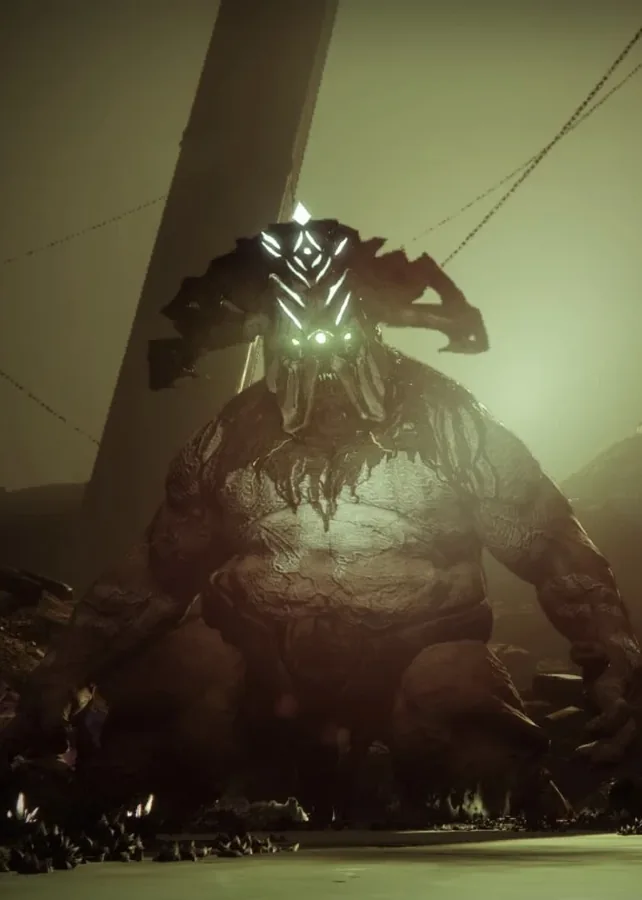
Shoot Gahlran to begin, then have one player per pair enter the Blessing pool. Blessed players kill blessed enemies; their partners handle normal enemies. Stand together at your vessel and shoot it with both states to swap before Witch’s Blessing expires.
Lure the Deception onto the platform in front of the large Gahlran. A blessed and unblessed player melee it together to remove its shield. Shoot the large boss’s glowing hand so his cleaver kills the stunned Deception. Restore the lost Blessing with help from another blessed player at a vessel.
After all three Deceptions die, shoot your boss’s raised hands, then head. Two copies disappear. Regroup at the remaining boss, refresh Blessing, and break raised hands again whenever they interrupt damage. Repeat if needed.
Community reports place the returning crystals in the Challenges Feat. When crystals are active, a blessed and unblessed player must destroy them together from inside the shield.
Skycoach: Gahlran mechanics · Community observations: Pantheon encounter changes
CALUS RESPLENDENT / REPRISE
Call three symbols → punch the missing symbol → build Force of Will → rotate plates.
↑ Encounter index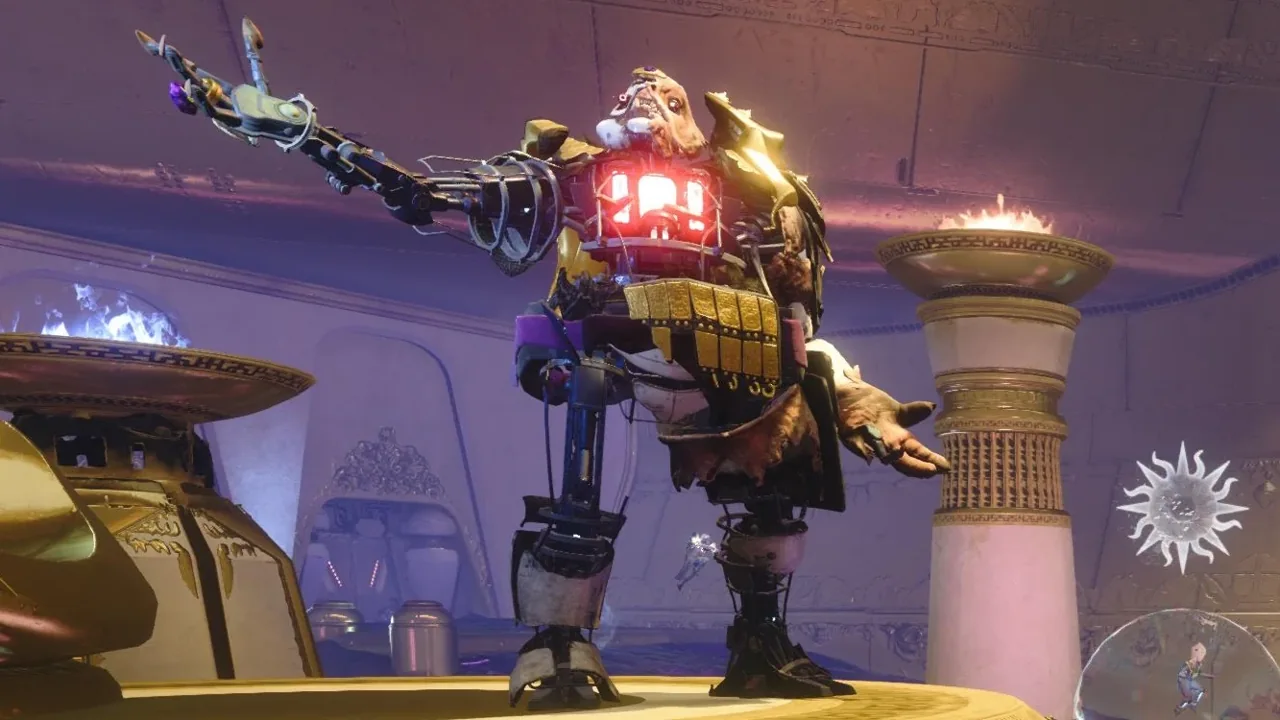
Shoot the chalice and clear enemies. When Calus teleports everyone, the throne team takes the return orbs; the readers stay behind the low barrier. Each reader calls the symbol they see on Calus.
The symbols are Cup, Axes, Sun and Dog. The throne team melees the Psion matching the one symbol nobody called. Readers kill ground Psions and floating projections while staying behind the barrier. Repeat as the safe barrier advances.
Readers shoot the skull stream to build Force of Will. The throne team breaks Calus’s shield before its attack kills them, coordinating with the skull team. Use the return orbs to reunite.
All six enter the chosen plate together. Damage, then move together before Calus’s attack hits it. Continue across the remaining plates. Aim at the exposed chest after the robot reveal, and retain ammo for the final shield.
MORGETH SURPASSING / ENCORE
Hold Totems → earn and deposit Deathsinger’s Power → pass the damage Brand → take cover.
↑ Encounter index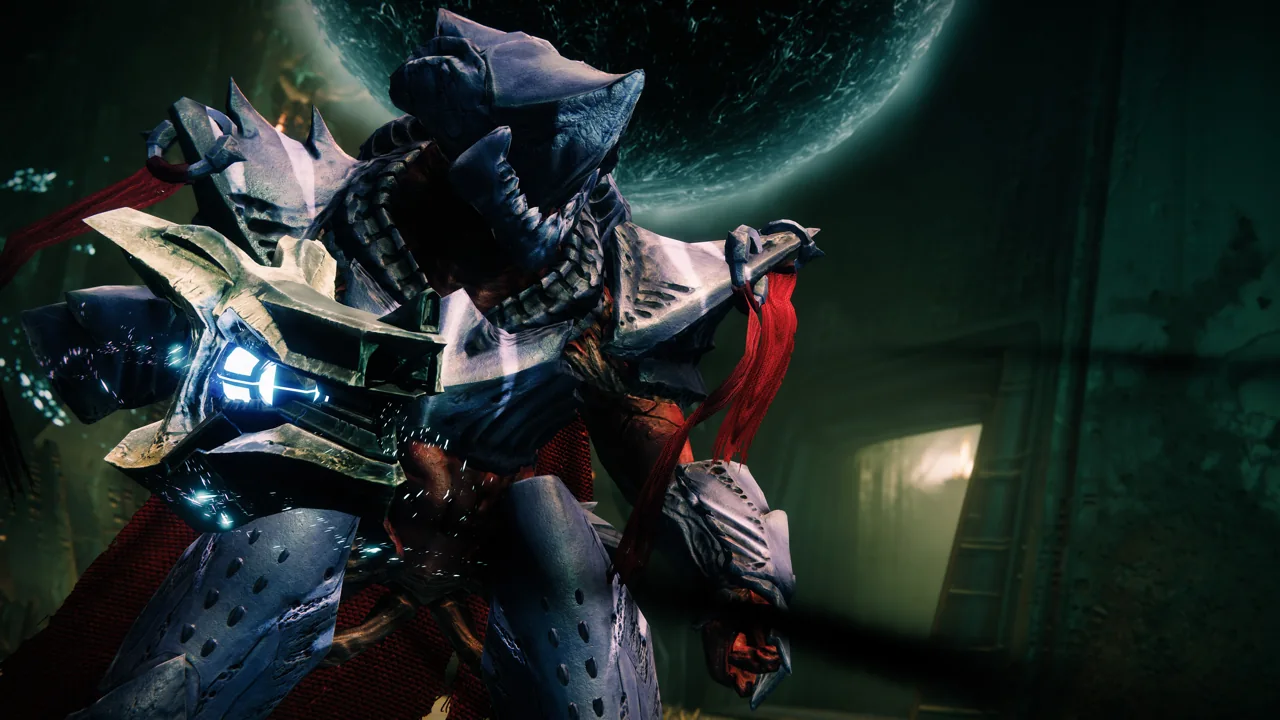
Take the starting Brands to the side Totems. Kill enemies there to earn Deathsinger’s Power. Replacements kill the Wizard and Blightguard near their side of the Warpriest arena, take Brand Claimer and steal the outgoing player’s Brand before the timer ends.
The outgoing holder stands on a green Warpriest plate until their stacks drain, then rejoins the rotation. When the game announces that Warpriest deems you worthy, regroup at the red plate.
Activate the red plate for Brand of the Initiate and stay in its aura to damage. Two designated players kill the new Blightguards, collect their Brands and steal the damage Brand in turn near expiry. Retained Deathsinger stacks help extend the window.
When damage ends, everyone shelters behind the same intact pillar. The blast consumes that cover. Resume the Totem rotation; agree on the next shelter before the next damage phase.
Skycoach: Warpriest mechanics · Total Apex via Yardbarker: encore mechanics
MORGETH SURPASSING / ENCORE
Defend five relays → refresh Enlightened → solve eyes and bank motes → follow for damage.
↑ Encounter index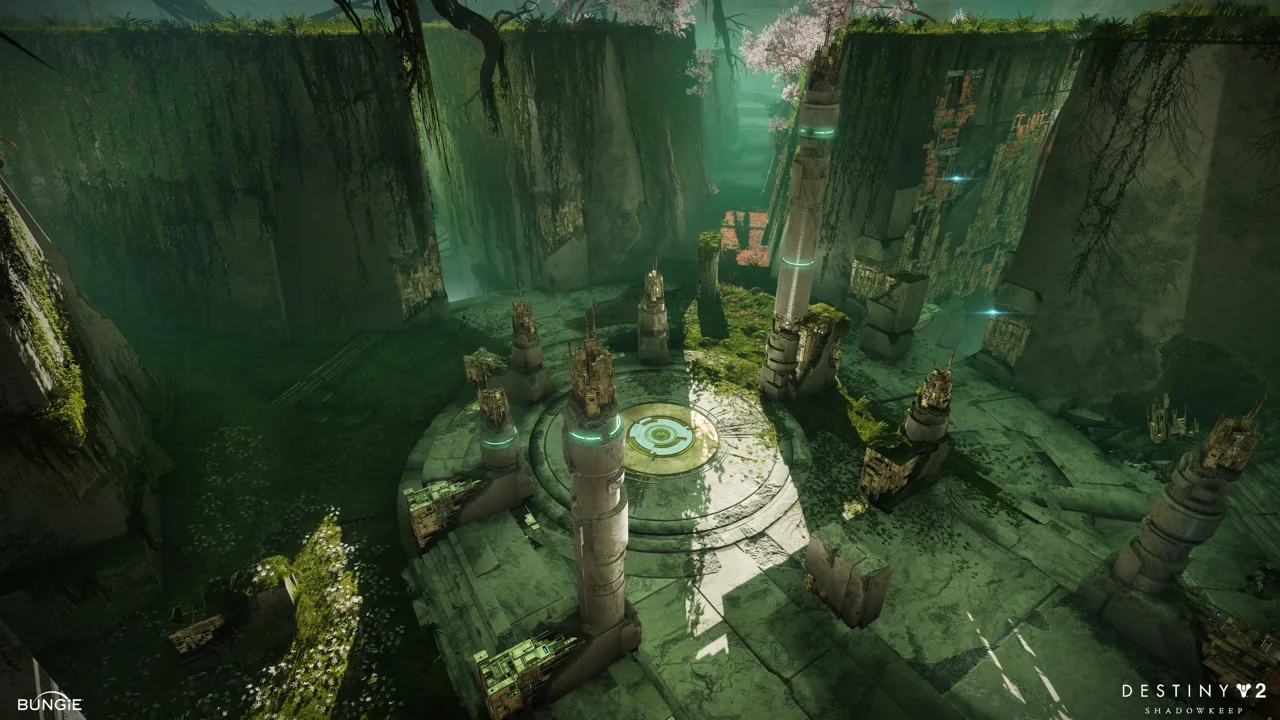
Clear Angelics and link each tether box to its relay with teammates. Spread defenders across the four outer relays and the added center relay. Enlightened lets you break shielded Vex; prevent sacrifices and refresh the buff before it expires.
When the boss drops Voltaic Overflow, an eligible player collects it and calls the lit inner or outer eyes. Assigned shooters destroy the matching eyes. Rotate collectors while their Overflow debuff is active.
Kill Malignant Motekeepers in the lanes and bank their Voltaic Motes at the center relay. Aim for 30; sacrifices set progress back. Keep relay defense covered while a carrier moves.
When the center is ready, regroup there. Break the boss’s exposed eyes to open damage and follow it down the lane while firing. Return to relay defense if another cycle is needed.
Remote tethering is enabled again in Update 9.7.0.3: outer defenders connect to their boxes while the center pair completes its tether to refresh Enlightened across the network. Coordinate the refresh after the eye mechanic.
Gaming ProMax: relay and mote mechanics · Total Apex via Yardbarker: encore mechanics · Bungie: Update 9.7.0.3
MORGETH SURPASSING / ENCORE
Collect Strength → cleanse into the Heart → exclude called symbols → damage and final stand.
↑ Encounter index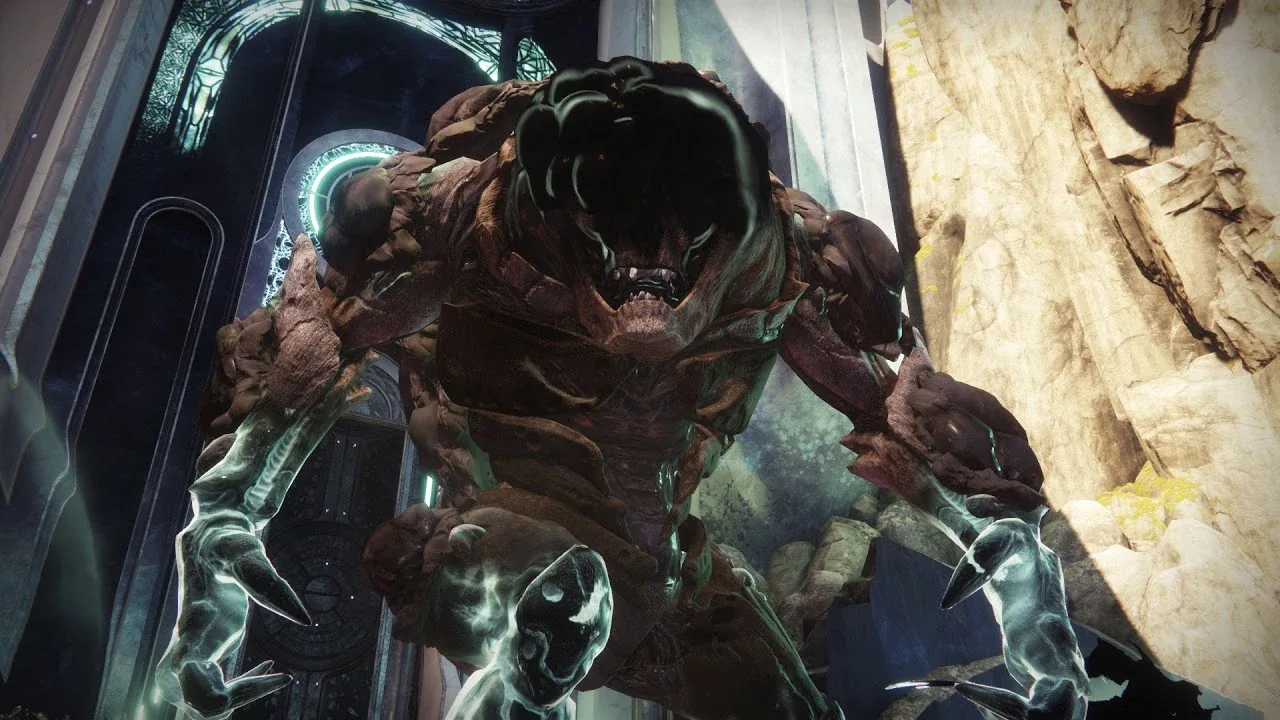
Collect the opening Taken Strength, then a second on that player. Never take a third stack. When the collector is trapped, their partner kills an Eye of Riven, takes its Essence and uses the grenade action nearby to cleanse. Both enter Riven’s Heart.
Outside players call the symbols behind Morgeth. Inside, the Essence holder sees symbols over Strength and guides their partner to those NOT called outside. Respect the two-stack cap. Repeat with the next pair; the final pair brings Morgeth into the Heart.
An eligible player takes the final Strength to start damage. Assign someone to the Eye of Riven: if another cycle is needed, use the Essence Super on Morgeth before his Strength reaches 100%. That ends damage and returns the team outside.
At final stand, take the portal and cross the platforming route. Spread out to collect all remaining Strength without exceeding two stacks each. Burn the boss before his Strength fills; keep heavy ammo and burst Supers for this finish.
Orcz: Morgeth and Heart mechanics · Skycoach: Morgeth damage and final stand
INSURRECTION PRIME REVOLUTIONARY / FINALE
Activate map → collect CAP buffs → deliver batteries → break panels → tank stun → paired damage.
↑ Encounter indexTwo players break the opening Berserker’s front and back weak points together, kill it and deposit its battery. The map and boss activate. Use map callouts for later Berserkers and the numbered battery destinations; rotate carriers while Ionized prevents repeat pickups.
Kill the surface Servitor to open access. Send one trio down to melee the three safe terminals: circle for Continuous, triangle for Angular, square for Parallel. Avoid the red mixed-symbol terminal. Swap trios so all six have buffs, two per type. Keep different buffs apart.
Use matching-buff pairs for Berserkers and deliver four batteries to the called deposits. Break all six white armor panels: knees, arms and back. Once the tank is available and everyone is positioned, the designated pilot shoots the boss with the Drake to expose its Servitor.
Damage the exposed Servitor from three separated pairs. Stand with the teammate sharing your current buff for Phase Synergy. Each pulse can change buffs: check the HUD, move to the correct position, then resume firing. Repeat the setup if the boss survives.
Do not use Divinity here. Bungie’s July 7 patch states that neither Divinity nor damage into its cage harms Insurrection Prime at any stage.
Grindout: Insurrection Prime setup · Skycoach: Insurrection Prime damage phase · Bungie: Update 9.7.0.3
Pantheon offers class armor, reprised weapons with an activity origin trait and holofoil variants. End-of-playlist vendors let you spend Spoils of Conquest on rerolls of acquired items. Reprise encounters can also award original armor ornaments. Use the activity reward preview when targeting an item.
Bungie: difficulties, Feats and rewards
Godsbane requires 11 of the 12 Pantheon Triumphs. Bungie identifies Total Revolution as a full-gauntlet completion with five Feats active. Check your in-game seal before organizing a title run, and agree on which Triumph the fireteam is attempting.
Bungie: reprise, encore and Godsbane
For a first session, finish an Adventure run and note the mechanics that caused wipes. On the next run, practice those assignments on Standard before adding Custom requirements.
Source-reviewed encounter guide; not yet fireteam-tested by this site. Roles and recovery callouts are teaching suggestions. Bungie announcements establish activity rules and patch changes; community guides provide the encounter walkthroughs. Original raid images are reference artwork, not screenshots of the revised Pantheon layouts.
Full vaulted-raid restoration is a separate subject: see the restoration status.