← Raid archive

REPRISED RAID / NORMAL GUIDE

King's Fall

Long live the King.

Players
6
Title
Kingslayer

Destiny 2 reprisal / Normal clear guideSource review:

00 / BEFORE THE PULL

Call the timer before the handoff.

Brands and backups

Assign the next carrier by name. The current holder calls the countdown; the replacement confirms the transfer. Do not assume a teammate took a buff just because they reached you.

Plan the objective

Choose a Normal clear or specific triumph before launching. Confirm live Champion coverage and give every specialist a backup. All six players must be ready to run when Torn is assigned randomly.

OPENING / HALL OF SOULS & PORTICO

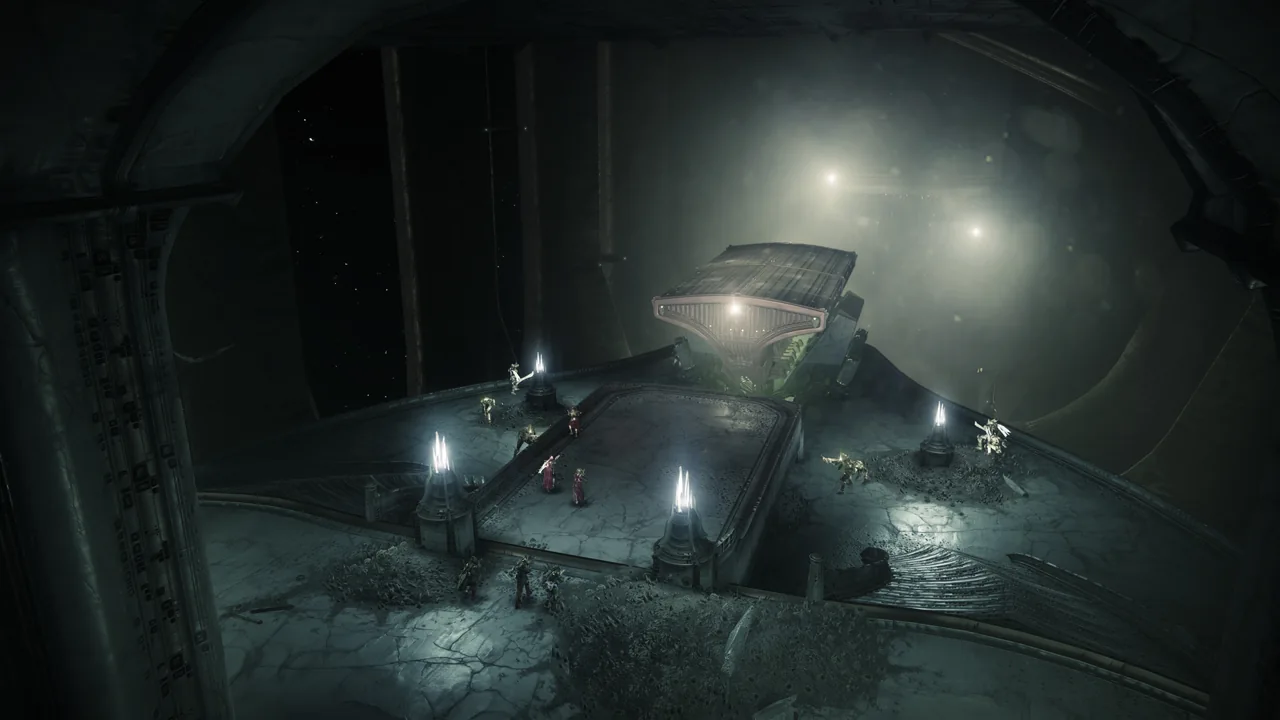
Open the portal, cross the ships.

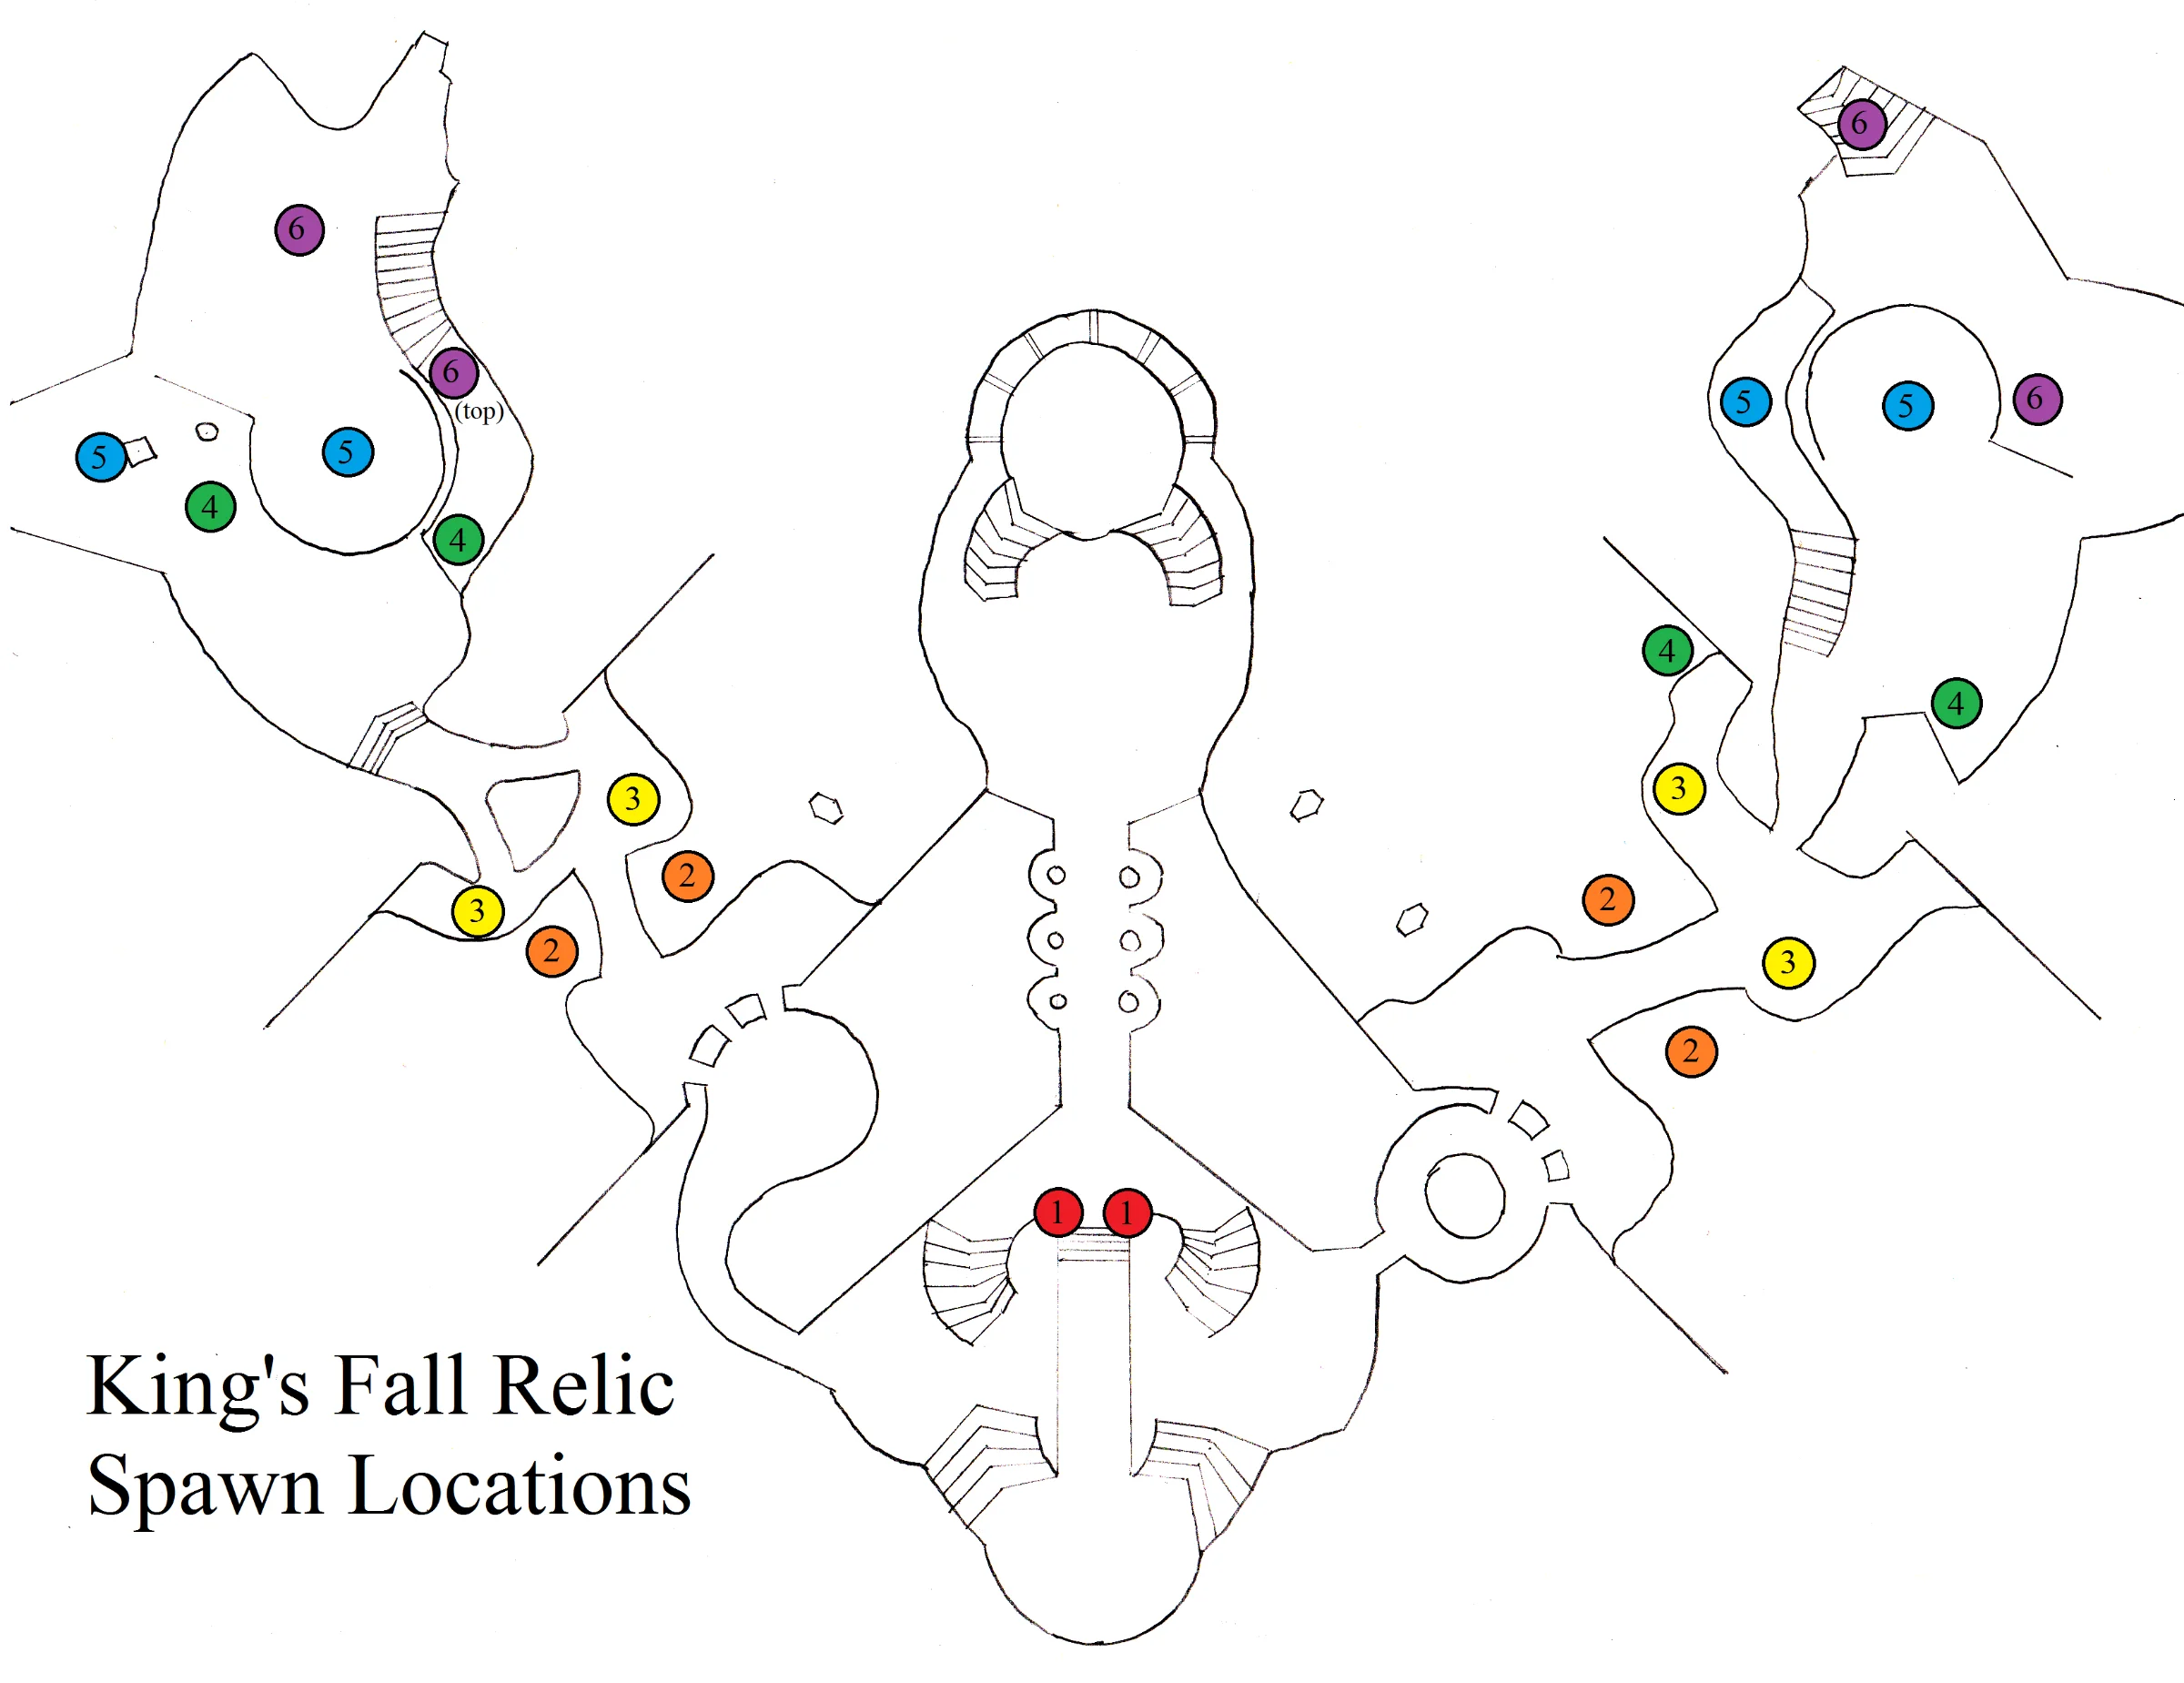
Send two relic carriers with escorts down opposite routes. Clear barriers and deposit each pair together at the marked statue; repeat through all six pairs. Enter the portal when it opens.

Follow the moving tomb ships, waiting for each next landing. At the barrier crossing, two players hold the departure plates; the forward team holds the far-side plates to bring them across.

Vaexil - reprisal cross-checks

Tomb ship crossing — Destiny 2
Tomb ship crossingBungie press kit

01 / ENCOUNTERS

The encounter route

01 / ENCOUNTER

Basilica / Totems

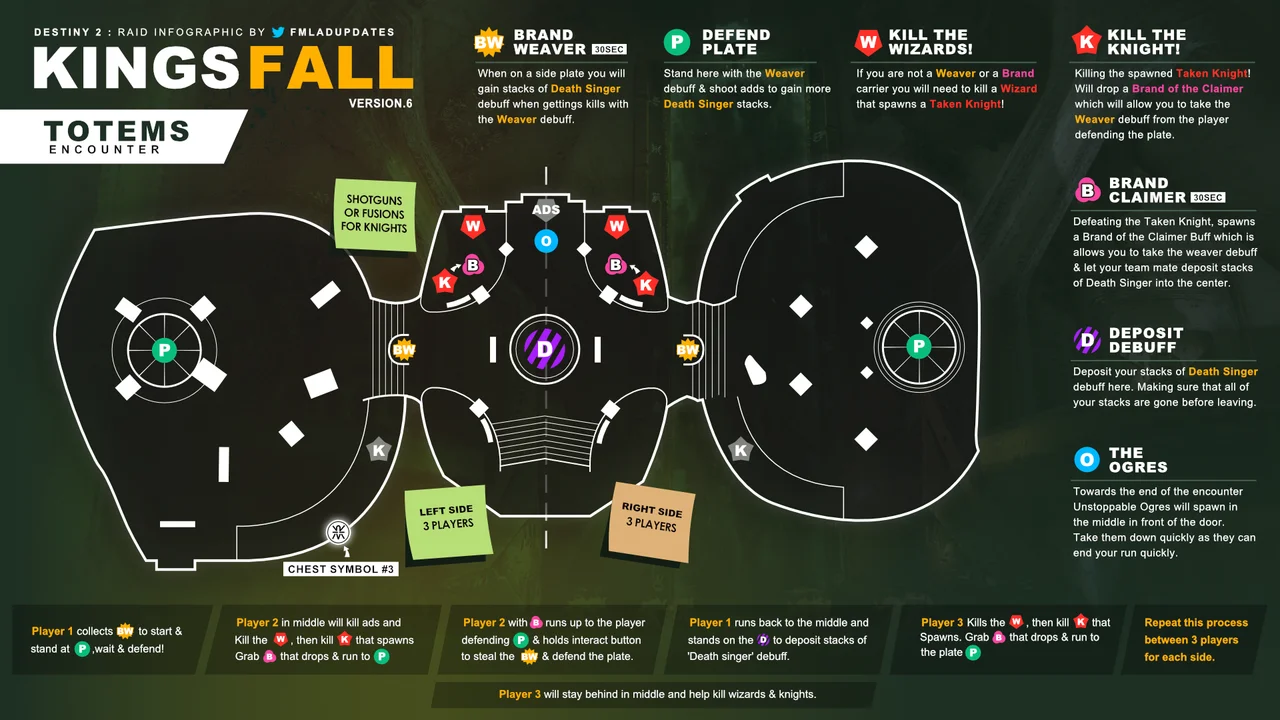
Keep both Totems occupied while depositing Deathsinger's Power.

Encounter list ↑

BRAND ROTATION

Hold → deposit → claim

Run the same three-person queue on each side. Name the next carrier before the current Brand expires.

Encounter sequence

  1. Hold and build Power

    Take your side's Brand and stand beneath its Totem. Kill enemies while branded to build Deathsinger's Power. Keep the Totem covered and call your Brand countdown.

  2. Prepare the replacement

    The next player kills the balcony Wizard, then its Blightguard. Pick up Brand Claimer, reach the current holder and interact to steal the Brand before it expires.

  3. Deposit in the middle

    The relieved holder returns to the center plate. Stay until every Power stack drains, then prepare the next Wizard and Blightguard. The third player supplies the intervening handoff.

  4. Maintain both rotations

    Repeat the same three-person queue on both sides until the door opens. Help clear center threats while depositing; prioritize Unstoppable Ogres when they appear.

Each player repeats this loop
JobNext job
Totem + BrandAfter the steal, deposit Power at center.
Center depositWhen empty, kill Wizard then Blightguard.
Brand ClaimerSteal the Brand and replace the Totem holder.
If the attempt breaks down
  • Incoming player late: announce the timer early and prioritize the handoff over extra kills.
  • Power still on your HUD: finish depositing before returning to the Claimer role.

Windows Central - Totems relay

02 / ENCOUNTER

The Warpriest

Read the plate sequence, extend the Brand, and save shelter for the Oculus.

Encounter list ↑
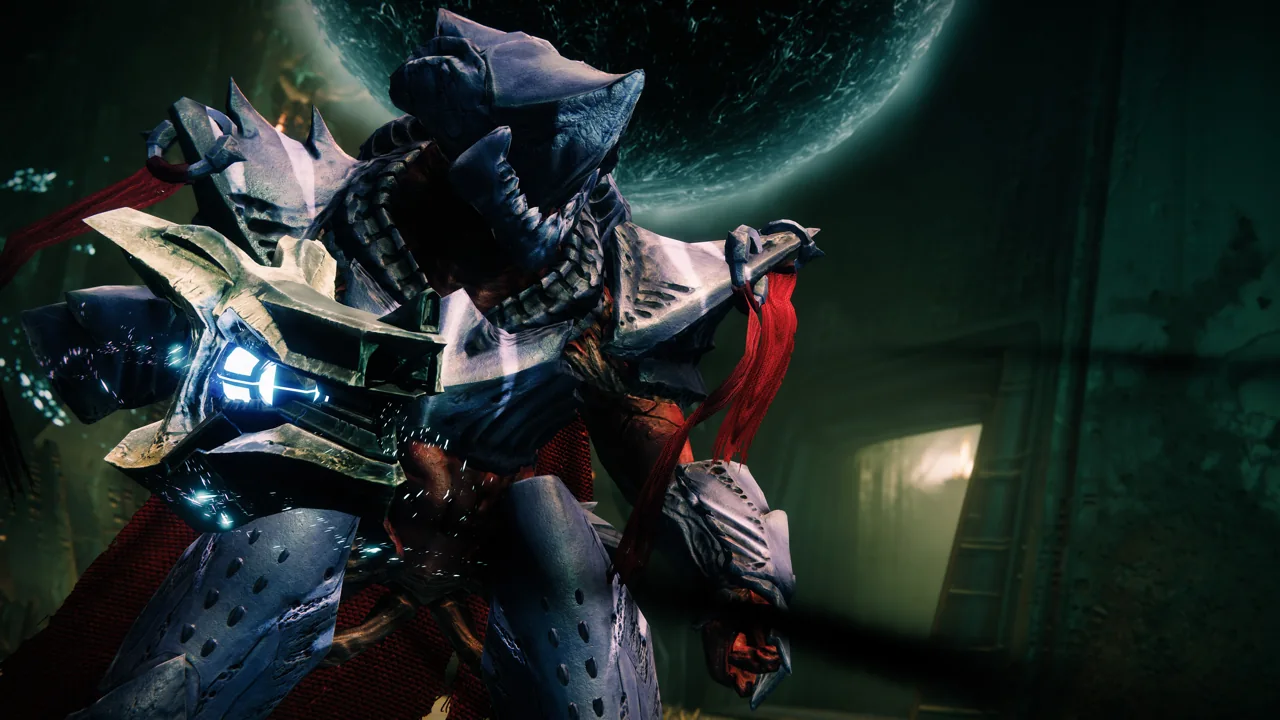
The Warpriest — Destiny 2
The WarpriestBungie press kit

Encounter sequence

  1. Clear and read

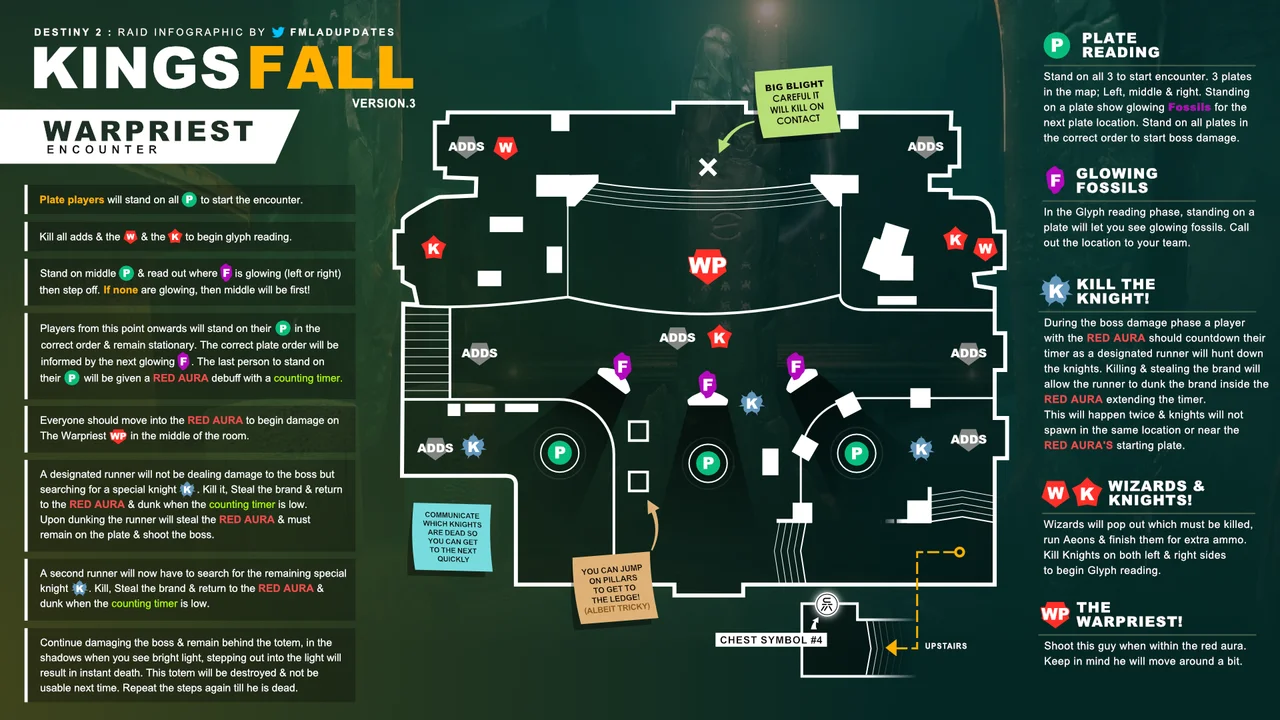
    Defeat the lane Knights. When glyph reading begins, middle steps on and checks the backs of the side monoliths. A glowing side is first; neither glowing means middle. Middle then steps off.

  2. Enter the order

    The first called player steps on, stays, and reads the next glowing monolith. Activate second, then the remaining third plate. The third player receives Brand of the Initiate.

  3. Extend damage twice

    Group inside the Brand. Two Blightguards spawn away from the initial Brand lane. Each assigned Claimer kills one, collects its buff and steals the Brand before the current timer expires.

  4. Shelter together

    After the last Brand, hide fully behind one intact monolith. The Oculus consumes that cover. Repeat using surviving cover; finish the boss before you run out.

If the attempt breaks down
  • Wrong plate: step off and restart the read after the encounter resets the sequence.
  • Claimer cannot reach: move the aura group toward them while the holder counts down.

Shacknews - Warpriest glyphs and Brands

TRAVERSAL / GOLGOROTH'S CELLAR

Regroup beyond the maze.

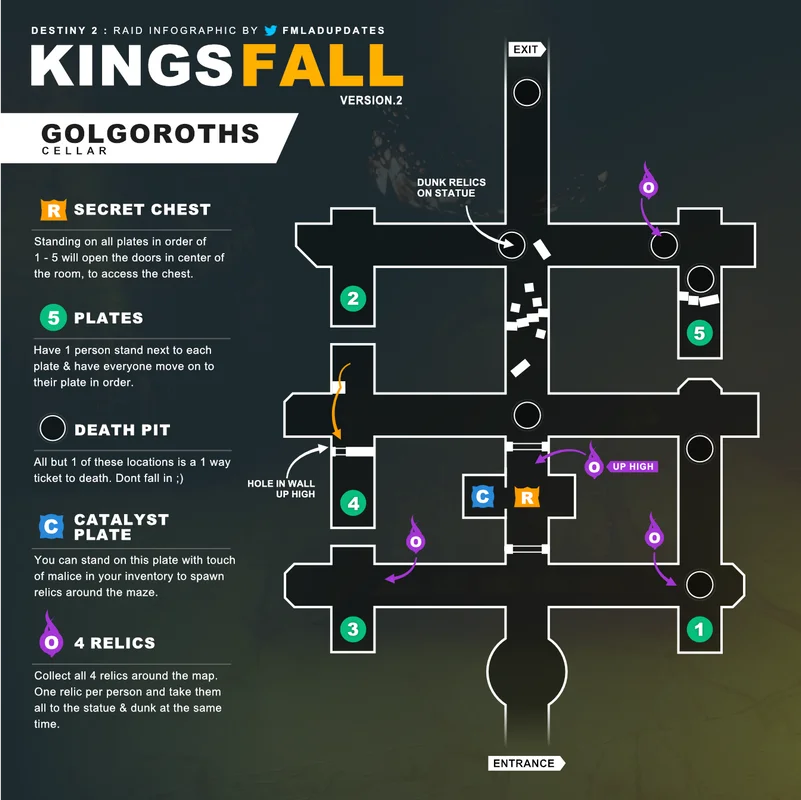
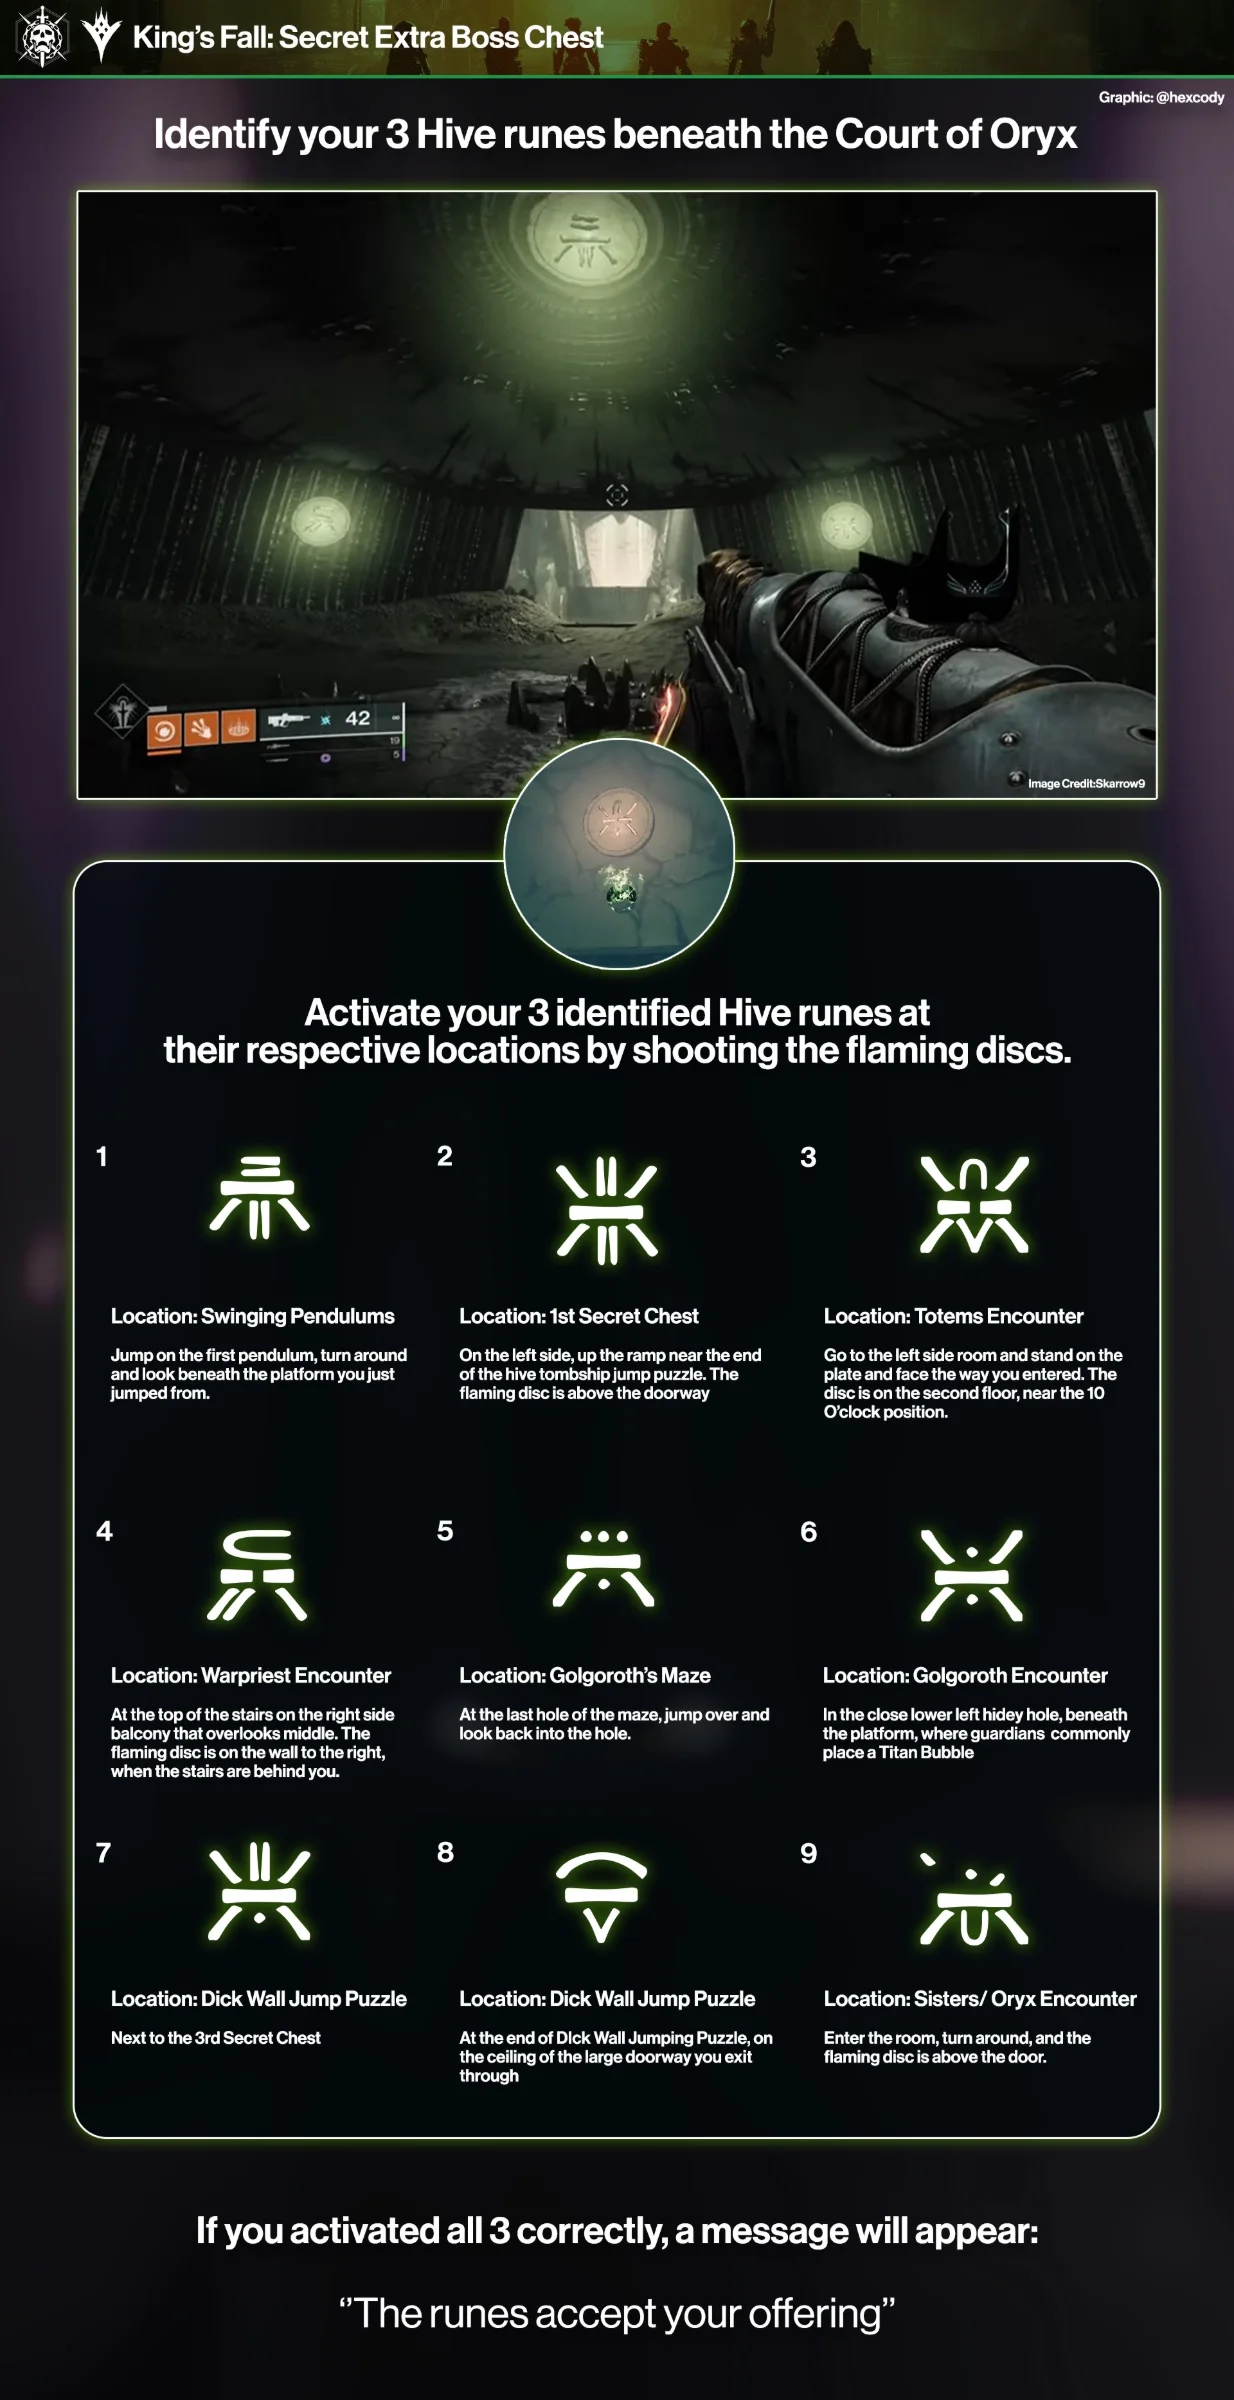
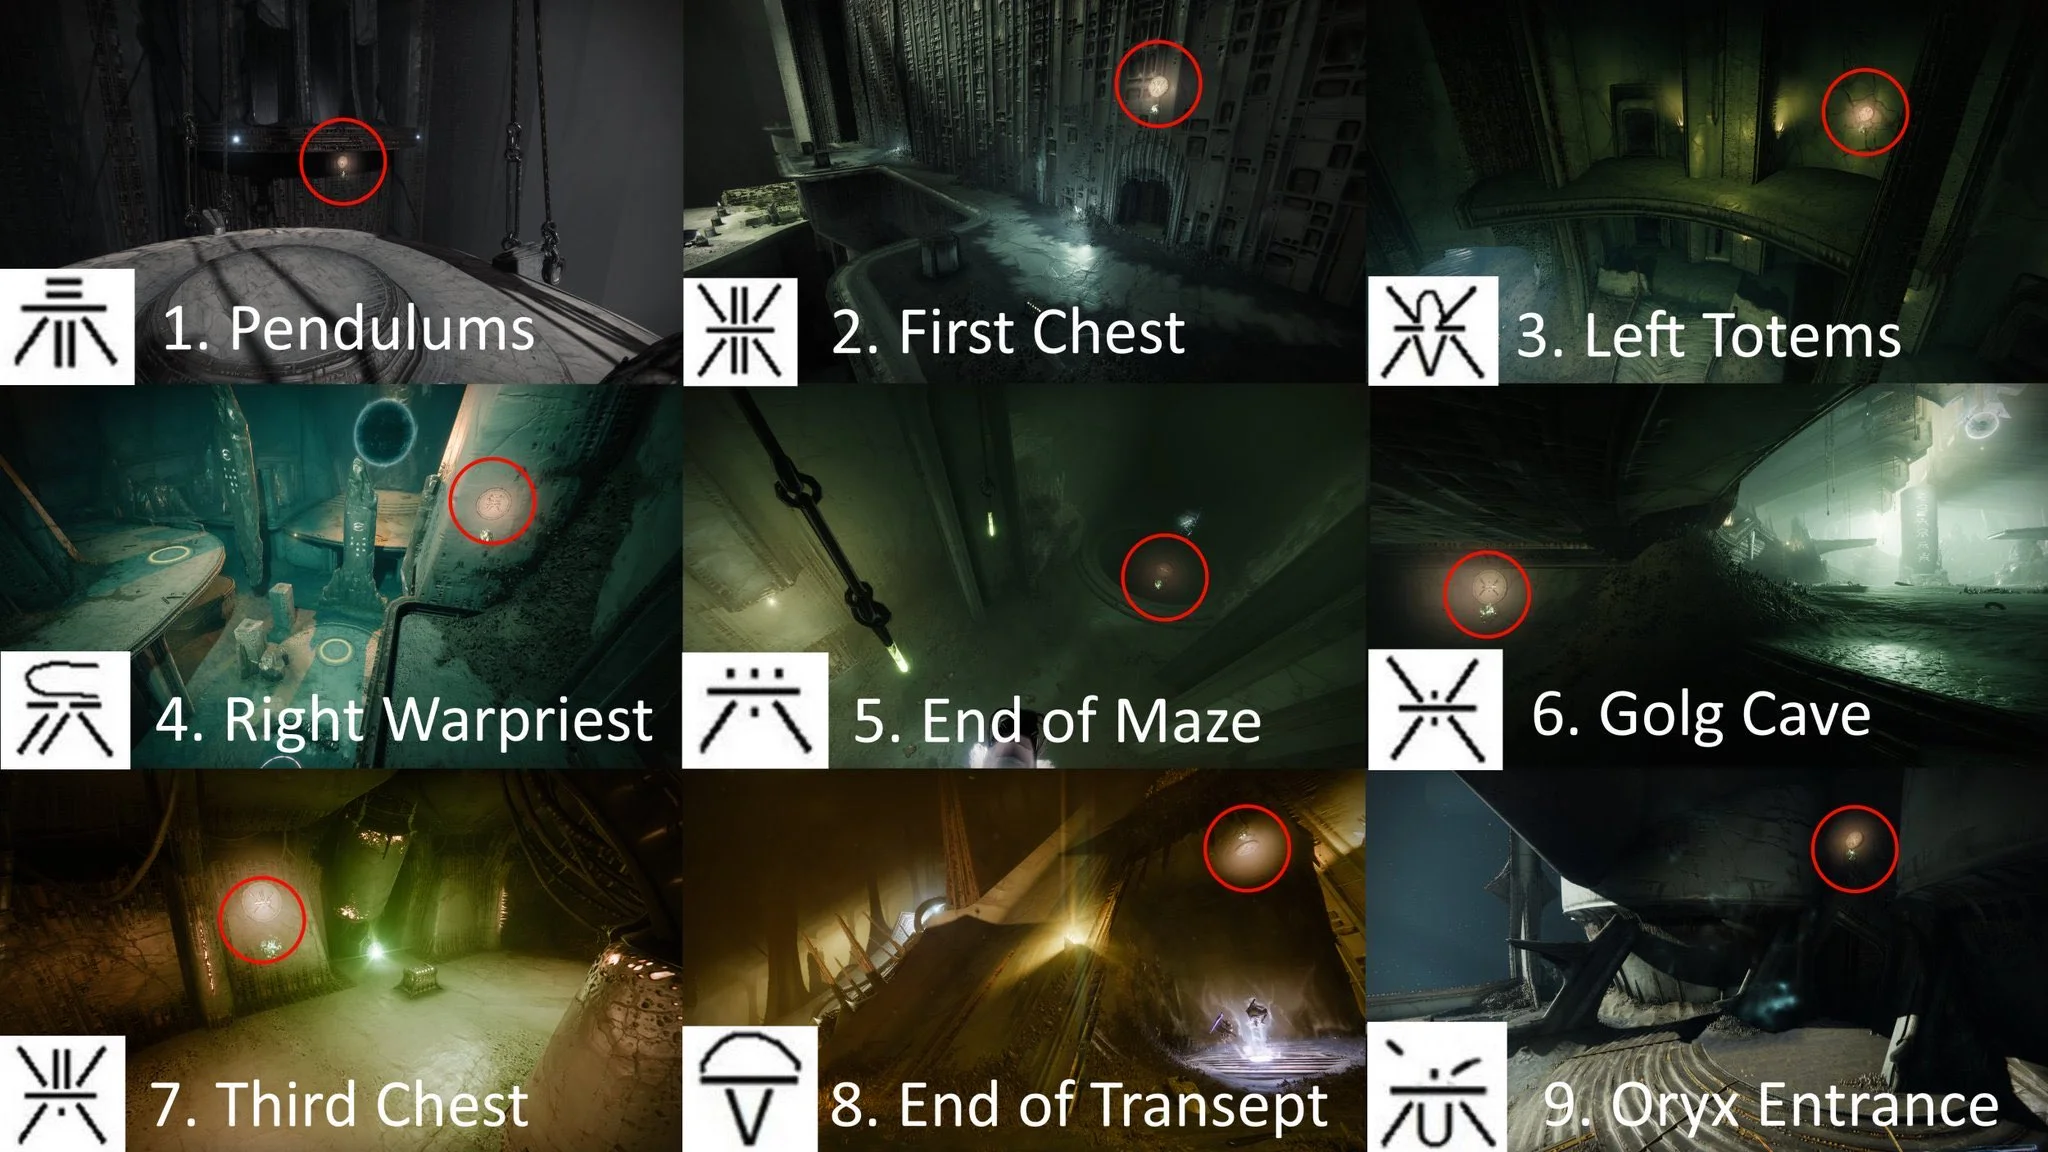
Follow the corridors toward Golgoroth, watching for floor pits. Keep one route caller and wait at junctions so the group takes the same branch. Optional hidden-chest plates need a separate coordinated detour.

03 / ENCOUNTER

Golgoroth

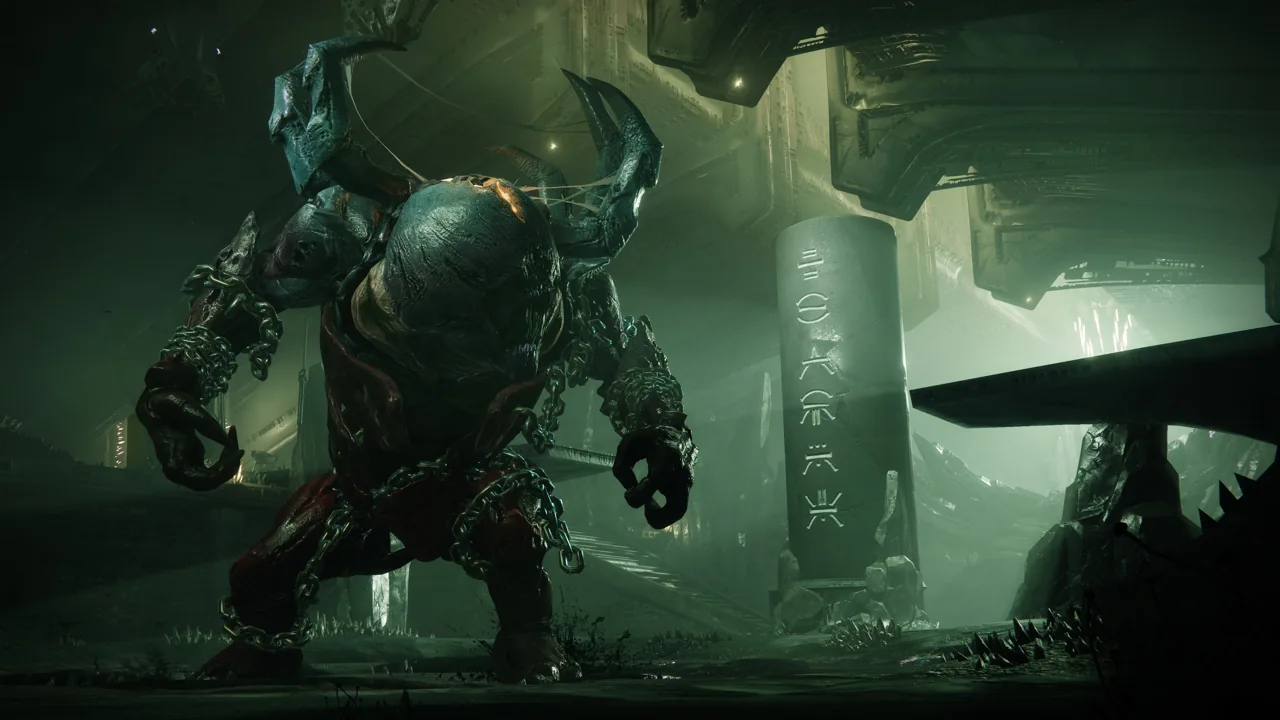
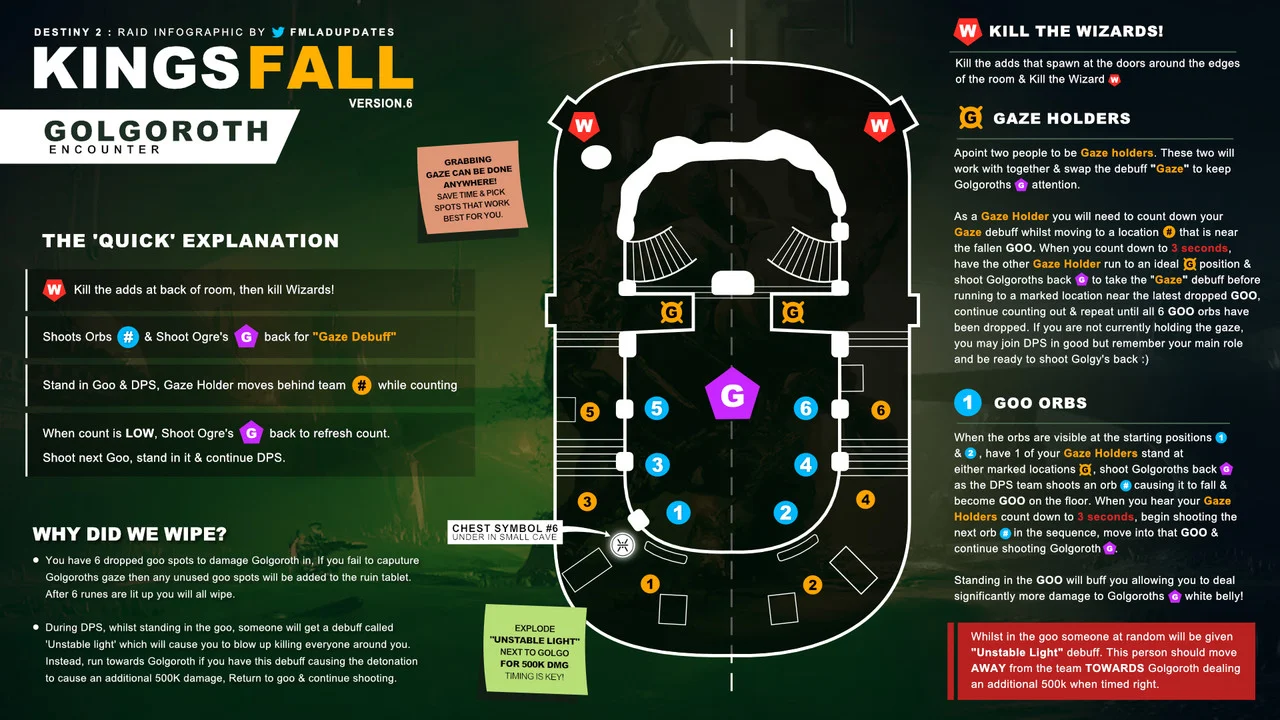
Alternate Gaze while the damage team advances through six pools.

Encounter list ↑
Golgoroth — Destiny 2
GolgorothBungie press kit

Encounter sequence

  1. Expose the first window

    Shoot the starting ceiling orb and clear the wave. When damage orbs appear, one holder shoots Golgoroth's back for Gaze. Drop the first orb and gather in its Pool of Reclaimed Light.

  2. Face the pool

    The holder positions so Golgoroth faces the damage team, exposing his abdomen. Shoot incoming tracking bolts. The four players damage from inside the active pool.

  3. Pass before zero

    The other holder moves behind Golgoroth and shoots his back before Gaze expires. Drop the next orb and move the pool team. Alternate through all six.

  4. Leave with Unstable Light

    Anyone with Unstable Light leaves teammates before exploding; detonate beside Golgoroth if safe. After the final pool or a broken Gaze chain, leave the pit and reset.

If the attempt breaks down
  • Gaze chain lost: leave the pit; unused pools add Tablet of Ruin marks. Six marks wipe the team.
  • Low damage: confirm everyone is inside the current pool and can see the exposed abdomen.

PCGamesN - Golgoroth mechanics

TRAVERSAL / TRANSEPT

Wait for the pistons.

Follow the wall ledges and watch each piston cycle before crossing its path. Reveal nearby hidden platforms with your Ghost. Keep activation plates covered while teammates cross, then bring the rear players forward.

Vaexil - reprisal cross-checks

04 / ENCOUNTER

Daughters of Oryx

Build three ascendant paths and steal the shooting Daughter's aura.

Encounter list ↑
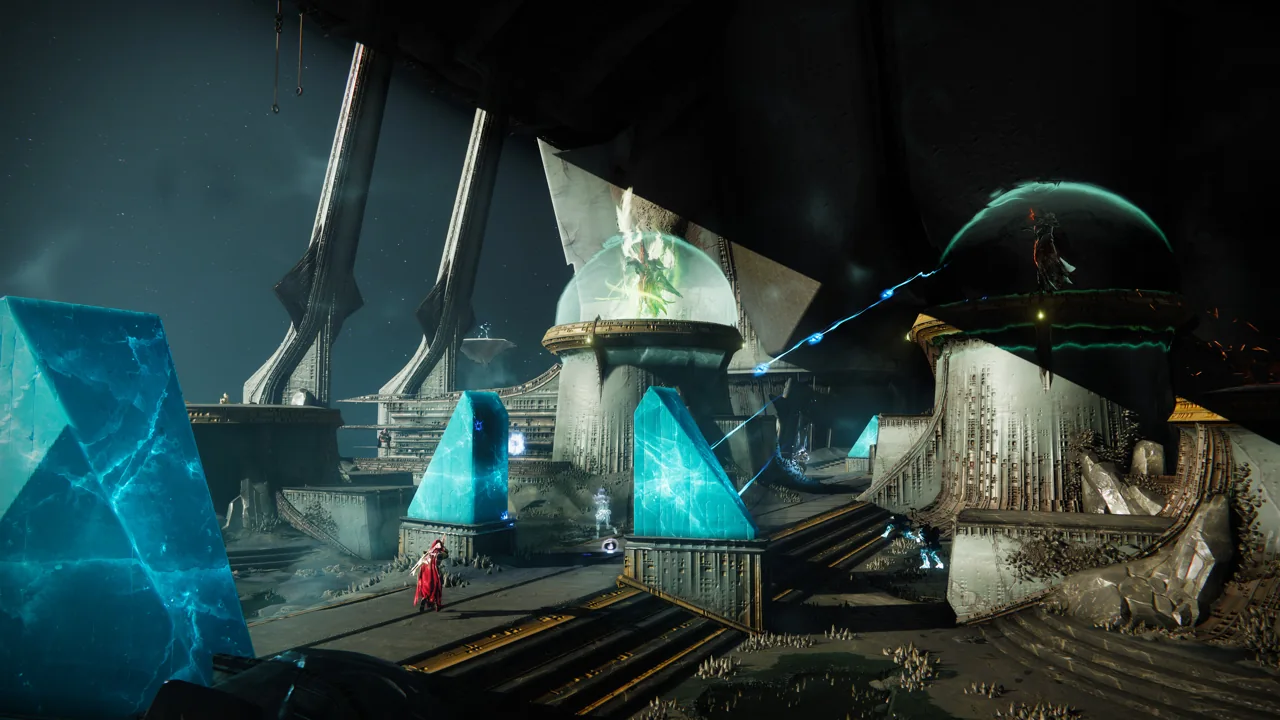
Daughters of Oryx: arena — Destiny 2
Daughters of Oryx: arenaBungie press kit

Encounter sequence

  1. Start at the Knight

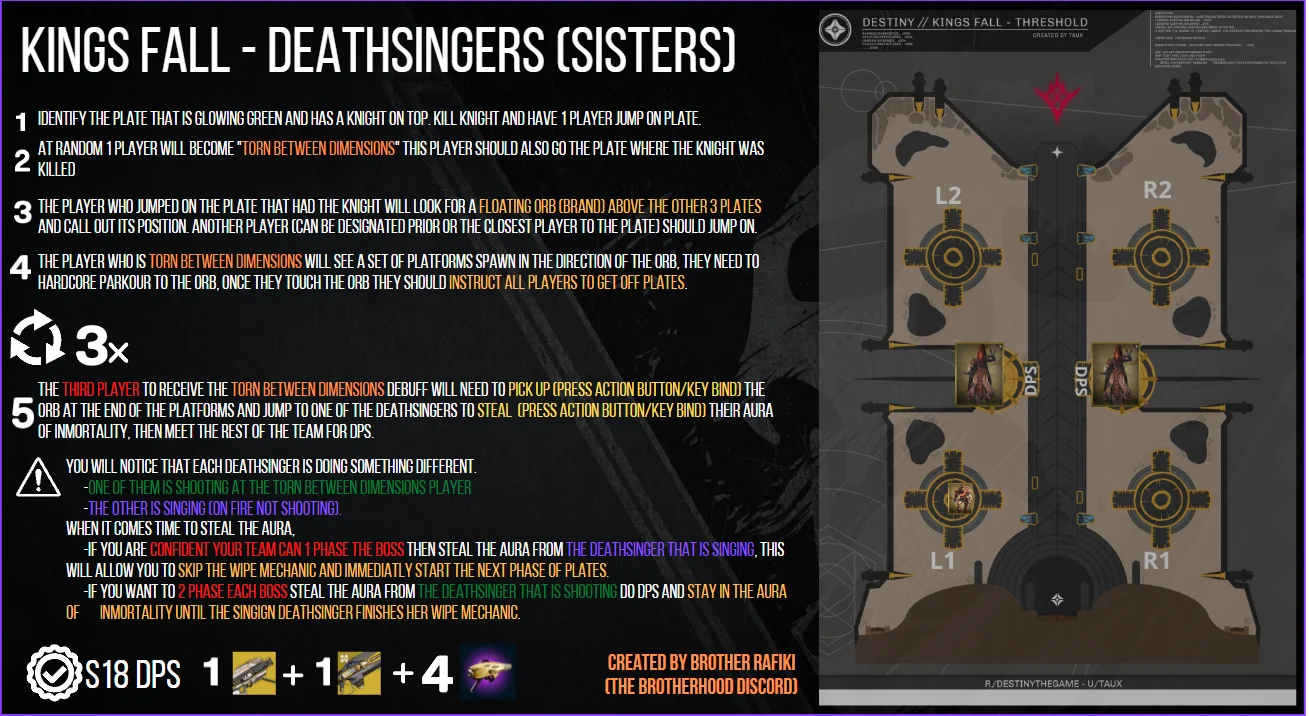
    Kill the Knight on the green plate. Its owner steps on and identifies the relic above another corner. Call that destination; only the two needed plates should be occupied.

  2. Carry each piece

    The randomly Torn player follows the floating path from start to destination. Both plate holders stay until the piece is collected, then step off. Repeat for three pieces; Torn selection can change.

  3. Steal and damage

    The third runner gains Brand Claimer. Interact with the non-singing Daughter who is shooting to steal her aura. Group inside it and damage that same Daughter.

  4. Survive the song

    Stay protected until the other Daughter's song resolves. Repeat as needed. Once one Daughter dies, kill the survivor in the next damage phase.

Plate calls - stand at rally facing the far end
CallPosition
L1 / R1Left / right corners nearest the entrance.
L2 / R2Left / right corners at the far Oryx end.
Start + destinationExample: start L1, destination R2. Keep this frame for Oryx.
If the attempt breaks down
  • Plate owner becomes Torn: their assigned floater takes the plate immediately.
  • Path missing: check the called start and destination, and remove players from unnecessary plates.

Destiny 2 Wiki - Daughters mechanics

05 / ENCOUNTER

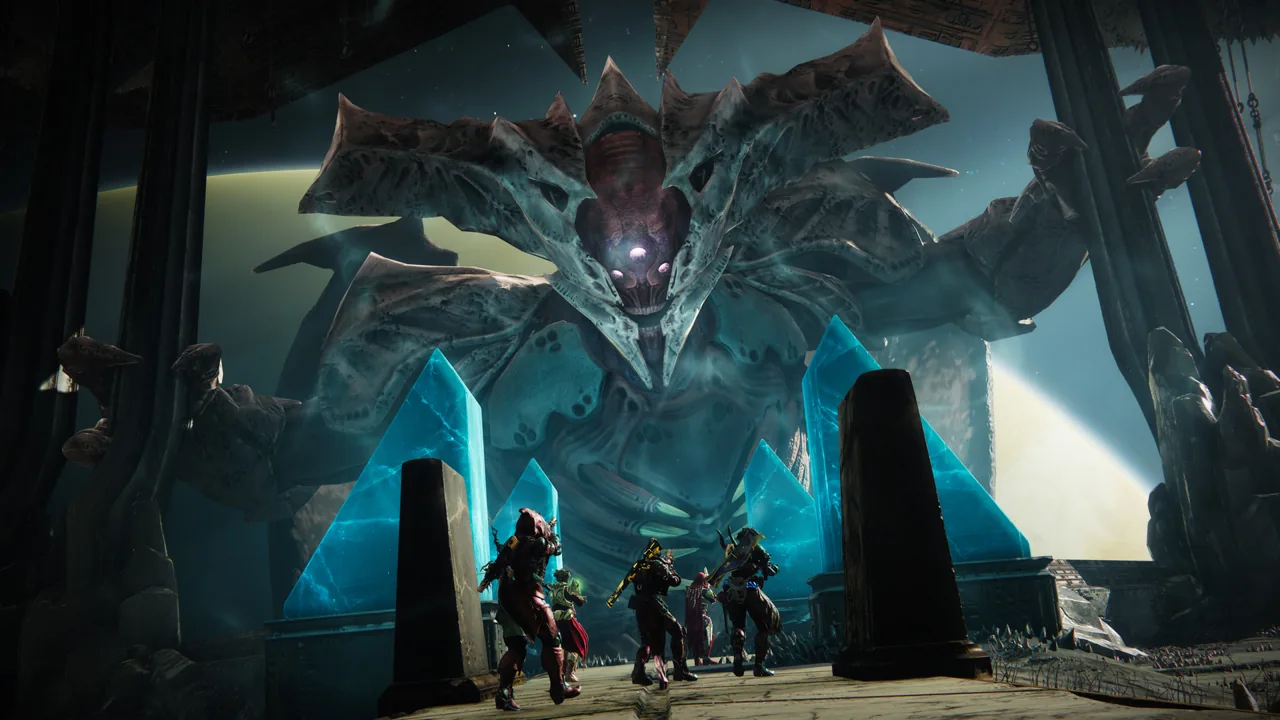
Oryx, the Taken King

Protect the bombs, claim the aura, and interrupt the Darkness.

Encounter list ↑
Oryx, the Taken King — Destiny 2
Oryx, the Taken KingBungie press kit

Encounter sequence

  1. Build three paths

    Clear the opening Knights. Oryx's slam marks the starting plate. Use the Daughters' start-and-destination procedure for three Torn runs.

  2. Protect Corrupted Light

    Kill each corner's Ogre, then stop Light-Eater Knights from consuming its bomb. Leave the bombs untouched until called.

  3. Secure the aura

    The third runner steals the Vessel of Oryx's aura using Brand Claimer. Kill the exposed Vessel and center the aura for returning detonators.

  4. Detonate and damage

    On Oryx's Darkness call, enter all four bombs. Wait for your detonation message, then return to the aura. Shoot the open chest.

  5. Handle the intermission

    For chasing explosions, keep moving in separate lanes. For the Shade dome, teleported players kill the Shade while outsiders stop enemies entering. Repeat the encounter loop.

  6. Finish with two interrupts

    Kill the two far-end Ogres. Detonate one bomb at the first Darkness call and the other at the next. Each detonator returns to the aura; everyone else keeps damaging.

If the attempt breaks down
  • Bomb consumed: announce it and prepare for a shorter damage window.
  • Aura out of position: stabilize it before sending detonators.

GameSpot - Oryx and final stand

02 / RAID RECORDS

Plan a Kingslayer run.

Clear

King's Fall

Complete the raid.

  • Totems
  • Warpriest
  • Golgoroth
  • Daughters
  • Oryx

RewardKing No More emblem

Master

One True King

Complete the raid on Master.

  • Master clear

RewardOssified Skycarver

Team

Court of Jesters

Complete every encounter with six clanmates.

  • All encounters

Team

Hive Mind

Use the same Guardian class.

  • All encounters

Subclass

Spark of Defiance

All six use Arc.

  • All encounters

Subclass

Sunburst

All six use Solar.

  • All encounters

Subclass

The Abyssal Society

All six use Void.

  • All encounters

Exploration

King's Ransom

Loot all hidden chests.

  • Three chests

RewardAncient Wisdom shader

Opening triumph

Controlled Dunks

Rotate relic deposits through all six players before repeating.

  • Complete objective

Totems challenge

The Grass Is Always Greener

Alternate Brand types; switch sides after each deposit.

  • Complete objective

Totems triumph

Overzealous

Never put two players near the same Totem.

  • Complete objective

Warpriest challenge

Devious Thievery

Steal the Brand within five seconds of collecting Brand Claimer.

  • Complete objective

Warpriest triumph

Brand Buster

All six must hold the Brand before anyone repeats.

  • Complete objective

Golgoroth challenge

Gaze Amaze

Stand in the active pool when another player takes your Gaze.

  • Complete objective

Golgoroth triumph

Taking Turns

All six must hold Gaze before anyone repeats.

  • Complete objective

Daughters challenge

Under Construction

Rotate plate holders; no non-Torn player repeats a plate before the damage phase.

  • Complete objective

Daughters triumph

The Floor Is Lava

A Torn player must never touch the arena floor.

  • Complete objective

Oryx challenge

Hands Off

Do not repeat an Ogre or Knight location's final blow. Include final-stand Ogres.

  • Complete objective

Oryx triumph

Overwhelming Power

Reach final stand from full health in one damage round.

  • Complete objective

Master challenges

King of Kings

Complete all five encounter challenges on Master.

  • Totems
  • Warpriest
  • Golgoroth
  • Daughters
  • Oryx

RewardOssein Earthcarver

Challenge objectives change the Normal plan above. Check the activity card for the active challenge and Master modifiers.

light.gg - Kingslayer records · Shacknews - Kingslayer objectives · Vaexil - reprisal cross-checks

03 / REWARDS

Encounter loot

Base encounter loot - random drops, not guaranteed
EncounterWeaponsArmor slots
Hall of SoulsDoom of ChelchisClass item
TotemsDoom of Chelchis; Qullim's TerminusChest, legs, class item
WarpriestSmite of Merain; Defiance of YasminArms, chest
GolgorothDoom of Chelchis; Zaouli's Bane; Midha's Reckoning; Qullim's TerminusHelmet, legs
DaughtersSmite of Merain; Zaouli's Bane; Qullim's TerminusArms, chest
OryxAll six raid Legendary weapons; Touch of Malice Exotic scout rifleFull prior armor pool

Check the live activity preview for featured status, reward tiers and farming eligibility. The Exotic is a chance drop from the final boss.

Shacknews - King's Fall loot table · Vaexil - reprisal cross-checks

04 / REFERENCES

Sources & scope

Source-reviewed Destiny 2 Normal walkthrough, ready for ARG playtesting. Roles and callouts are teaching recommendations. Detailed Master tactics, challenge strategies, collectible routes and catalyst puzzles are separate topics.

Existing local images retain their credits. Text references cover encounters without a dedicated image. No authenticated player data is displayed.

D2RAIDGUIDE / FIRETEAM

Plan the next clear.

Compare your team’s seal and triumph progress.

Open fireteam ↗