← Raid archive

RAID / NORMAL GUIDE

Root of Nightmares

A sinister threat has taken root

Players
6
Title
Dream Warrior

Destiny 2 / Normal clear guideSource review:

00 / BEFORE THE PULL

One runner. One clear call.

Give each network an owner

Decide who runs, who covers a death, and who calls the next refresh. Keep buff calls short: linked, refreshing, ready. Unplanned source shots can disrupt someone else's chain.

Plan the run

Choose a Normal clear or a specific triumph before launching. Confirm Champion coverage from the activity card and reserve boss damage for Macrocosm and Nezarec. Point out rally-relative callouts before every pull.

01 / ENCOUNTERS

The encounter route

01 / ENCOUNTER

Cataclysm

Complete four Light networks before Sweeping Terror expires.

Encounter list ↑
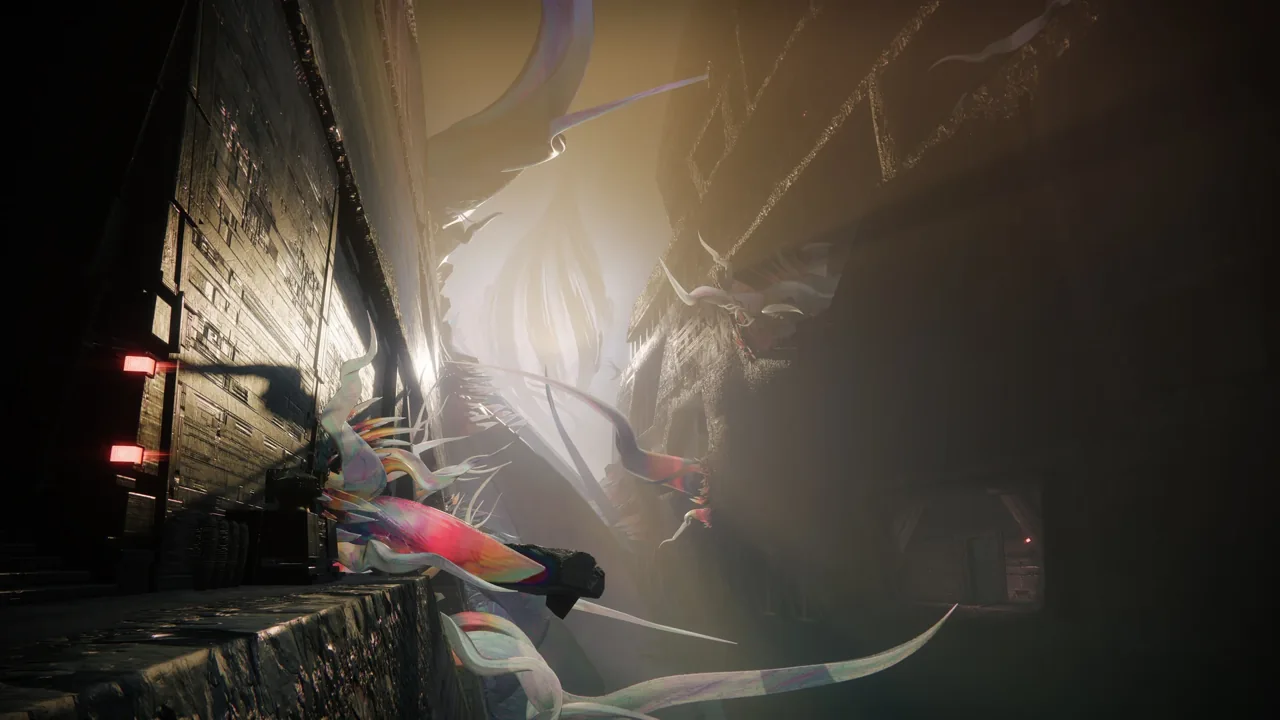
Cataclysm — Destiny 2
CataclysmBungie · Destinypedia

Encounter sequence

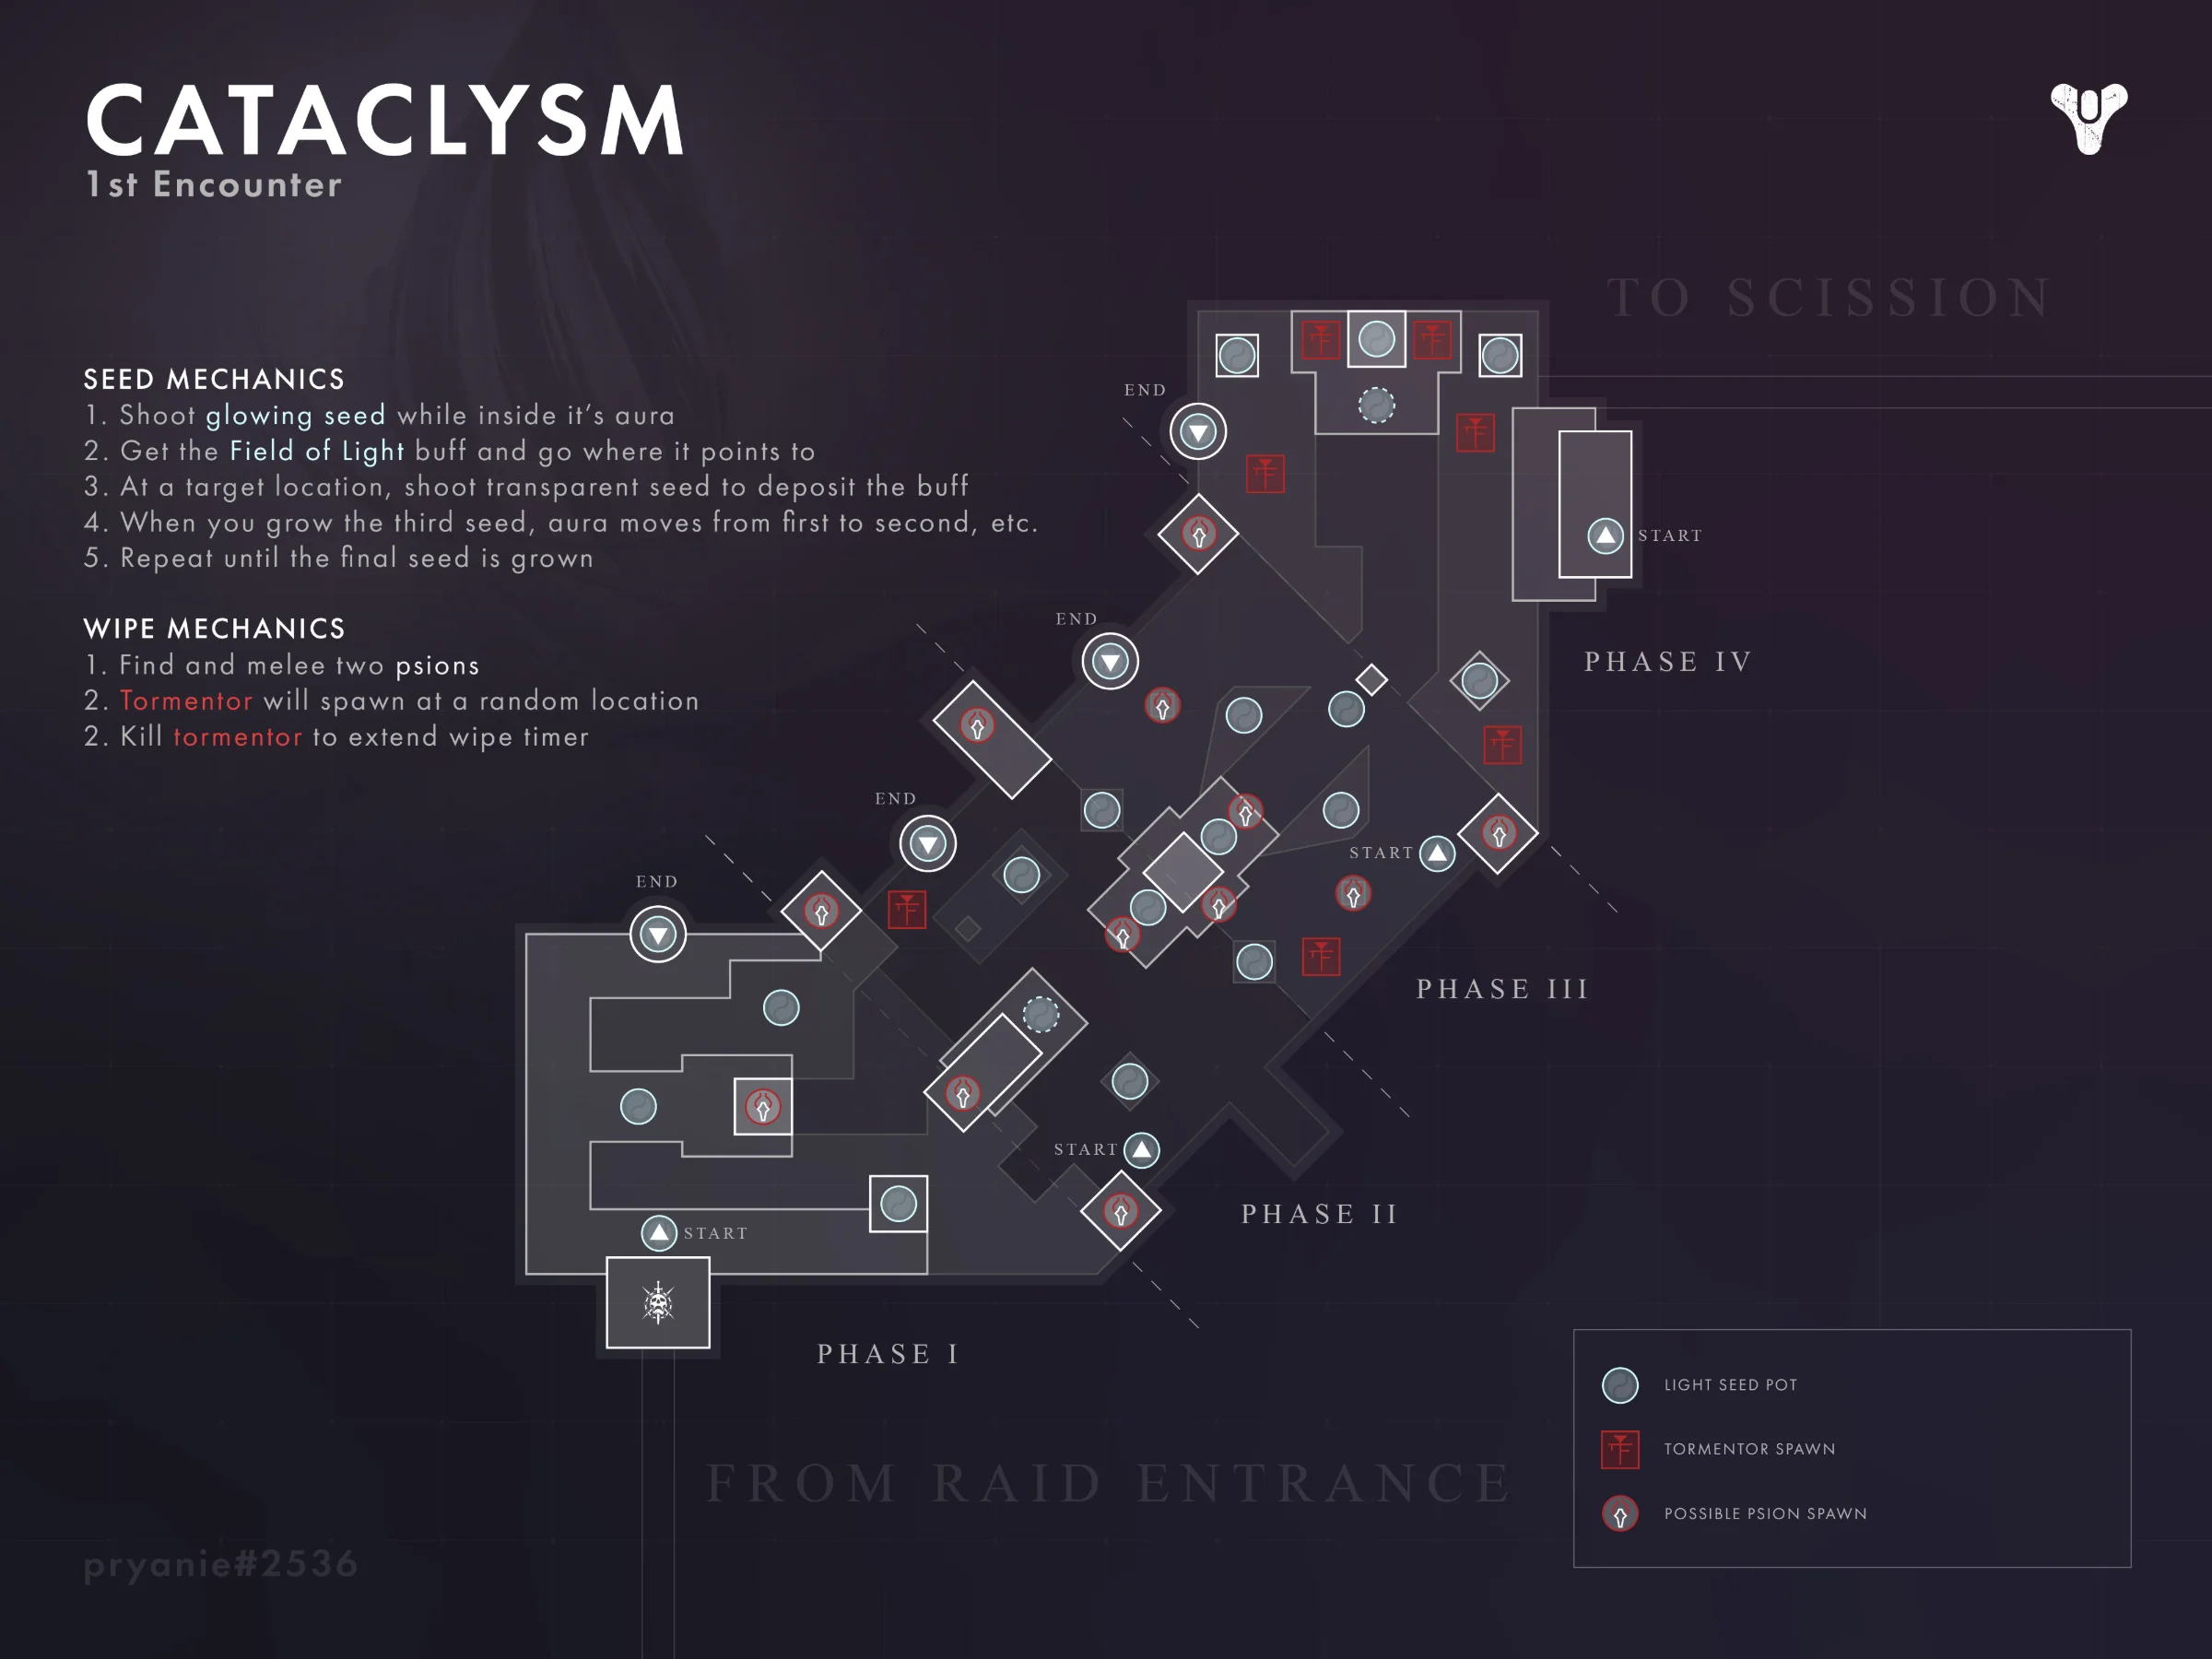
  1. Acquire and connect

    Shoot the glowing source inside its aura for Field of Light. Follow its beam to the next unlit node and shoot that node while buffed.

  2. Refresh deliberately

    Each link spends the buff. Return to the active aura, which moves as the chain grows, and repeat. Only the runner controls refresh shots.

  3. Buy time

    The clearing team melees both bubble Psions, then kills the spawned Tormentor to extend Sweeping Terror. Prioritize that kill when the clock is low.

  4. Advance together

    Finish the current network before its timer expires. Move up to the next starting aura and repeat until all four networks are complete.

If the attempt breaks down
  • Nodes disrupted: stop source shots until the aura returns; another buff acquisition while a runner is away can interrupt the chain.
  • Runner down: the named backup follows the current beam. Call the handover before touching a source.

Shacknews - Root walkthrough

02 / ENCOUNTER

Scission

Complete both networks on each of three floors.

Encounter list ↑
Scission — Destiny 2
ScissionBungie · Destinypedia

Encounter sequence

  1. Start both affinities

    Runners acquire Field of Light or Flux of Darkness from their own aura. Defenders join those refreshes to gain the buff needed for matching shielded enemies.

  2. Cross and link

    Follow each beam across the gap, activate its destination, then return for a refresh. Stand squarely against the piston before shooting its launcher crux.

  3. Protect the runners

    Clear landing areas and kill shielded enemies with the matching buff. Ask for the runner's next refresh instead of independently shooting their source.

  4. Finish the floor

    Complete both chains before Imminent Expulsion expires. Defeat the remaining shielded wave, use the upward launchers, and repeat on the next two floors.

If the attempt breaks down
  • Immune enemy: confirm the correct buff is on your HUD, then join a coordinated refresh.
  • One chain finishes first: that runner waits and supports the other side without interfering with its source.

PCGamesN - Scission mechanics

TRAVERSAL / AFTER SCISSION

Travel between refuges.

Carry Field of Light to a Darkness node and shoot it to create Darkness's Refuge. Enter the field before the sweeping pulse, then continue toward the next safe point. Regroup instead of leaving slower players between shelters.

Vaexil - Root challenges and cross-checks

03 / ENCOUNTER

Macrocosm / Zo'Aurc

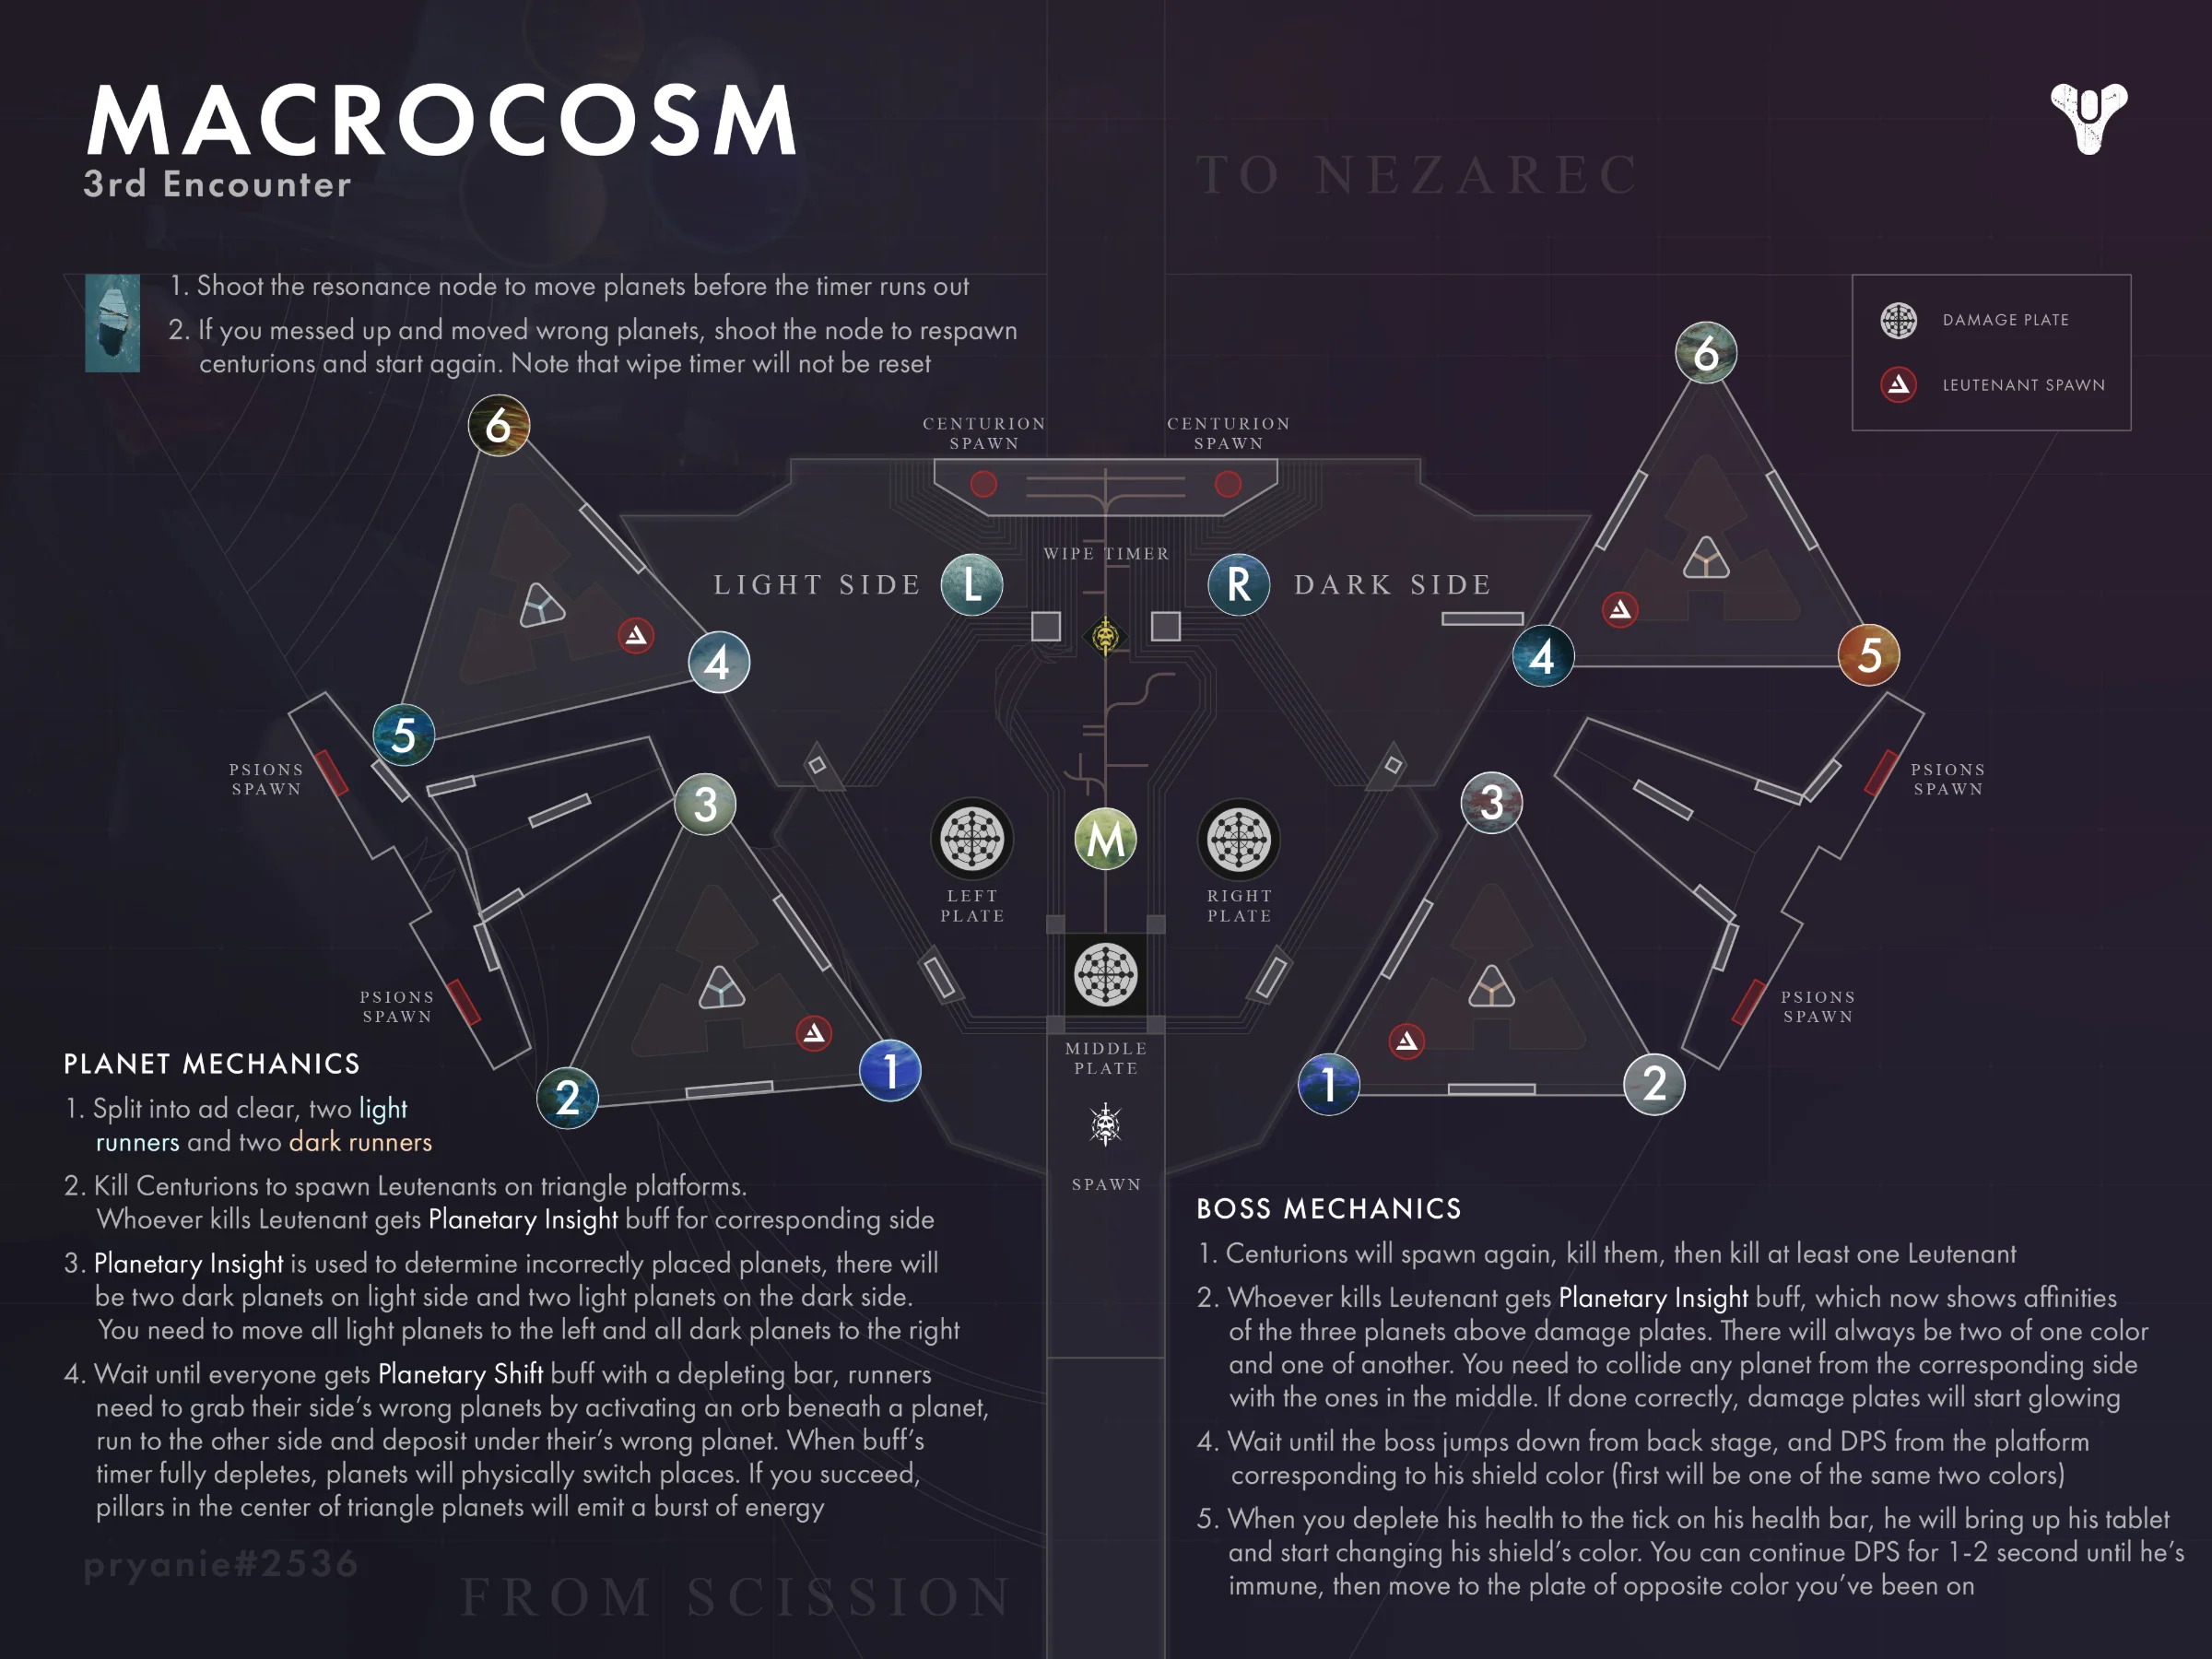
Sort the side planets, align the center, then match damage buffs.

Encounter list ↑
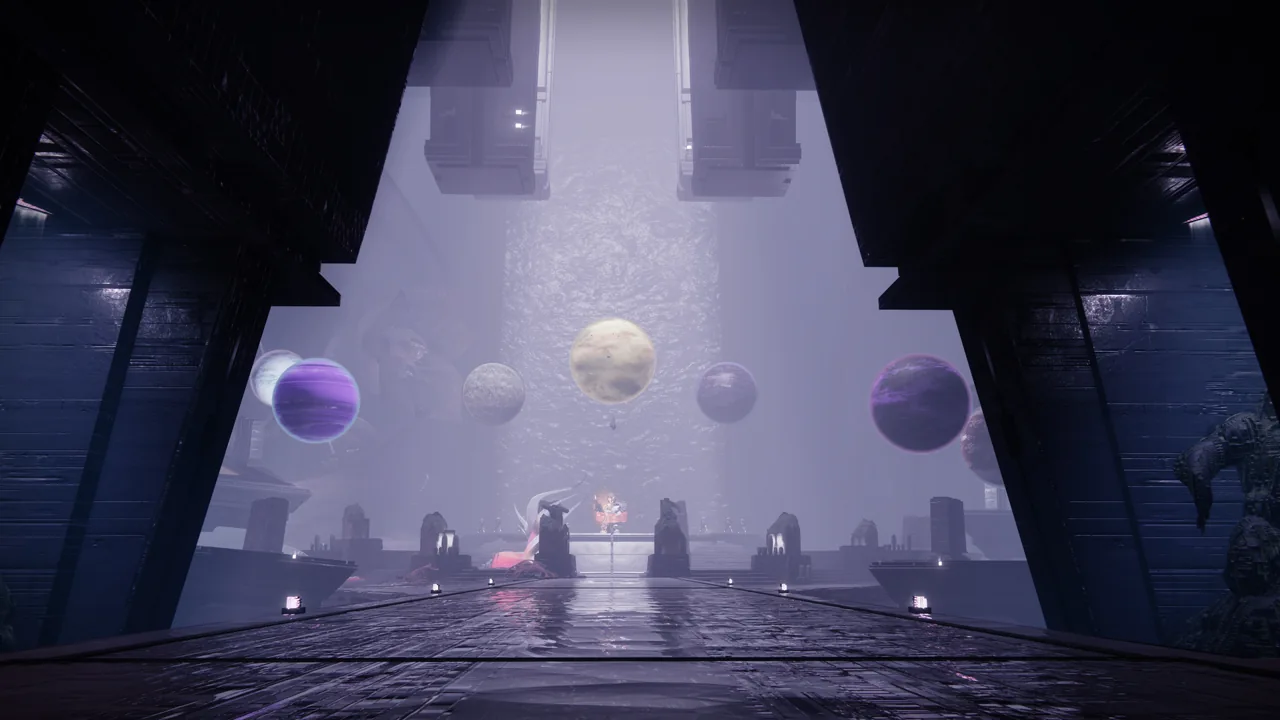
Macrocosm: planet room — Destiny 2
Macrocosm: planet roomBungie press kit

Encounter sequence

  1. Read your platform

    Kill Centurions to spawn Lieutenants. Each mover lands their Lieutenant's final blow for Planetary Insight and identifies their triangle's odd-affinity planet.

  2. Swap with your partner

    Interact beneath the odd planet, call its exact corner, cross, and deposit at your partner's vacated corner during Planetary Shift. All four movers participate.

  3. Align the center

    Once Light is left and Darkness right, kill the next Lieutenants. Read the three center planets. Three designated movers bring matching affinities from the side platforms to those center plates.

  4. Use each damage plate

    Take the buff from a plate matching Zo'Aurc's current shield: white Light or orange Darkness. Damage, then switch to the next matching unused plate when he becomes immune. Repeat the setup if needed; finish him during final stand.

Agree on calls before starting
CallMeaning
Near / farMeasured from rally toward the boss.
Platform + cornerPoint out and name all three corners on each triangle before pulling. Repeat your partner's full call.
Center plateUse left / middle / right from rally; do not reuse triangle corner numbers.
If the attempt breaks down
  • Cannot see affinities: the mover needs the Lieutenant final blow.
  • Wrong swap: reread the platforms on the next wave rather than recycling stale calls.

Windows Central - planet alignment

04 / ENCOUNTER

Nezarec, Final God of Pain

Build both chains while controlling Hatred and the wipe pulse.

Encounter list ↑
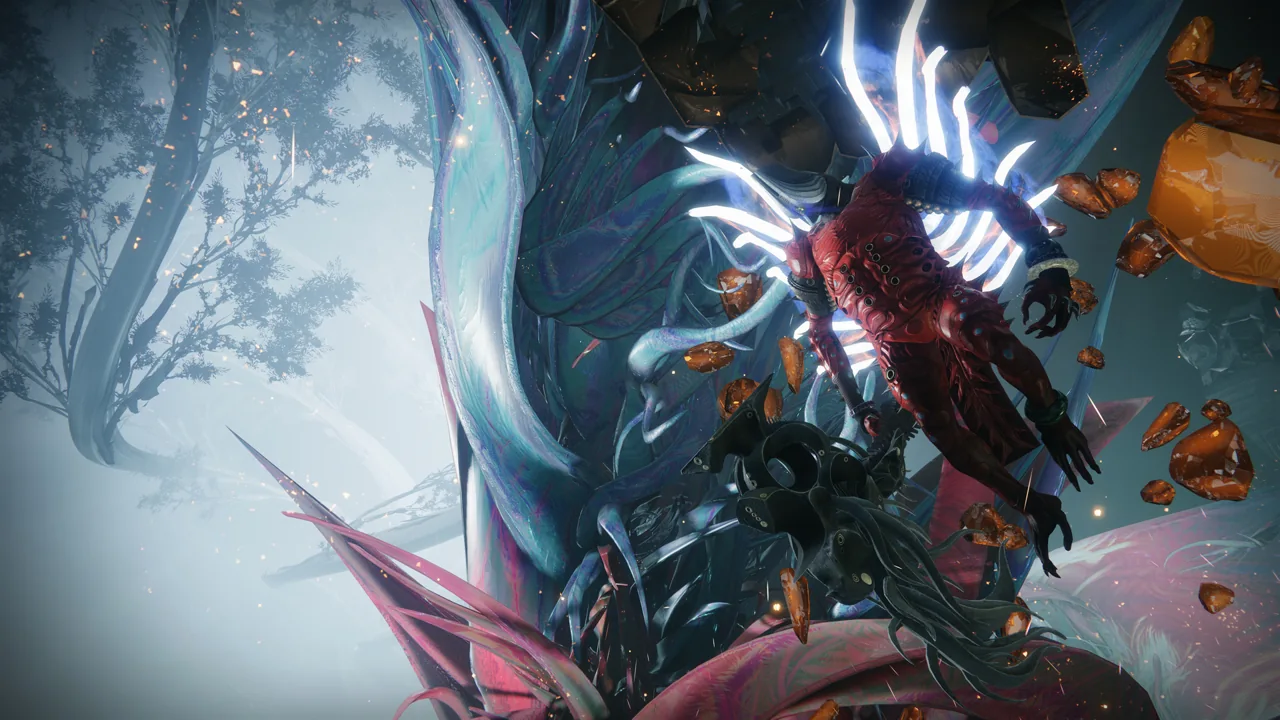
Nezarec, Final God of Pain — Destiny 2
Nezarec, Final God of PainBungie press kit

Encounter sequence

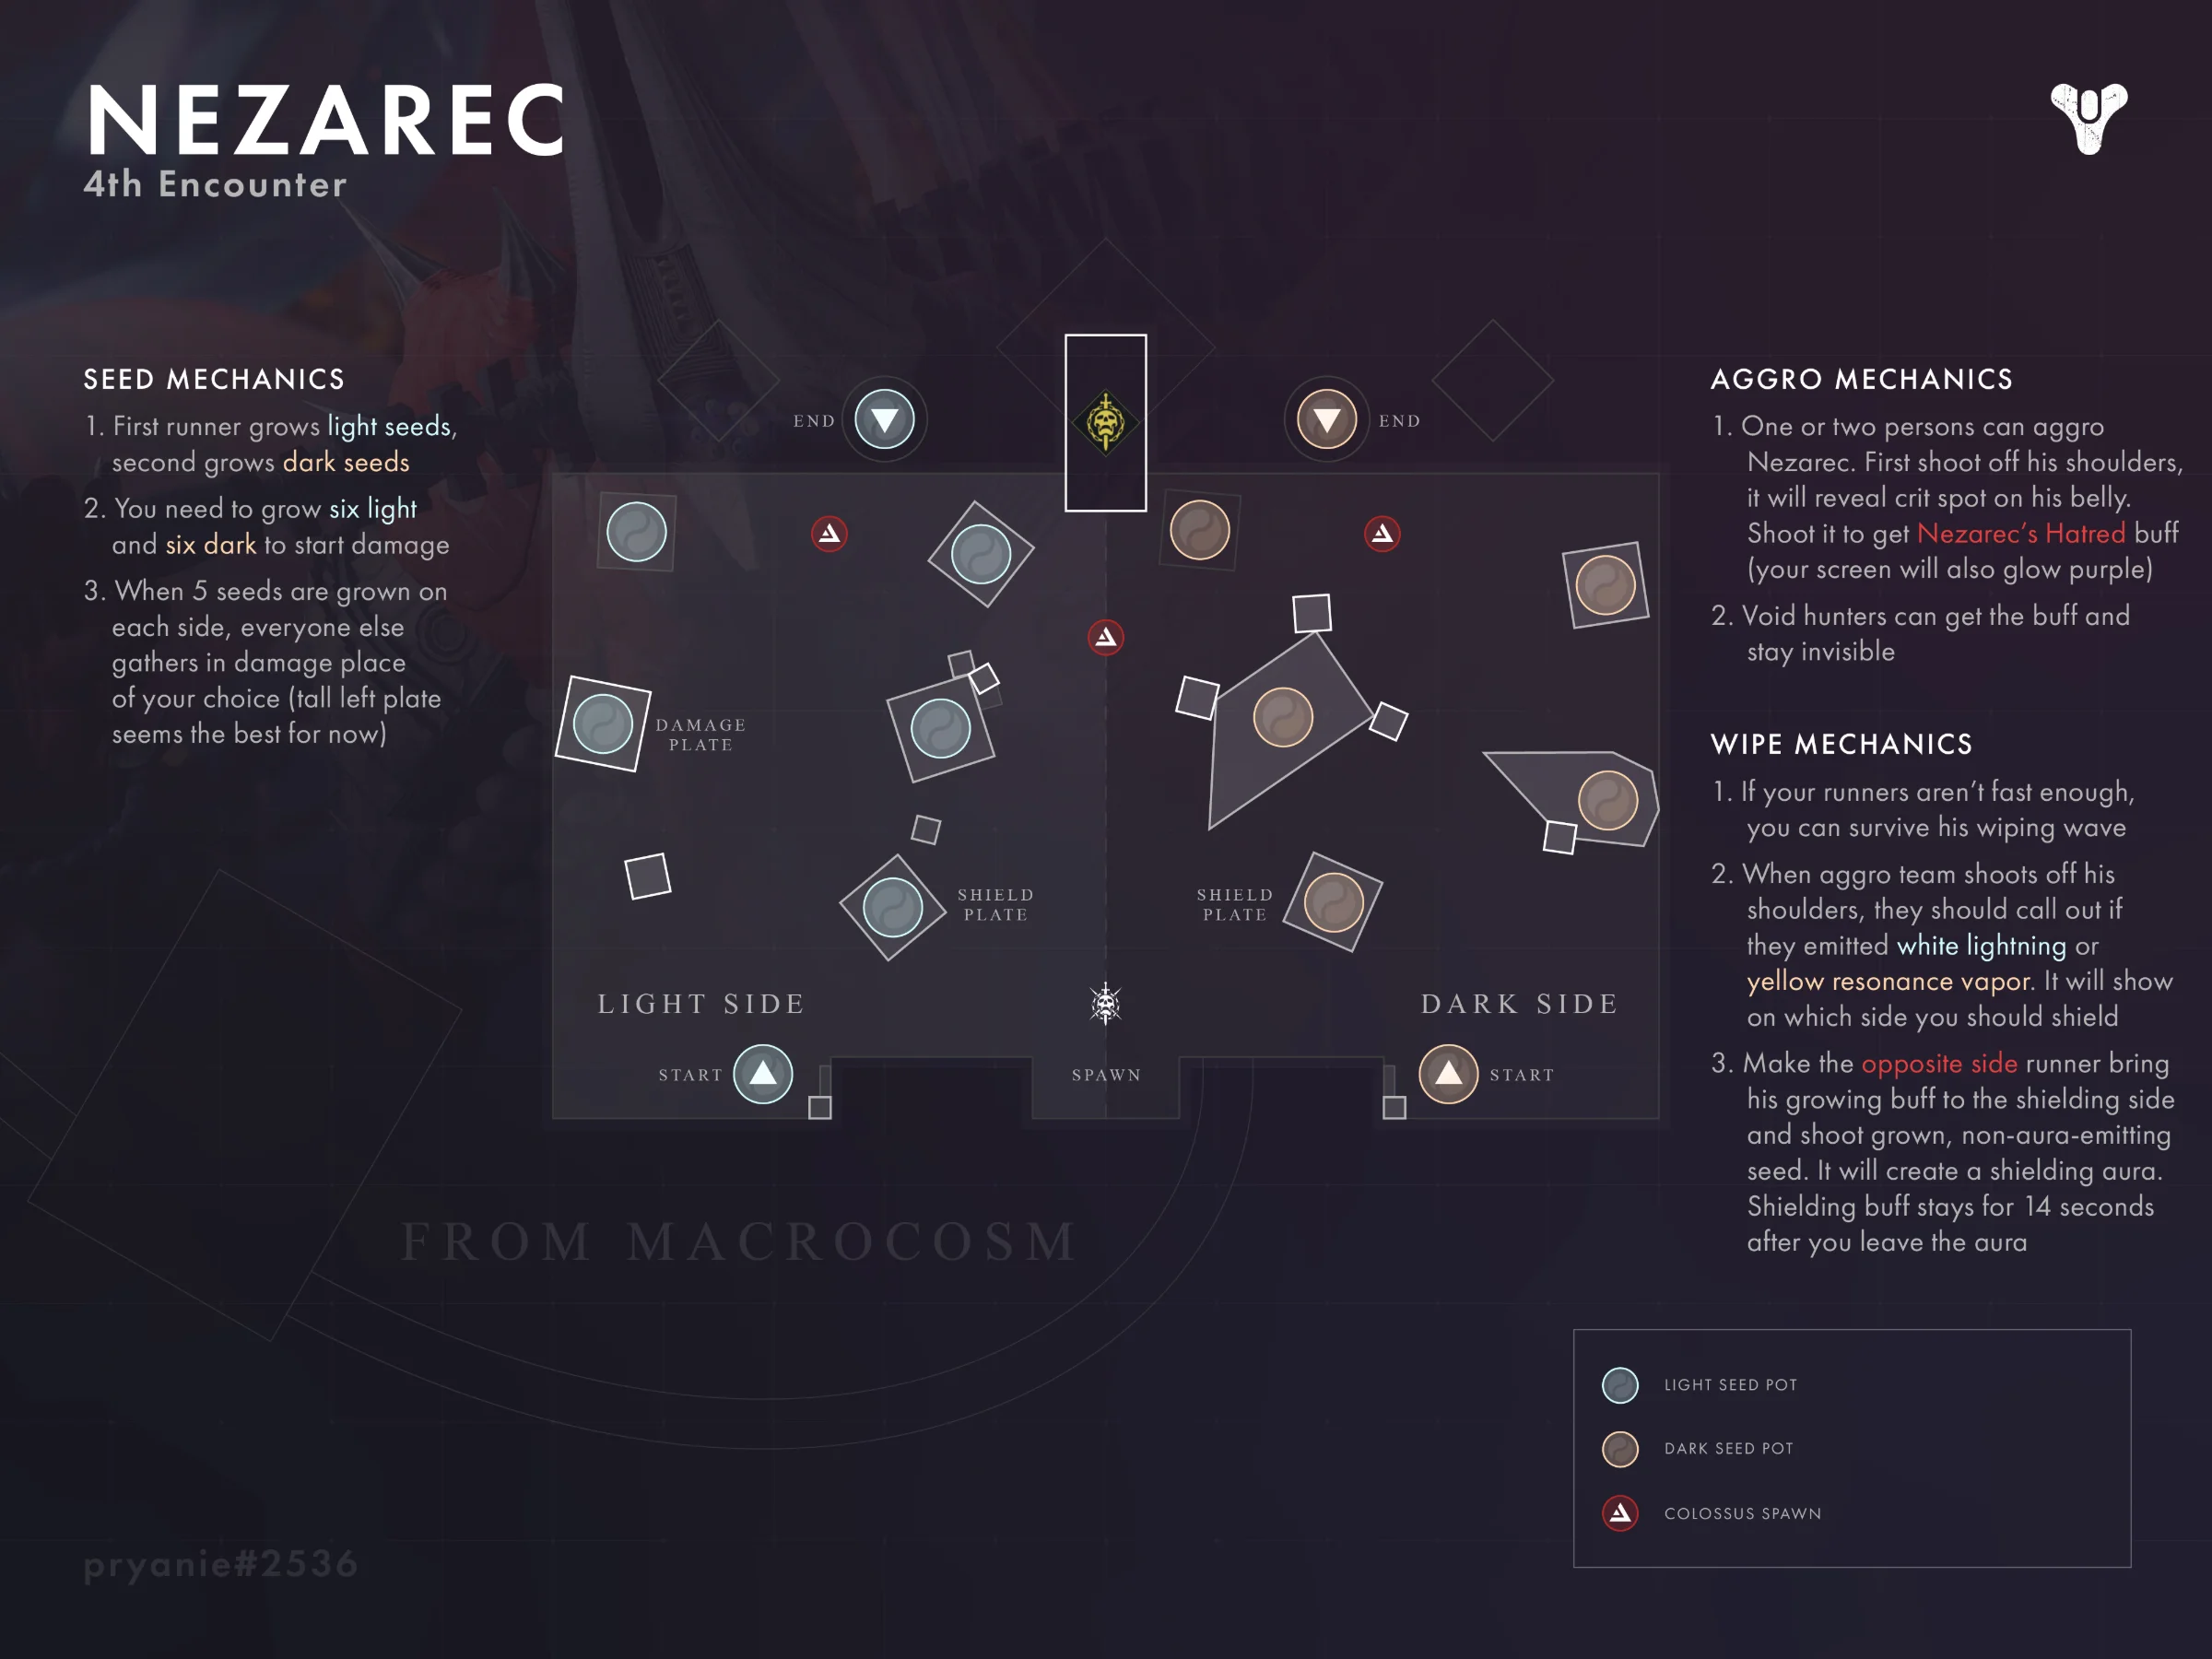
  1. Run and control

    Connect Light on the left and Darkness on the right. Break the chest weak point to take Nezarec's Hatred and draw him away from runners.

  2. Read the wipe

    Break both shoulders. Call Light for a white burst or Darkness for orange. Prepare that refuge before the pulse instead of relying on a speed clear.

  3. Make the refuge

    Bring the opposite buff to a completed node without an active source aura. Shoot it to create the required refuge. Everyone enters and confirms the refuge buff before the pulse.

  4. Regroup for damage

    Finish both chains. Gather at your agreed platform and wait for the beam to make Nezarec vulnerable. Damage, repeat the mechanics if he survives, and reserve burst for final stand.

Refuge conversion
Required protectionBuff to carryNode to shoot
Light's RefugeFlux of DarknessCompleted Light node, no source aura
Darkness's RefugeField of LightCompleted Darkness node, no source aura
If the attempt breaks down
  • Missing refuge buff: enter the refuge again before the pulse.
  • Boss chasing a runner: the Hatred controller reacquires the chest weak point when available.

Tracker Network - Nezarec and refuges

02 / RAID RECORDS

Plan a Dream Warrior run.

Clear

Root of Nightmares

Finish all four encounters.

  • Cataclysm
  • Scission
  • Macrocosm
  • Nezarec

RewardTerrors Uprooted emblem

Master

Master Difficulty Root of Nightmares

Complete the raid on Master.

  • Master clear

RewardGift of Cruelty ship

Team

Collective Consciousness

Complete the raid with six clanmates.

  • All encounters

Team

Classic Horror

Use the same Guardian class throughout.

  • All encounters

Subclass

System Shock

All six players use Arc.

  • All encounters

Subclass

Infernal Pain

All six players use Solar.

  • All encounters

Subclass

Harbingers of Nothingness

All six players use Void.

  • All encounters

Subclass

Dream Weavers

All six players use Strand.

  • All encounters

Exploration

Terraformed Secrets

Loot both hidden chests.

  • Hidden chest 1
  • Hidden chest 2

RewardOxidized Lead shader

Cataclysm challenge

Illuminated Torment

Only a Field of Light holder lands each Tormentor final blow.

  • Complete challenge

Cataclysm triumph

Psionic Purge

Kill each Psion pair within one second.

  • Complete encounter

Scission challenge

Crossfire

Have opposite-side players activate your launchers; use the launchers for crossings.

  • Complete challenge

Scission triumph

Shields Up

Do not kill shielded enemies until both node networks on that floor are finished.

  • Complete encounter

Macrocosm challenge

Cosmic Equilibrium

Finish with Darkness planets left and Light planets right.

  • Complete challenge

Macrocosm triumph

Singular Orbit

No player gains Planetary Insight twice during the same Planetary Shift.

  • Complete encounter

Nezarec challenge

All Hands

Each player activates a Light and a Darkness node per damage cycle. Complete the final pair together.

  • Complete challenge

Nezarec triumph

Synchronicity

Activate corresponding Light and Darkness nodes within five seconds of one another.

  • Complete encounter

Master challenges

Final Nightmare

Complete all four encounter challenges on Master.

  • Cataclysm
  • Scission
  • Macrocosm
  • Nezarec

RewardDream Demon sparrow

Challenge objectives require a different plan from the Normal walkthrough above. Check the live activity card for the active challenge and Master modifiers.

light.gg - Dream Warrior records · Vaexil - Root challenges and cross-checks

03 / REWARDS

Encounter loot

Base encounter drops - random rewards, not guaranteed
EncounterWeaponsArmor slots
CataclysmKoraxis's Distress; Nessa's Oblation; Briar's ContemptHelmet, arms, chest
ScissionKoraxis's Distress; Nessa's Oblation; Acasia's Dejection; Mykel's ReverenceArms, chest, legs
MacrocosmKoraxis's Distress; Rufus's Fury; Acasia's Dejection; Mykel's ReverenceChest, legs, class item
NezarecAll six raid Legendary weapons; Conditional Finality Exotic shotgunFull prior armor pool

Use the live activity reward preview for featured status, farming eligibility and Master rewards. This table does not promise a drop or a fixed weekly farming schedule.

Shacknews - Root loot table

04 / REFERENCES

Sources & scope

Source-reviewed Normal walkthrough, ready for ARG playtesting. Roles and callouts are teaching recommendations. Master tactics, detailed challenge strategies, hidden-chest routes and bonus-chest puzzles are separate topics.

Existing encounter images retain their source credits. No authenticated player data is displayed.

D2RAIDGUIDE / FIRETEAM

Plan the next clear.

Compare your team’s seal and triumph progress.

Open fireteam ↗