

← All dungeons

Warlord’s Ruin

Released
Location
EDZ
Power
300 / 300Combatant / Activity
Route
3 encounters

Full route / first editionSource-reviewed · Not yet verified in game · Updated · What changed

Change history (2)
  1. Cosmetic

    Encounter list: The encounter list now also links the approach and traversal sections.

  2. New

    Whole guide: Published with the full route, roles, recovery and solo notes.

Main changes since the September 2026 rewrite, newest first. Corrections fix something that was wrong; site-wide layout changes aren’t listed. Source review means checked against the cited sources, not played.

Prepare for the whole route.

Prepare for exposed fights

Bring fast eye clearing, healing and accurate ranged damage. Keep a reliable melee ready for the final encounter.

Call transitions

Agree on left and right roles, then rotate together during damage. Avoid starting another player’s damage platform early.

Wishes and corrupted totems

Wishes and corrupted totems
MechanicExecution
Imminent WishYour window to cleanse totems. Stand inside their circles until the Taken center transforms.
Naeem’s Wish EmpowermentThe boss-damage buff. More cleansed totems extend it at Rathil and Hefnd.
Broken KnightsThese Scorn Chieftains can place a totem before dropping another on death. Allow a cast when safe.
Hex of Vengeful CorruptionAt Hefnd, transfer this lethal debuff to a Hex-Drinker with melee, then avoid its return hit.

APPROACH / WINDSWEPT CRAG

Follow the flags toward the fortress.

Climb the snowy ledges and cross the rope bridge, using orange flags to follow the route. Watch for collapsing footing. Treat suspicious chests cautiously: mimic chests release Screebs.

Route reference ↗

Encounter list ↑
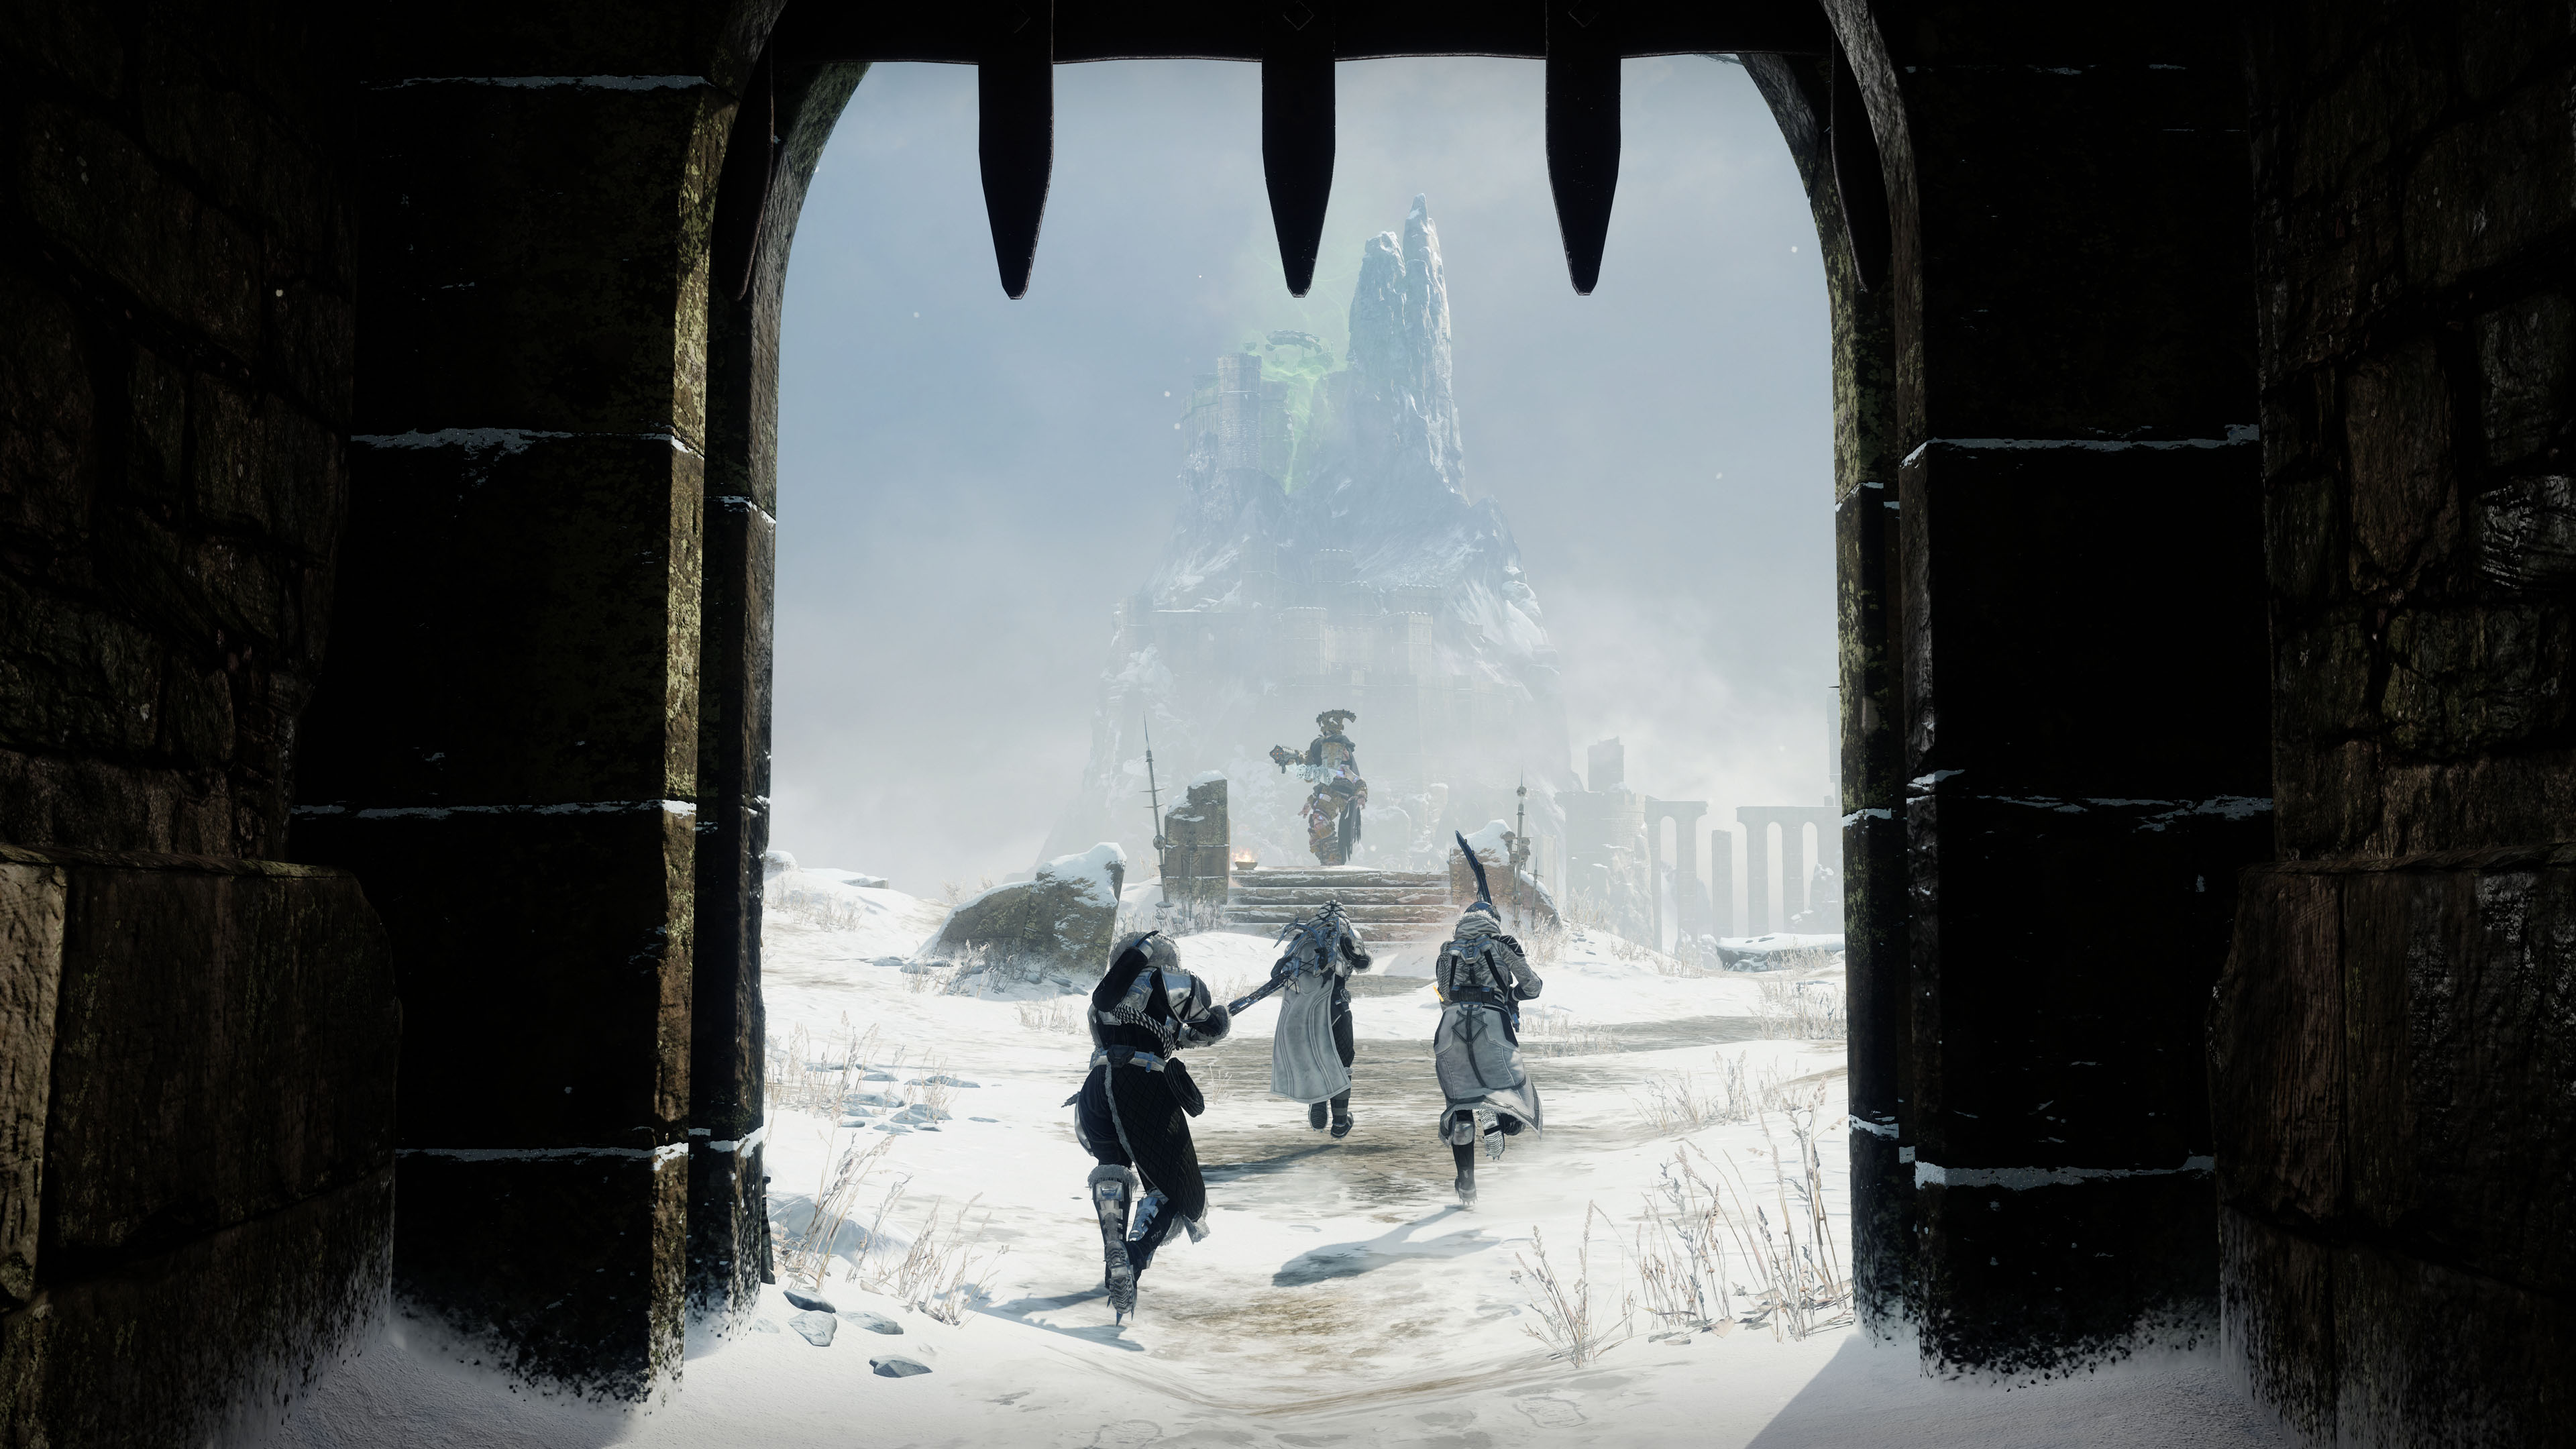
The fortress above Windswept Crag
The fortress above Windswept CragBungie · Warlord’s Ruin press kit

The encounter route

01 / ENCOUNTER

Rathil, First Broken Knight of Fikrul

Escape the cages and cleanse totems before the wish expires.

Encounter list ↑
Rathil, First Broken Knight of Fikrul, Warlord’s Ruin
Rathil, First Broken Knight of FikrulBungie · Warlord’s Ruin press kit

Encounter sequence

  1. Escape quickly

    Engage Rathil and clear Scorn. When teleported into a rising cage, destroy the three nearby eyes to open it. Check above and below.

  2. Capture the totems

    Drop down and stand in the totem circles until they transform. Overlapping circles can be captured together.

  3. Use the wish

    When Imminent Wish ends, damage Rathil during Naeem’s Wish Empowerment. Repeat cages and captures until defeated.

If the attempt breaks down

A slow cage escape costs capture time. Clear eyes for a trapped teammate before returning to damage preparation.


Encounter source & visual reference ↗

PUZZLE / ESCAPE THE PRISON

Set all six dials, then shoot the lock.

  1. Read the skeleton clues

    White tally marks specify the clockwise count; orange marks specify counterclockwise. The total is six. Call the counts to your teammates.

  2. Set the directions

    Shoot dials to cycle through rotation and stop states. Watch the actual direction: four white marks means four clockwise dials and two counterclockwise. All six must spin.

  3. Release the cells

    Shoot the glowing lock mechanism once the counts match. Solo players can move between cells. Collect Rathil’s chest, then navigate the tunnels, avoiding wall spike panels.

  4. Reach the bailey

    Climb the snowy cliff, cross the castle bridge under enemy fire and enter the sewer opening on the mountainside. Follow it to the Ogre arena.

Route reference ↗

Encounter list ↑

02 / ENCOUNTER

Locus of Wailing Grief

Collect four Solar Charges, then rotate through four braziers.

Encounter list ↑
Locus of Wailing Grief, Warlord’s Ruin
Locus of Wailing GriefBungie · Warlord’s Ruin press kit

Encounter sequence

  1. Summon and capture

    Shoot the starting blight, then destroy the boss’s eyes. Allow the Broken Knights to place totems before killing them for additional ones. Cleanse circles during Imminent Wish.

  2. Manage the storm

    Biting Cold kills at ten stacks. Retreat to the rear torches for Shelter from the Storm and let stacks clear before returning.

  3. Light all four braziers

    After the wish expires, collect the Solar Charges awarded for captures. Deposit one at each central brazier. Repeat capture cycles until all four are lit.

  4. Rotate as one team

    The fourth deposit starts damage. Gather at one brazier and move together to unused braziers as each buff expires. Entering a brazier starts its window. Repeat if the Ogre survives.

If the attempt breaks down

Do not trade your life for a final capture. Existing charge progress lets you complete the setup across multiple cycles.

Encounter source & visual reference ↗

TRAVERSAL / VENGEFUL PEAK

Climb beyond the castle.

Pass the courtyard of chests; moving ether mist warns of a mimic. Continue through the mountain, checking walls for traps. Carefully cross the ledges around the giant blight, then follow the floating rocks and spiraling bones to the summit.

Route reference ↗

Encounter list ↑

03 / ENCOUNTER

Hefnd’s Vengeance, Blighted Chimaera

Cleanse totems, transfer the hex and climb through the damage gates.

Encounter list ↑
Hefnd’s Vengeance, Blighted Chimaera, Warlord’s Ruin
Hefnd’s Vengeance, Blighted ChimaeraBungie · via Destinypedia

Encounter sequence

  1. Prepare the platform

    Destroy the starting blight and eyes. Let Chieftains cast, then defeat them. Capture available totems while Imminent Wish runs.

  2. Transfer the curse

    If Hex of Vengeful Corruption appears, melee an immune Corrupted Hex-Drinker before the timer ends. Confirm the debuff disappears and back away so it cannot tag you again.

  3. Reach each health gate

    Damage during empowerment. If Hefnd remains, repeat on that platform. When it moves upward, climb and repeat across the three lower levels.

  4. Use the upper islands

    Group on one island at a time. Destroy new eyes to prolong damage; follow the boss to unused islands. After all three, repeat from below if necessary.

  5. Finish safely

    At the final health segment, continue damaging from the top. Final stand has no short wipe timer; prioritize survival and finish the boss.

If the attempt breaks down

A returned hex needs another melee transfer immediately. Never keep capturing while a lethal hex remains on your HUD.

Encounter source & visual reference ↗

Keep a safe next move.

Choose safe captures

One secure totem beats a risky extra one. Warm up early at Locus and transfer Hefnd’s hex before committing to a circle.

Practice the climb

Learn cage eye positions, spike panels and the summit jumps before attempting flawless.

Choose optional stops before launch.

Buried Bloodline

The final encounter can award the Exotic sidearm. Its catalyst requires a separate quest and puzzle route; use the linked reference before a dedicated run.

Bones and hidden chests

Collect the Ahamkara bone after Hefnd. Further bones connect to In the Shadow of the Mountain; inspect chest mist before opening optional rewards.

Keep the reference close.

Released 1 December 2023. This guide covers the standard clear. Source review excludes old Power targets, weapon rankings and reward schedules. Detailed optional routes are linked below.