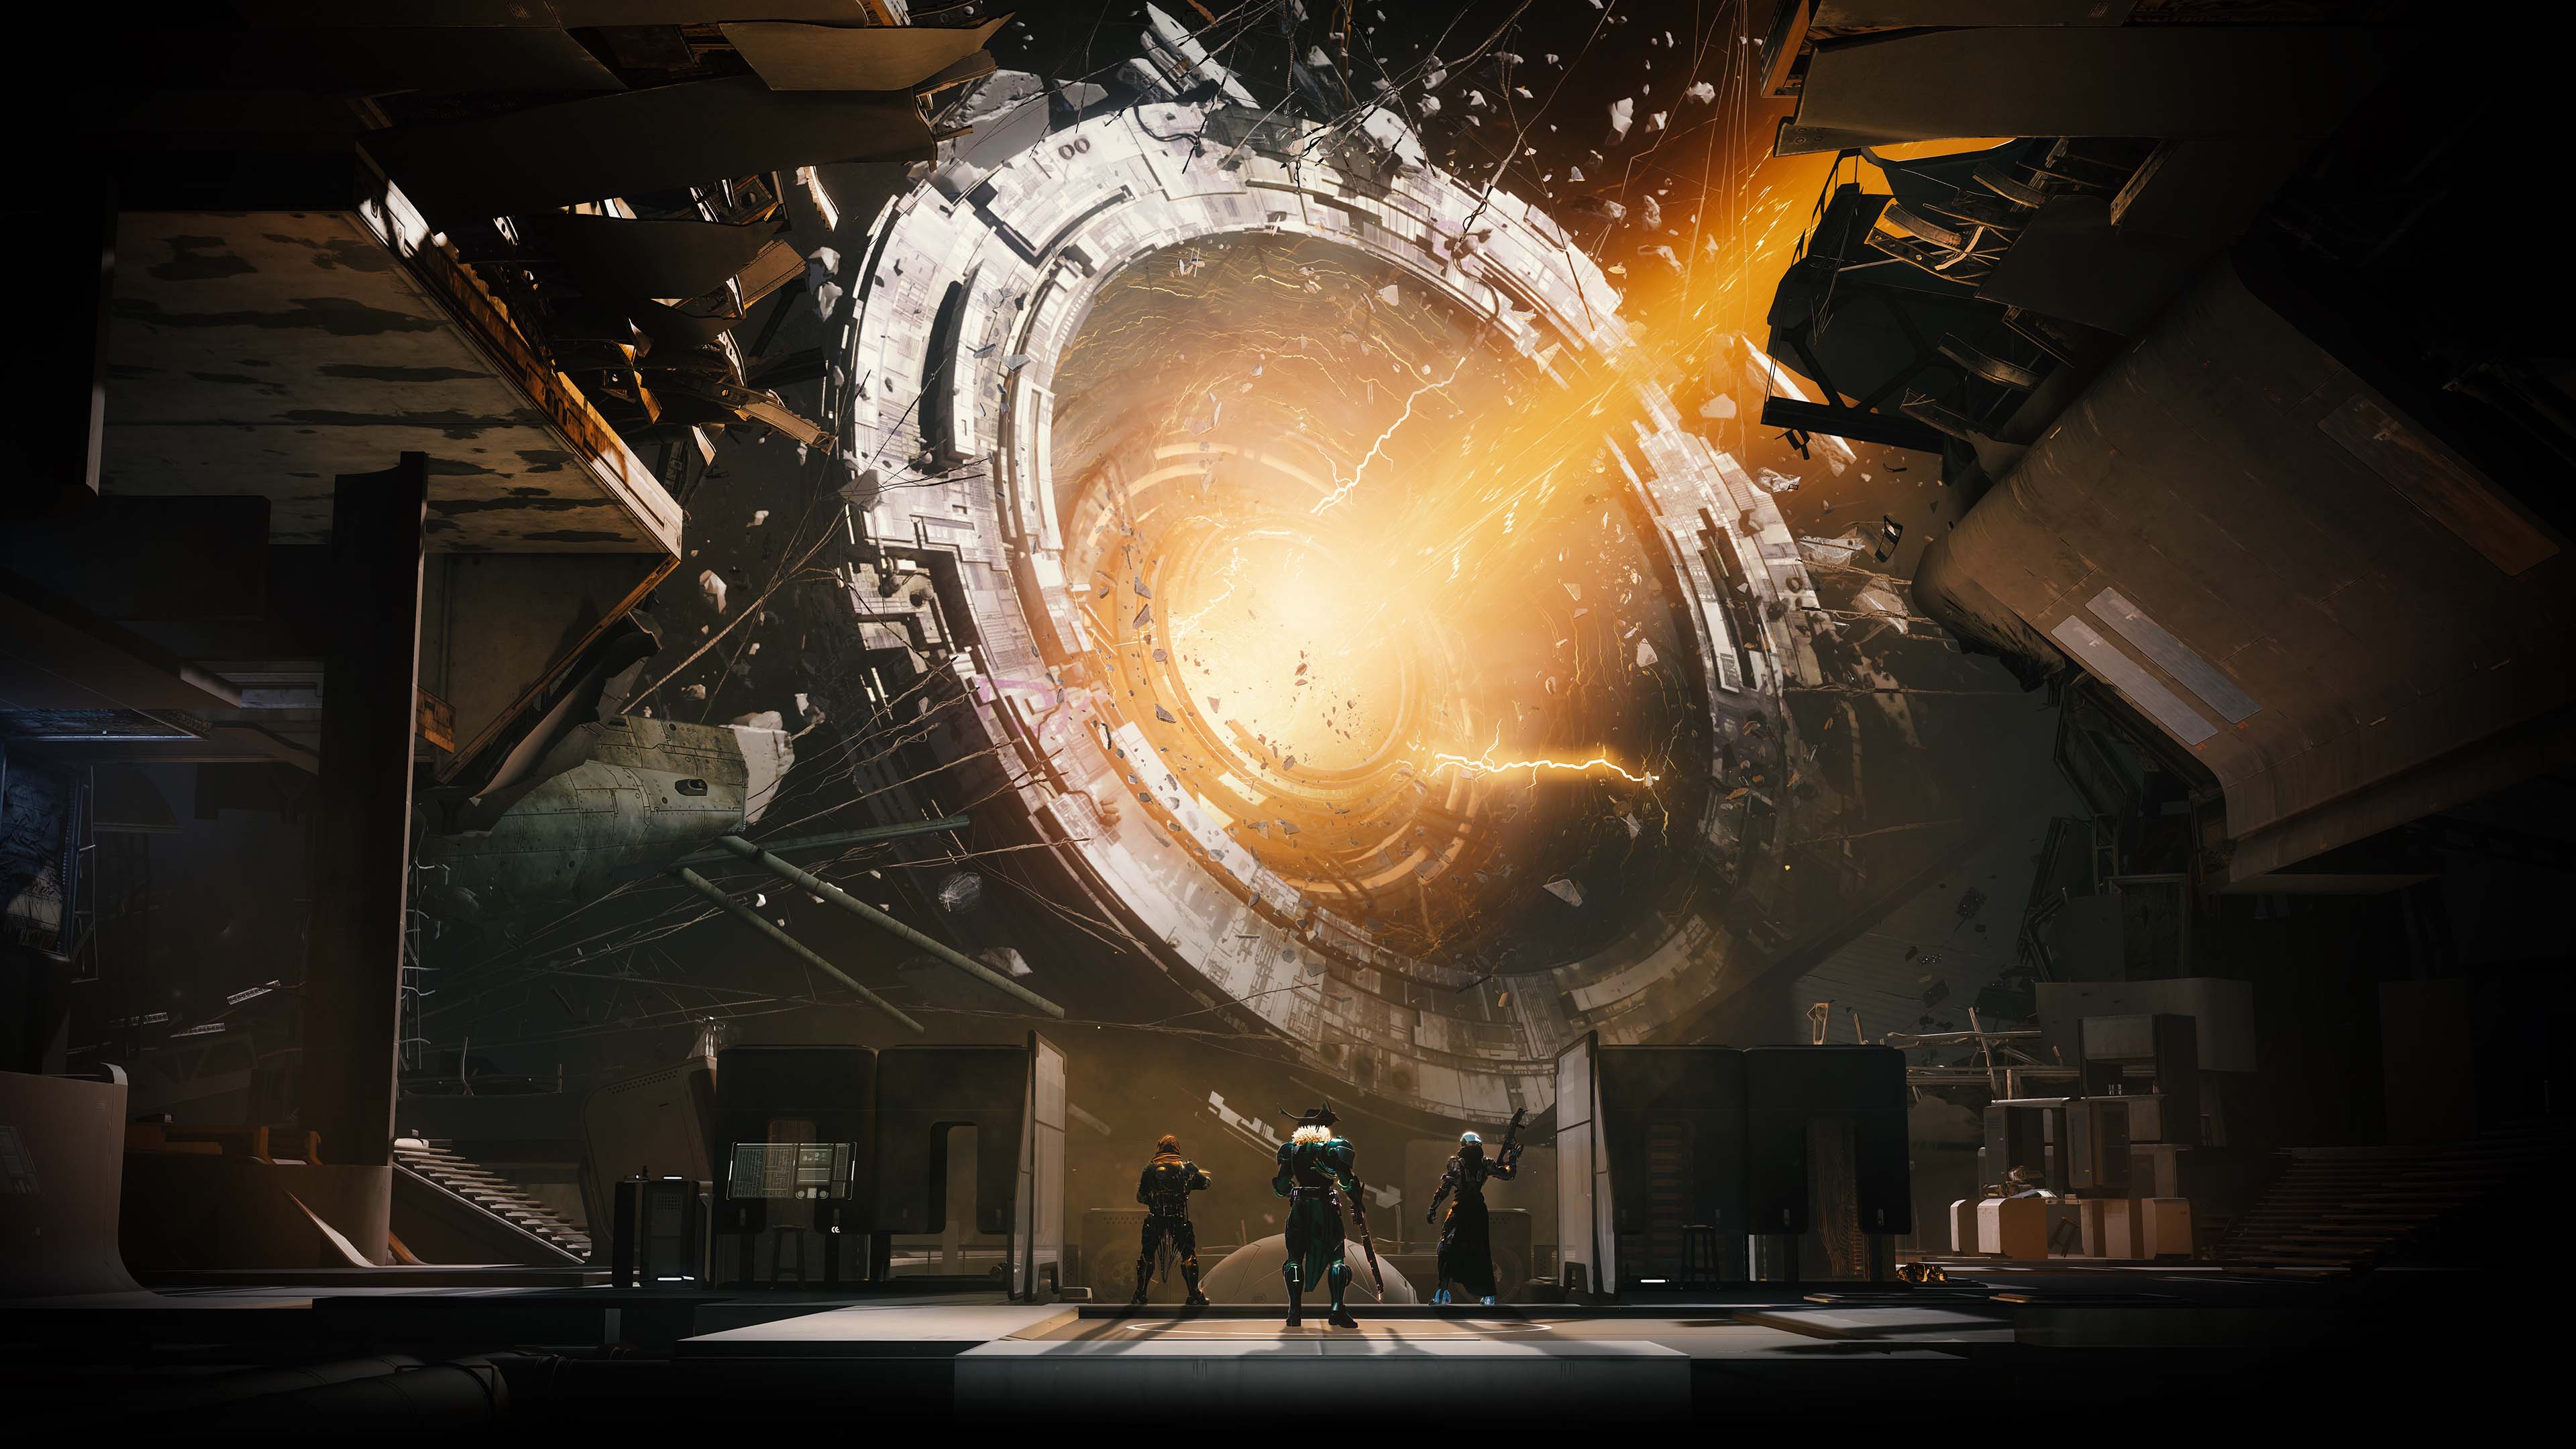
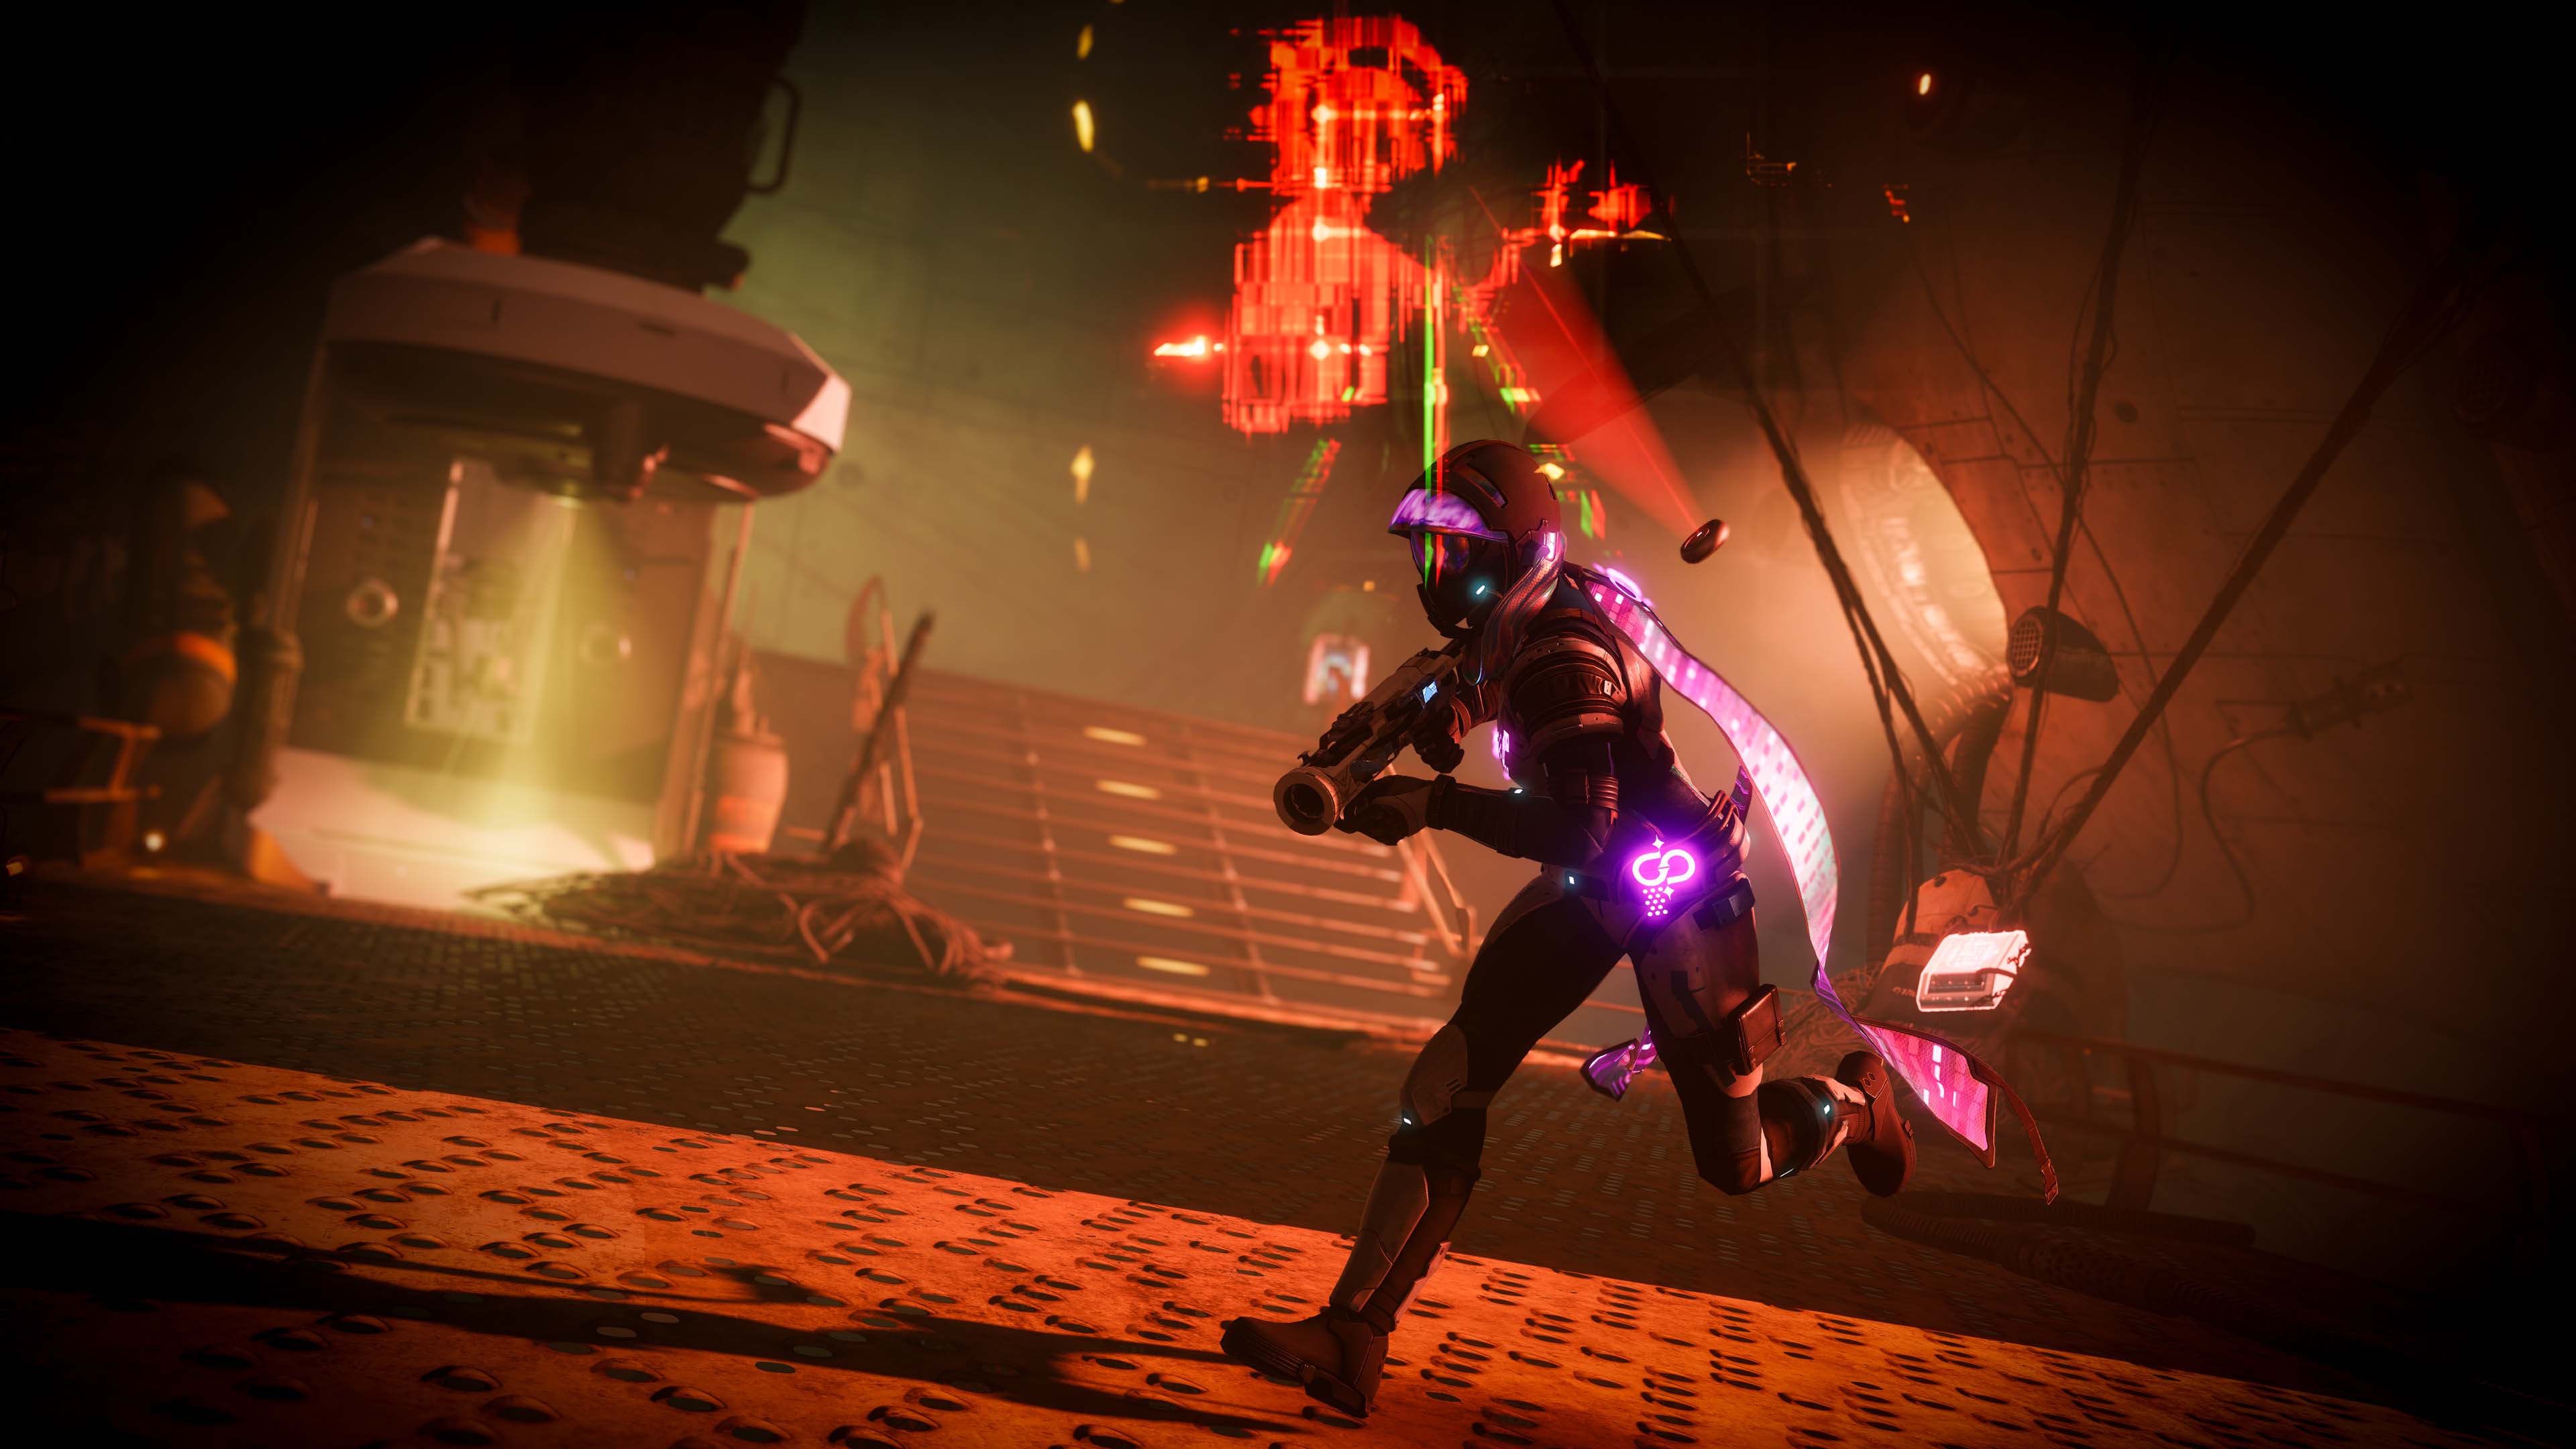
← All dungeons

Vesper’s Host

Released
Location
Vesper Station
Power
300 / 300Combatant / Activity
Route
3 encounters

Full route / first editionSource-reviewed · Not yet verified in game · Updated · What changed

Change history (2)
  1. Cosmetic

    Encounter list: The encounter list now also links the approach and traversal sections.

  2. New

    Whole guide: Published with the full route, roles, recovery and solo notes.

Main changes since the September 2026 rewrite, newest first. Corrections fix something that was wrong; site-wide layout changes aren’t listed. Source review means checked against the cited sources, not played.

Prepare for the whole route.

Prepare for moving damage

Bring healing, reliable enemy control and damage you can deliver between movement checks. Raneiks rewards attacks that hit several clustered targets.

Assign the augments

Nominate Scanner, Operator and support; support becomes Suppressor when available. Call every transfer and watch your own timer.

Viral augments and nuclear cores

Viral augments and nuclear cores
MechanicExecution
ScannerApproach yellow radar markers. White means correct; a disappearing marker means reject that target.
OperatorShoot only confirmed red panels while holding the augment. Wrong panels can kill you.
SuppressorOn solid ground, use the grenade input to place a hologram near the target. Shoot it to trigger suppression.
Augment timerBank in a terminal before expiry kills you. Retrieve to refresh; linked terminals also transfer augments between rooms.
RadiationA carried core or shielded puppet builds stacks. Ten kills: hand off or drop the core briefly, or leave the puppet’s field.

APPROACH / EMBARKATION

Scan four panels to open the airlock.

Follow the exterior catwalk into the hangar. Defeat the augment carriers. Scanner identifies four white radar markers; Operator shoots those panels. Continue through the opened airlock and disarm tripmines along the interior descent.

Route reference ↗

Encounter list ↑

The encounter route

01 / ENCOUNTER

Activation

Bring one nuclear core back from each organ-marked branch.

Encounter list ↑
Activation, Vesper’s Host
ActivationBungie · Vesper’s Host press kit

Encounter sequence

  1. Reboot the system

    Interact with the central sphere, destroy the Brig and collect Scanner. Choose an unfinished Brain, Heart or Lungs branch. Defeat Machine Priest’s Assistants to remove barriers.

  2. Release a core

    Collect Operator along the route. In the terminal room, Scanner confirms four panels that turn white on radar; Operator shoots them to release the core.

  3. Return and deposit

    Bank augments before leaving. Escort the core carrier and manage Radiation. Destroy the returning Brig to unlock the central receptacles, then deposit. Complete all three branches.

If the attempt breaks down

Do not guess a panel if its marker vanished. Bank and refresh augments during a delay; clear the Brig before the carrier runs out of safe holding time.

Encounter source & visual reference ↗

TRAVERSAL / INFILTRATION

Deliver five cores through the Servitor maze.

  1. Manage door power

    Take Power Reserves from terminals. Opening doors spends power; closing them restores it. Keep the team together before closing a route.

  2. Follow the numbered bins

    Defeat Captains for cores and deposit in bins 1 through 5 in order. The third opens the second half of the maze. Hand off cores before Radiation reaches ten.

  3. Break Integration

    When Raneiks tethers you, hide behind a wall to break line of sight. After the fifth deposit, follow the escape shaft toward the boss arena.

Route reference ↗

Encounter list ↑

02 / ENCOUNTER

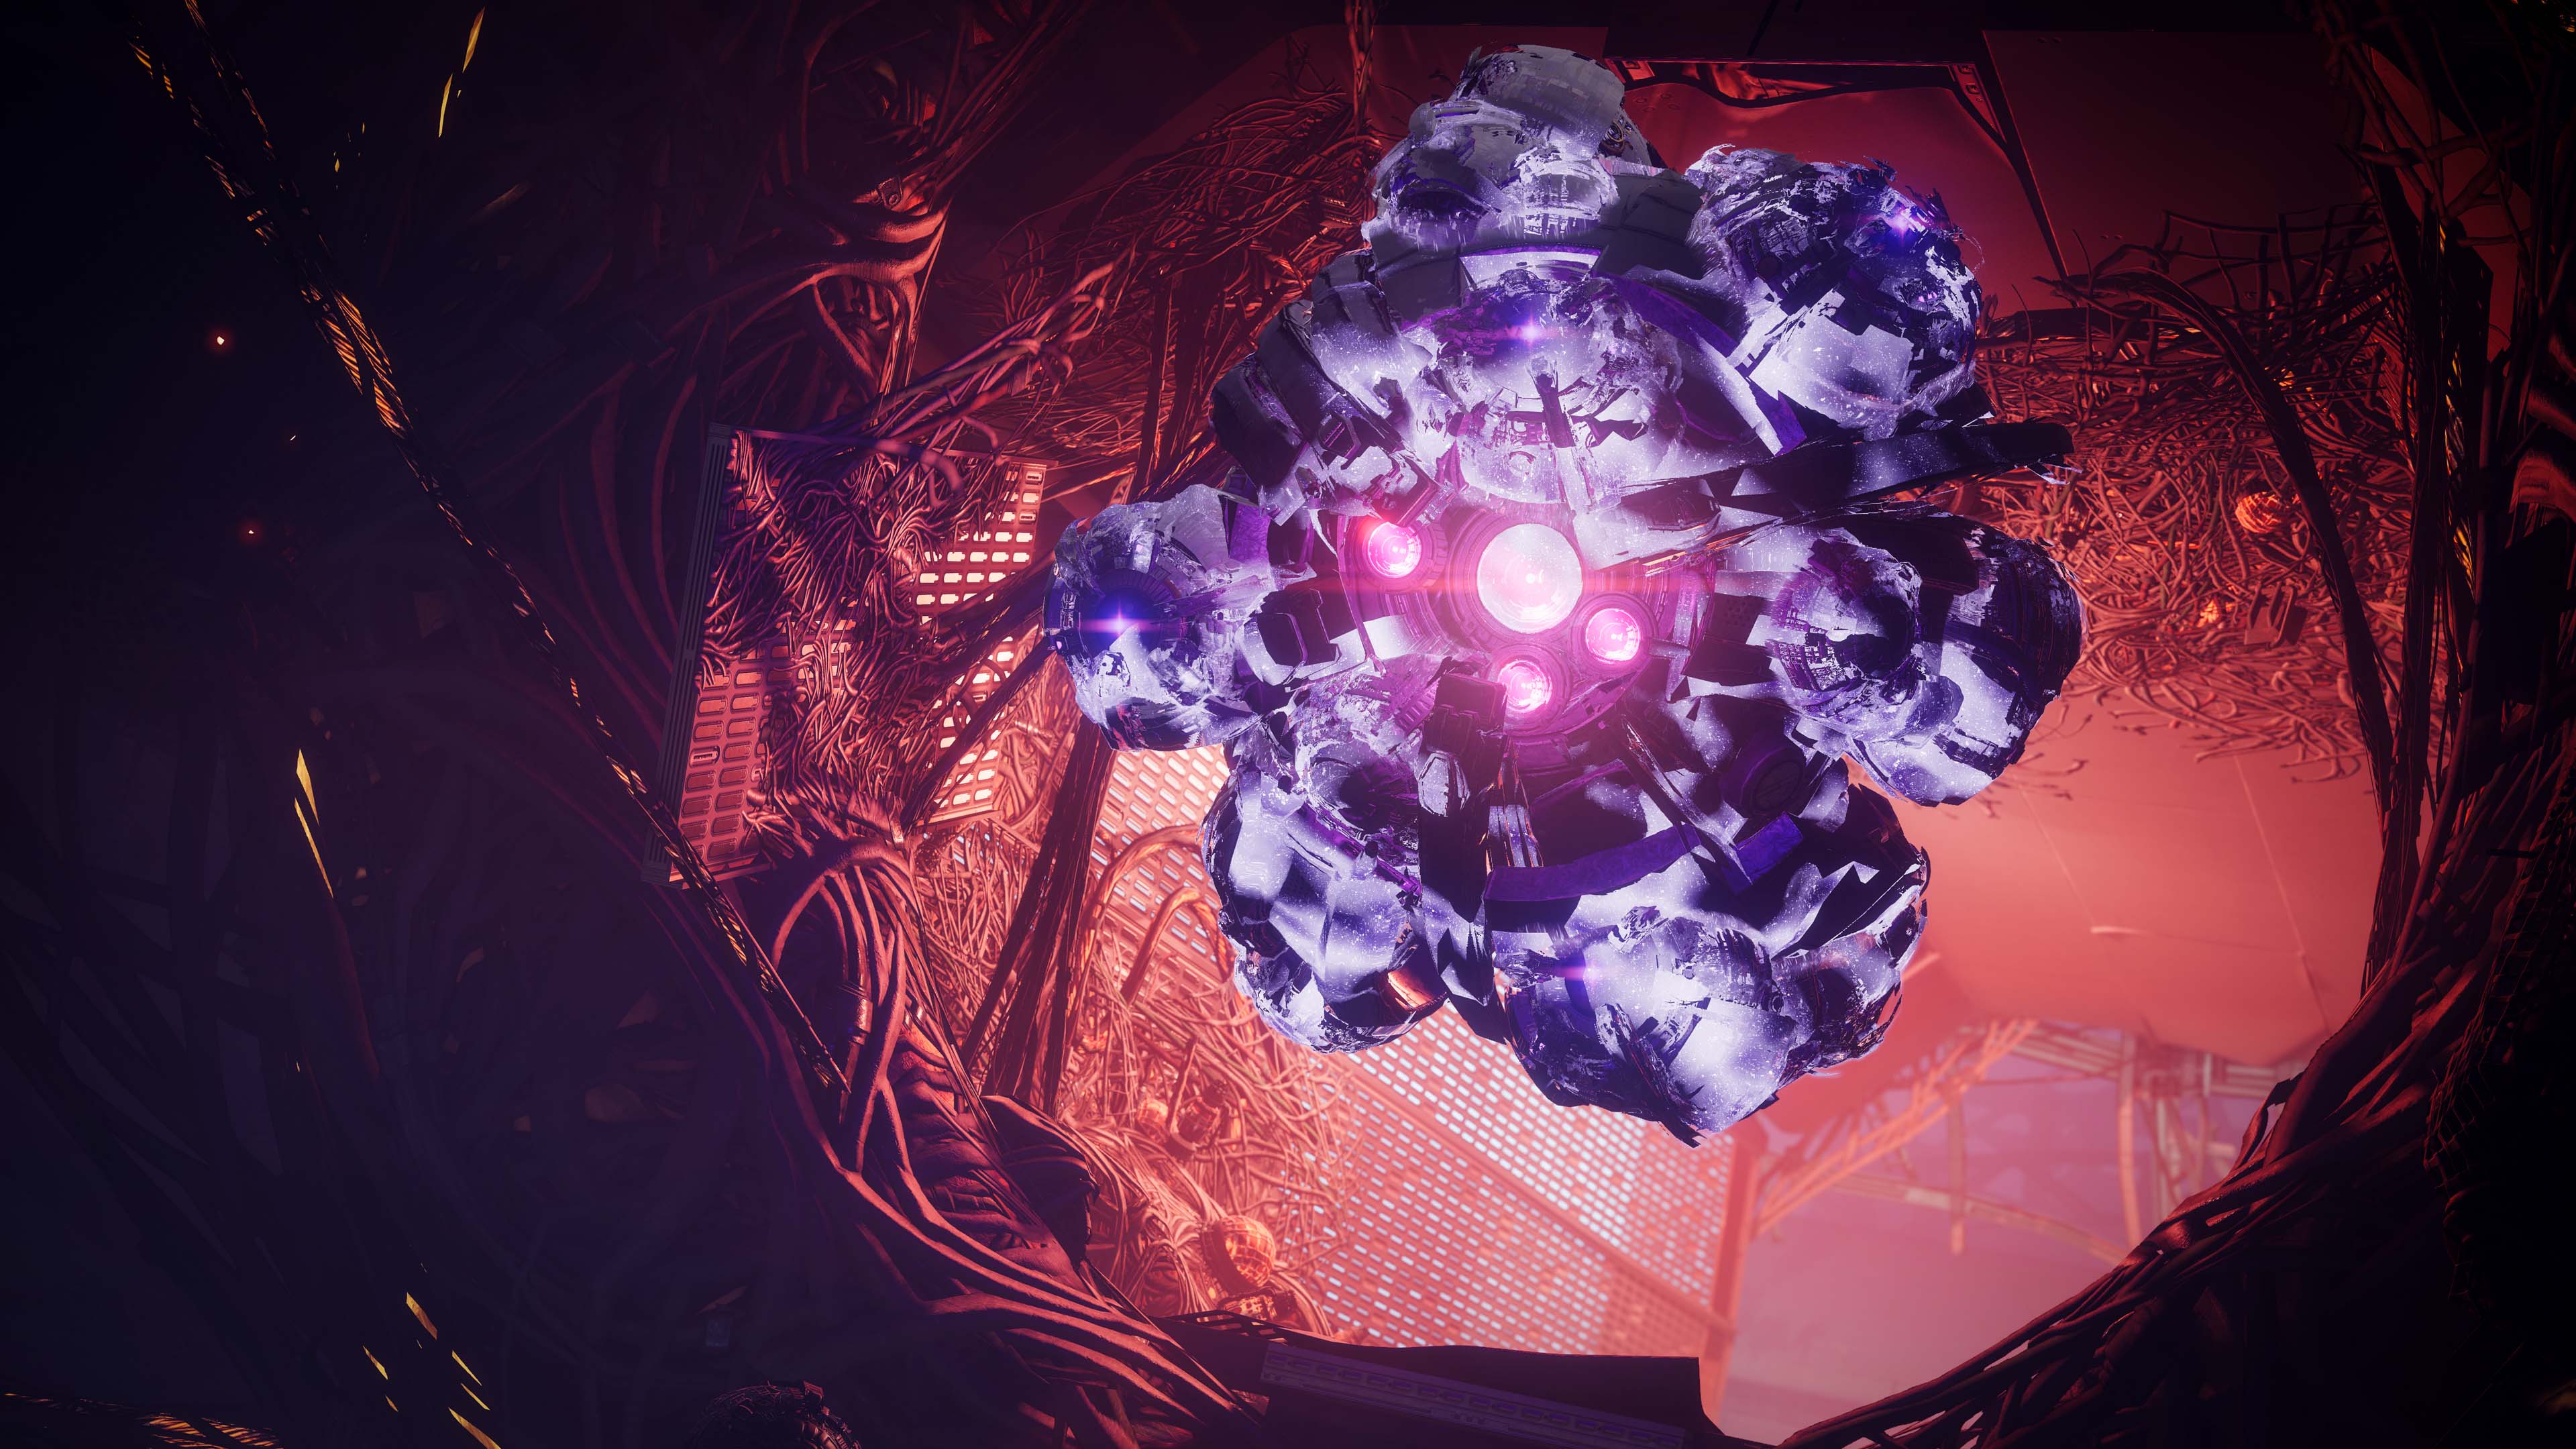
Raneiks Unified

Read two pairs of Servitor numbers, then split the boss for damage.

Encounter list ↑
Raneiks Unified, Vesper’s Host
Raneiks UnifiedBungie · Vesper’s Host press kit

Encounter sequence

  1. Reach the upper deck

    Clear enemies and bank Operator. Defeat the Machine Priest to trigger the teleport. Above, clear Shanks and collect Suppressor from its carrier.

  2. Read the two marked units

    Detonate a hologram beside Raneiks. Among the separated Servitors, identify the two with extra glowing face lights and record their numbered names. Return below.

  3. Collect the second pair

    Repeat the teleport and suppression for two more digits. Retrieve Operator and shoot the four matching numbered wall panels.

  4. Split and damage

    Kill the new Suppressor carrier and detonate beside the boss as it arrives below. Damage the separated cluster. Repeat the full sequence with fresh numbers after immunity.

If the attempt breaks down

Call the displayed digit, including zero. Suppress promptly after the panel input; a slow split wastes the damage window.

Encounter source & visual reference ↗

TRAVERSAL / ACCELERATION

Cross the broken station exterior.

Exit through the upper opening and follow the exterior debris platforms. Avoid orange lightning circles and the lingering electrified ground. Clear Fallen and interior tripmines along the route. At the Puppeteer’s opening Anomaly flare, drop through the circular floor hatch to shelter and reach the rally area.

Route reference ↗

Encounter list ↑

03 / ENCOUNTER

Corrupted Puppeteer

Solve the numbered panels, purge two rooms and survive the Anomaly.

Encounter list ↑
Corrupted Puppeteer, Vesper’s Host
Corrupted PuppeteerBungie · Vesper’s Host press kit

Encounter sequence

  1. Open the Lower Stacks

    Start at the sphere. Suppress and kill puppets to obtain the augments. Scanner checks the four central numbered pillars; Operator shoots all four red panels matching the white-marked pillar’s number. Bank augments and follow the flashing descent lights.

  2. Run the first purge

    Follow the lights to the active room and retrieve augments. Operator shoots its four panels, holding the last until everyone is ready. Scanner checks the spawned rifle copies and kills only the white-marked one.

  3. Seal the bunker

    Take that copy’s core into the central bunker. Get everyone inside before depositing to survive Sector Purge. Preserve augments through terminals. Cross the Lower Stacks to the other room and repeat; two purges remove the shield.

  4. Return outside

    Use the central transport back up, then the entry airlock launcher. Damage while dodging lightning and clearing copies.

  5. First wave: core bunker

    Kill the conspicuously glowing puppet for a core. At the Anomaly warning, enter the bunker on the left while facing the boss. Deposit with everyone inside, then resume damage when it opens.

  6. Second wave: floor hatch

    The bunker cannot protect the next pulse. Retreat through the original floor hatch at the second warning. Repeat the entire setup if the boss survives.

If the attempt breaks down

Avoid stray damage on unconfirmed rifle copies: killing the wrong one drastically shortens the purge timer. Shelter calls take priority over another boss shot.

Encounter source & visual reference ↗

Keep a safe next move.

Bank between jobs

Read targets, bank Scanner, then collect Operator. Clear threats before taking a core or starting a purge.

Stay mobile

Practice both shelter routes. Short, safe damage bursts make repeated cycles more manageable.

Choose optional stops before launch.

Ice Breaker

The Exotic sniper rifle can drop from the Puppeteer. Its catalyst and focusing puzzles are separate optional routes.

Rogue Network

Take the message near the final chest if your quest requires it. Follow quest progress before expecting later hidden puzzles; the linked route covers the sequence.

Keep the reference close.

Released 11 October 2024. This guide covers the standard clear. Source review excludes old Power targets, weapon rankings and reward schedules. Detailed optional routes are linked below.