← All dungeons

DUNGEON / CLEAR GUIDE

The Shattered Throne

Follow the symbols. Climb the spire. Break the cycle.

Players
1–3
Setting
Dreaming City
Encounters
3

Full route / first editionSource review: 25 September 2026 · awaiting in-game verification

00 / BRIEFING

Prepare for the whole route.

Before launch

Launch from the Director and check the activity card. Agree whether this is a clear, collectible or quest run. Bring long-range enemy control, reliable healing and boss damage.

Three players, shared jobs

Choose a route caller and a timer caller. At Vorgeth, nominate one orb collector; everyone else keeps the route safe. Solo players perform each job in sequence.

01 / ENCOUNTERS

The encounter route

01 / ENCOUNTER

Erebus — the labyrinth

Read the next destination after each enemy group.

Encounter list ↑
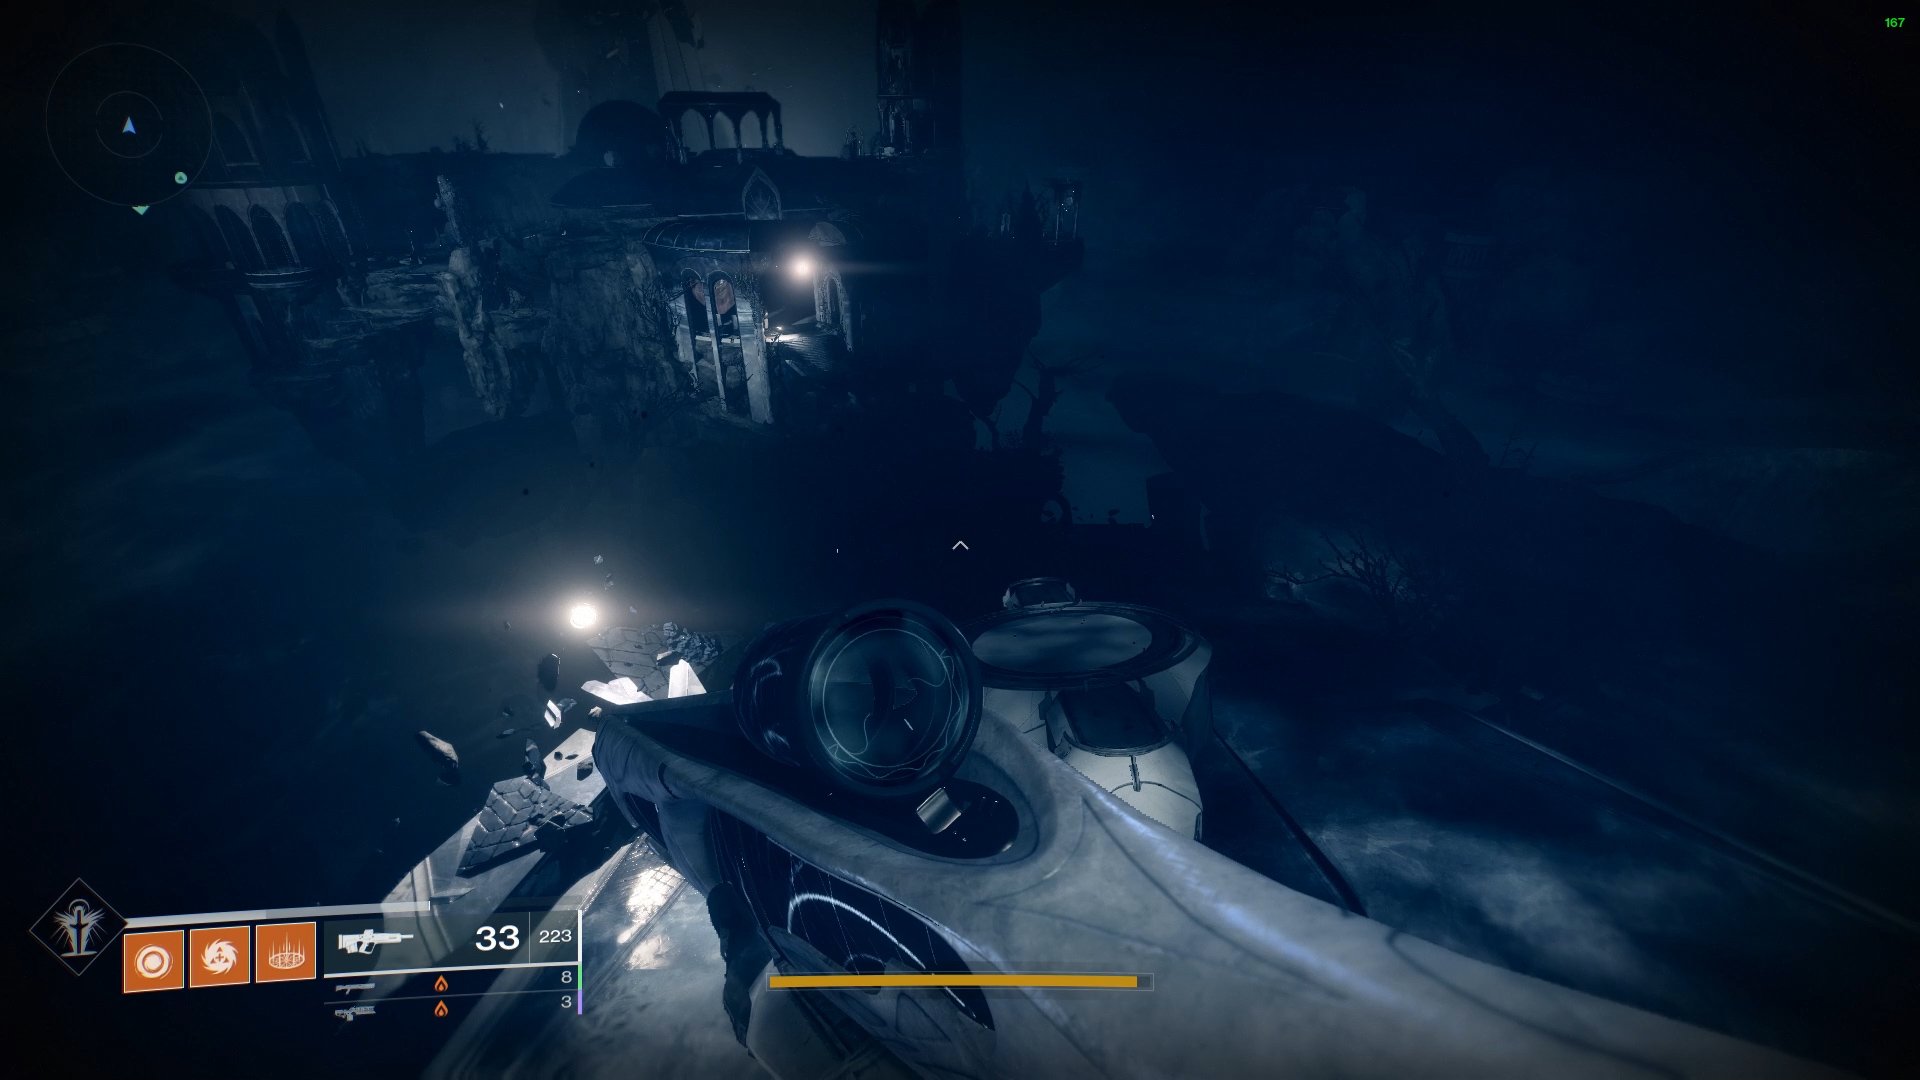
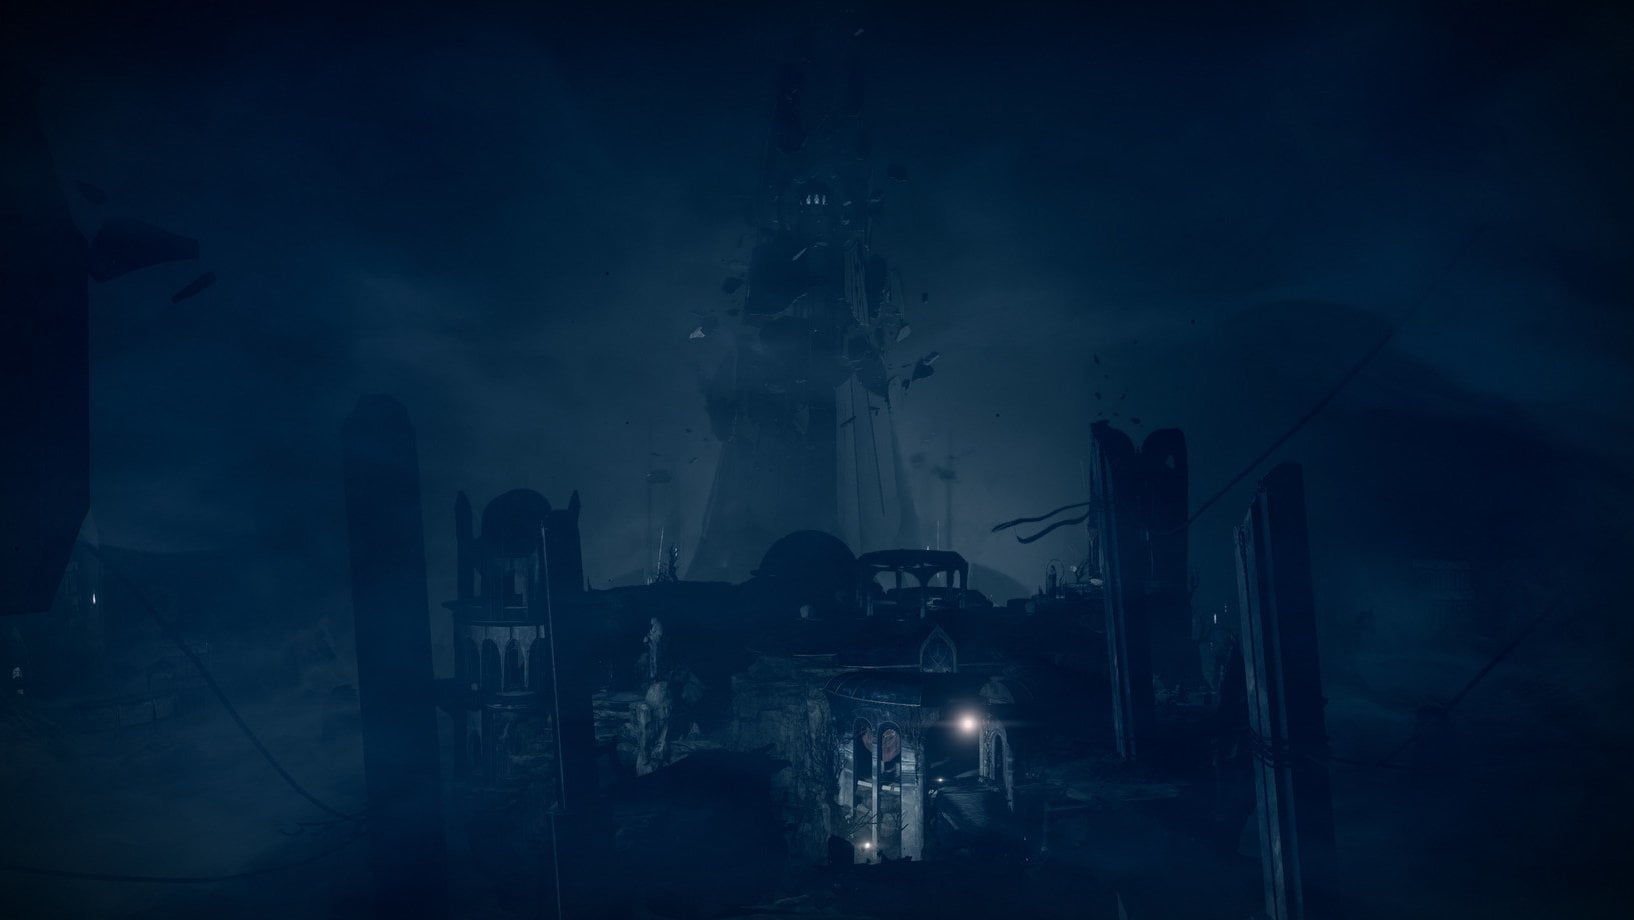
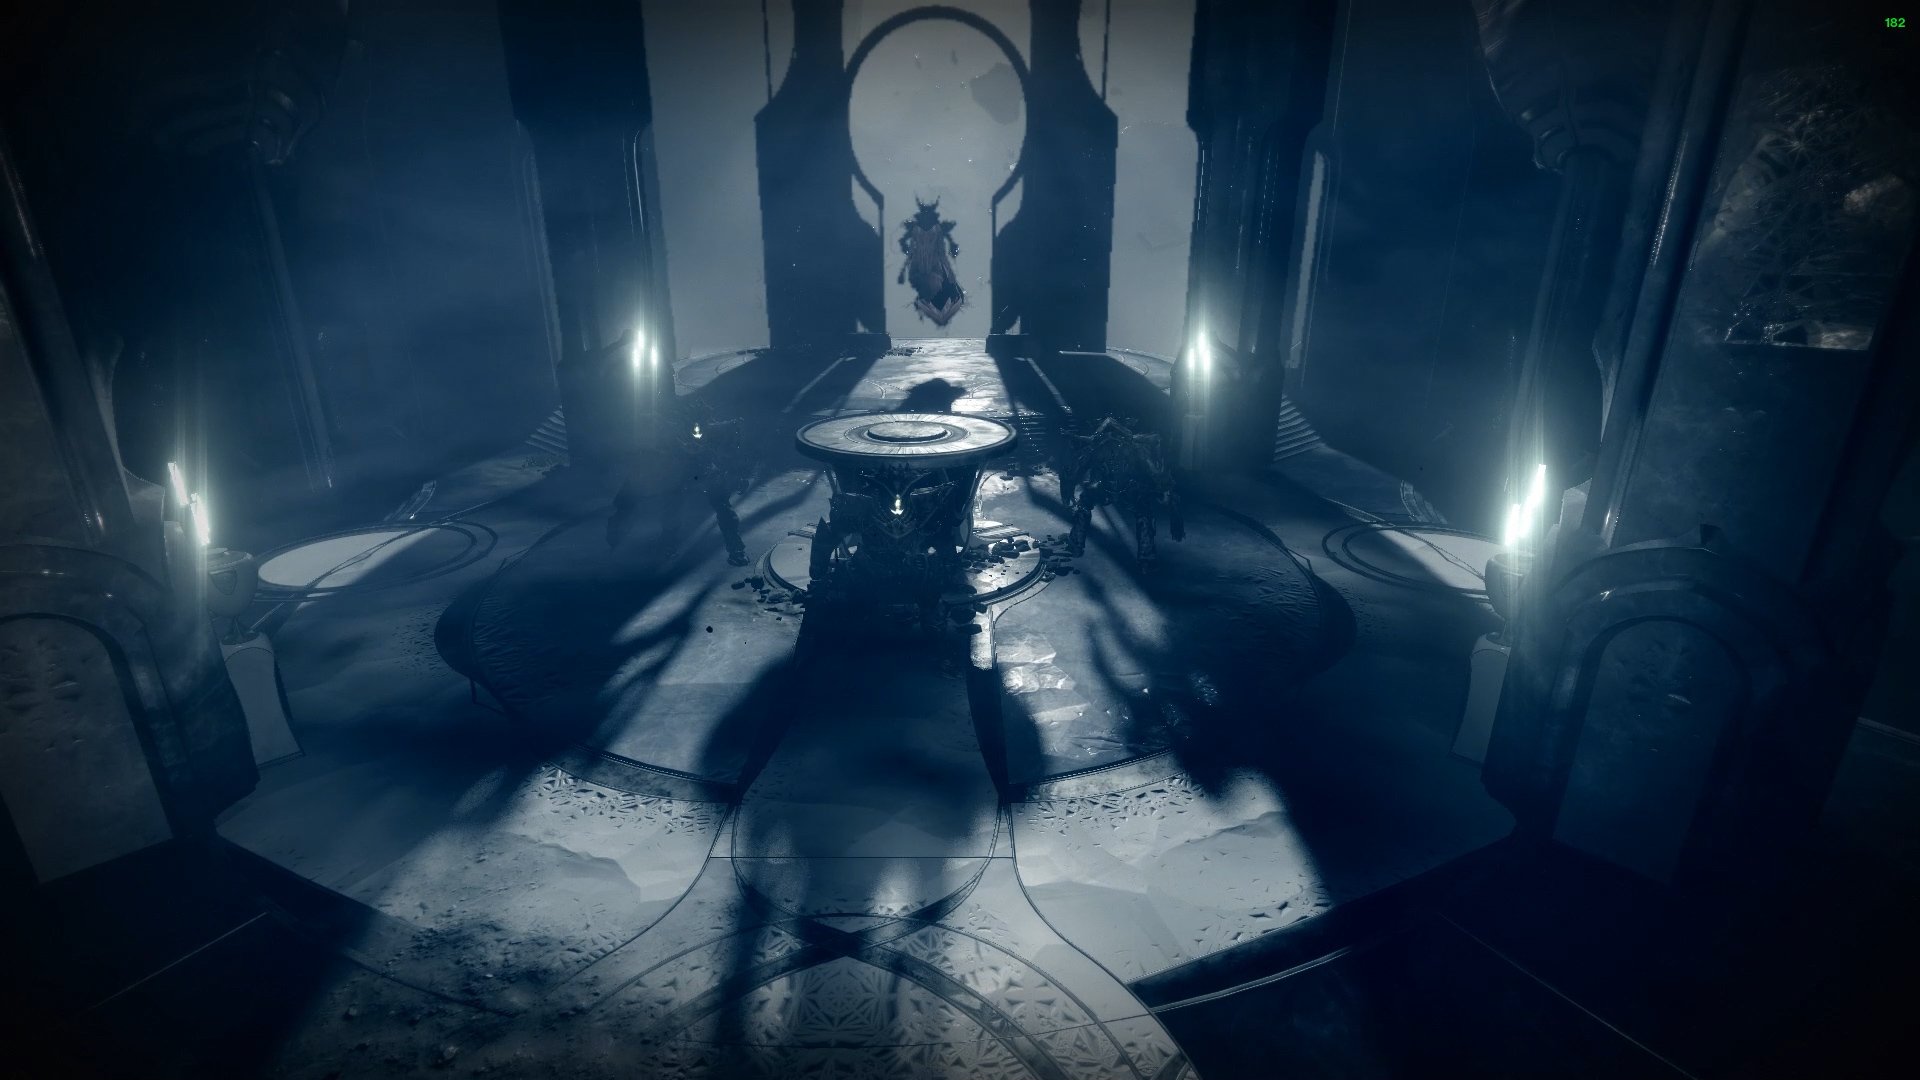
Erebus — the labyrinth — The Shattered Throne
Erebus — the labyrinthBungie · Shacknews / Sam Chandler

Encounter sequence

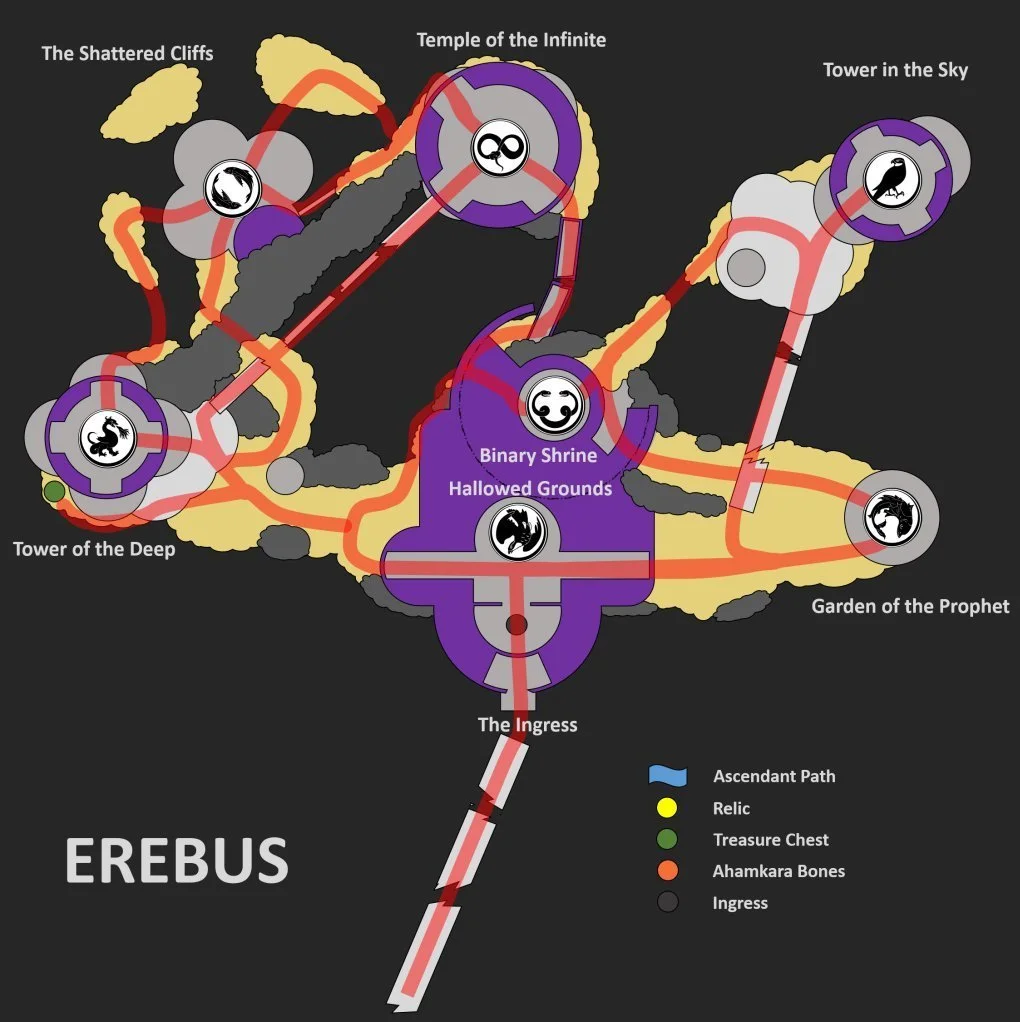
  1. Clear Ingress

    Cross the opening bridge. Defeat the Labyrinth Architect and its accompanying enemies at the first building.

  2. Read and follow

    The revealed symbol identifies your next building. Match the full animal and pose to the symbol outside that structure.

  3. Repeat the chain

    Clear that destination and read its new symbol. Follow the displayed order rather than memorizing a previous run.

  4. Return to the beginning

    The final bird symbol sends you back to Ingress. Defeat the last group and take the opened passage.

If the attempt breaks down

If the next symbol is missing, check for surviving enemies. If lost, return to the last cleared station and reread it. Use the linked map for building locations.
Encounter source & visual reference ↗

TRAVERSAL / THE DESCENT

Make each crossing safe.

Clear distant snipers before crossing the long hall. In the rafter room, kill Ogres before stepping into their knockback lanes. The Thrallway suppresses sprint, advanced jumping and normal health recovery: keep moving and use direct healing. Beyond it, time the cliffside crossings between Taken wall blasts.

Descent reference ↗

02 / ENCOUNTER

Vorgeth, the Boundless Hunger

Four Marks become one Burden. Extinguish a brazier to open damage.

Encounter list ↑
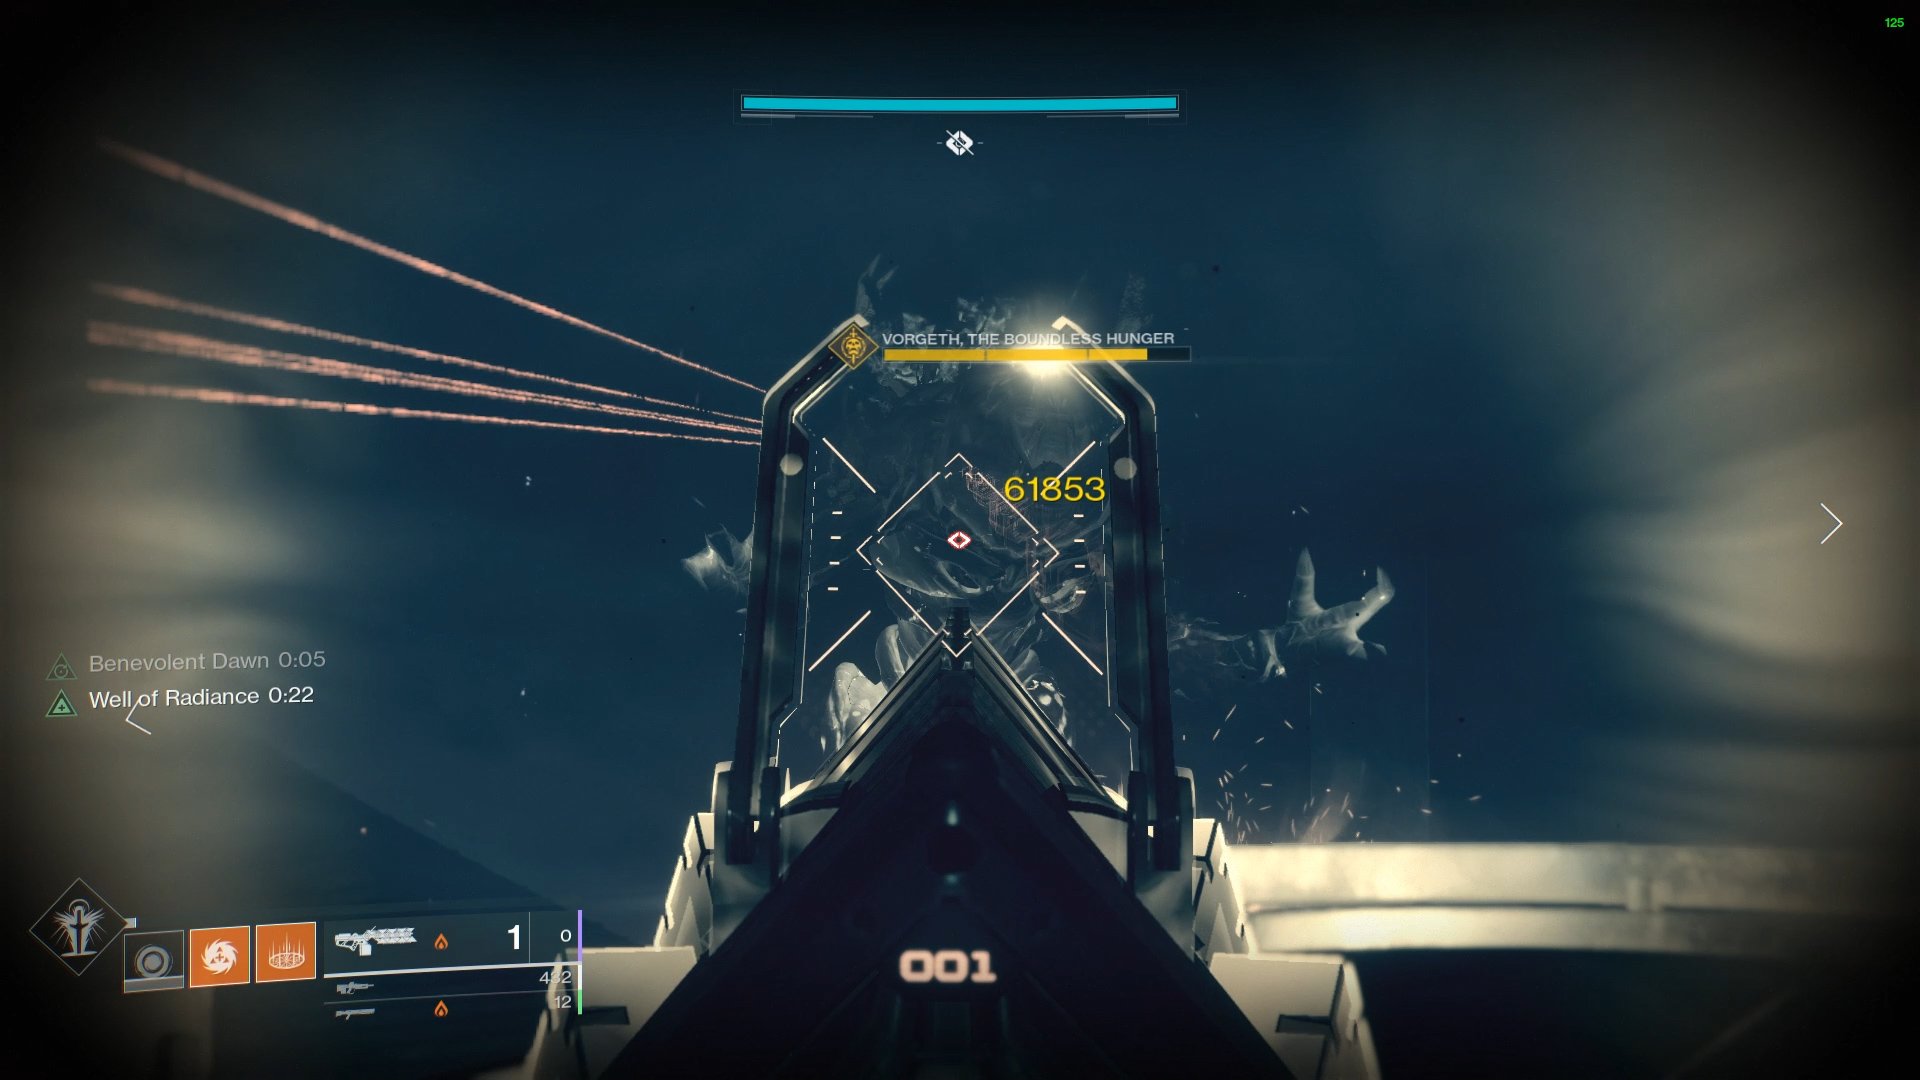
Vorgeth, the Boundless Hunger — The Shattered Throne
Vorgeth, the Boundless HungerBungie · Shacknews / Sam Chandler

Encounter sequence

  1. Prepare the perimeter

    Use pillars for cover. Clear Goblins and Vandals around the four Keeper Wizards, then weaken the Wizards before starting pickups.

  2. Collect four Marks

    Kill the prepared Wizards in order. The collector takes each dropped orb before Petitioner’s Mark expires; each pickup refreshes the timer.

  3. Extinguish a brazier

    At four stacks, Petitioner’s Burden replaces the Mark. Interact with an available brazier around Vorgeth before its timer expires.

  4. Damage and defend

    Attack while the shield is down. Shoot the homing Axion Darts. If Vorgeth survives, prepare another Wizard cycle and use an unused brazier.

If the attempt breaks down

Do not split Marks across players. Call the collector’s timer and next Wizard. An expired Mark or Burden kills its carrier; avoid starting collection before the route is ready.

Encounter source & visual reference ↗

TRAVERSAL / ELEUSINIA

Follow the lifts to the spire.

Pass the bow-bearing statue after Vorgeth; pause here if your quest requires it. Clear the lift rooms, climb, then cross the exterior ledges between wall blasts. Regroup before entering the final arena.

03 / ENCOUNTER

Dûl Incaru, the Eternal Return

Defeat the Knights, collect Finite Thought and watch the cleanse timer.

Encounter list ↑
Dûl Incaru, the Eternal Return — The Shattered Throne
Dûl Incaru, the Eternal ReturnBungie · Shacknews / Sam Chandler

Encounter sequence

  1. Control the room

    Clear Psions and reduce the three Fatesmith Knights together. Keep space to escape their melee attacks.

  2. Break the crystal

    When a crystal shields the Knights, destroy it to remove their immunity. Clear the new enemies before committing to pickups.

  3. Collect and damage

    Kill the Knights close together and collect their drops. Finite Thought enables boss damage; three stacks increase it. Focus Dûl Incaru.

  4. Cleanse before expiry

    If she survives, touch the central glowing brazier before Finite Thought runs out. It removes the buff. Repeat the Knight cycle.

If the attempt breaks down

A timer reaching zero is fatal. Stop damage early enough to reach the cleanse; surviving Knights and Psions can block an otherwise safe retreat.

Encounter source & visual reference ↗

02 / SOLO & FLAWLESS

Make survival part of the plan.

Solo preparation

Weaken all four Keepers before taking the first Mark. At the final boss, clear Psions before collecting Finite Thought. Leave an escape route to the cleanse.

Record attempts

Read the exact in-game triumph requirement before launch. For a full solo or flawless attempt, start fresh and keep the run uninterrupted. Practice rafters and wall blasts before committing.

03 / REWARDS & SECRETS

Plan optional stops before launch.

Wish-Ender

The exotic bow has a quest route associated with this dungeon. Follow your current quest text; a boss clear alone is not the quest. Check the linked reference before taking quest detours.

Collectibles and loot

Hidden chests, Ahamkara bones and Corrupted Eggs add optional stops. Eggs require Wish-Ender. Check the live activity card for reward rules; this first guide does not claim a current encounter loot table.

Quest, collectible and record reference ↗

04 / SOURCES

Keep the reference close.

Mechanics cross-checked against the guides below. Older Power requirements, weapon rankings and reward schedules are excluded. This edition covers the clear route; detailed collectible maps and quest walkthroughs remain in the linked references.