
← All dungeons

DUNGEON / CLEAR GUIDE

Prophecy

Choose Light or Dark. Follow the wisp. Keep pace with the Kell.

Players
1–3
Setting
Realm of the Nine
Route
3 encounters

Full route / first editionSource review: 25 September 2026 · awaiting in-game verification

00 / BRIEFING

Prepare for the whole route.

Before launch

Check the activity card. Bring reliable enemy clear, ranged sniper control and damage you can use while moving. Decide who will collect each set of motes.

Learn the mote rule

A Knight Echo drops Light or Dark motes based on where its killer stands when it dies. Use the screen-edge lighting cue; the Knight’s position does not choose the color.

FIELD REFERENCE

Mote handling

Mote handling
MomentAction
Need Light / DarkLand the killing blow while standing in light / shadow.
Five of one typeUse the held charge’s attack beside a matching smoky pillar.
Opposite mote picked upYour previous collection is replaced.
Timer running outAnother matching pickup refreshes it; deposit the completed charge promptly.

APPROACH / HEAVEN AND HELL

Practice before the first boss.

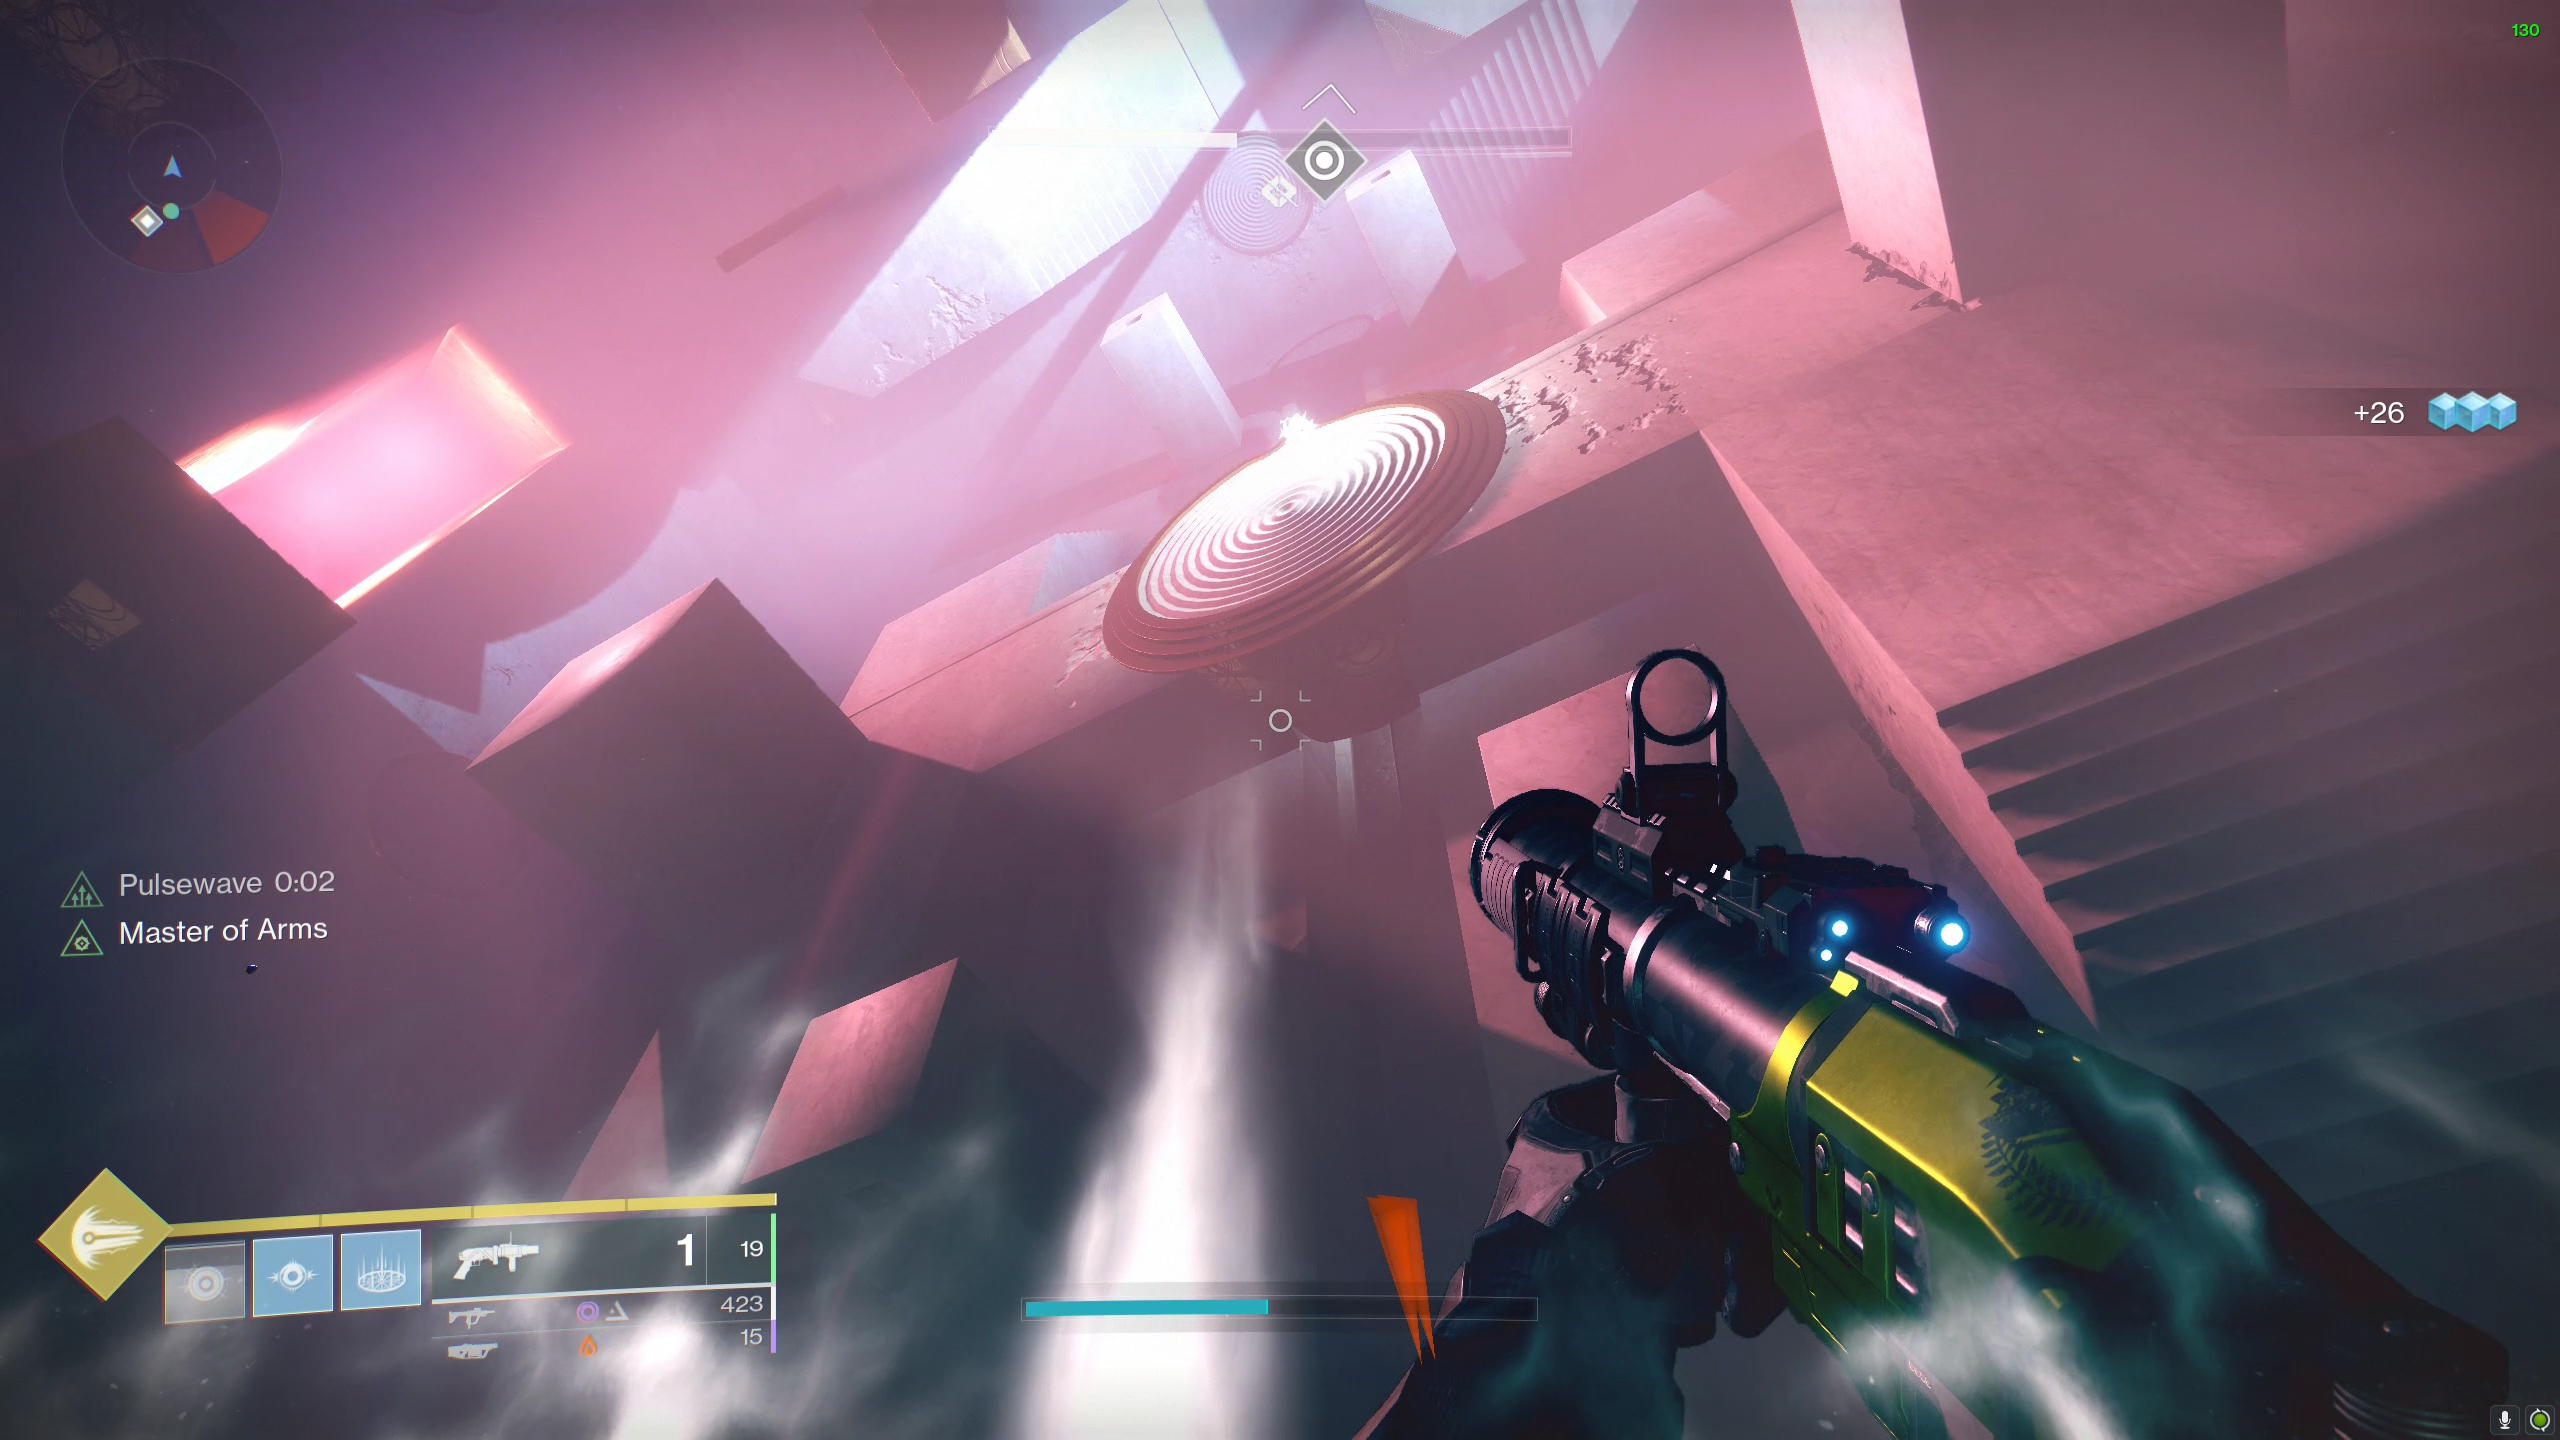
In each tunnel room, collect five matching motes and cleanse the Light and Dark pillars. Repeat in the next room, then climb the rubble to the Phalanx arena.

01 / ENCOUNTERS

The encounter route

01 / ENCOUNTER

Phalanx Echo

Cleanse four pillars to drop the boss shield.

Encounter list ↑
Phalanx Echo — Prophecy
Phalanx EchoBungie · Shacknews / Sam Chandler

Encounter sequence

  1. Choose a pillar

    Read its smoke color, then kill Knights from the appropriate lighting. Gather five matching motes on the collector.

  2. Cleanse all four

    Discharge beside the matching pillar. Check the remaining pillars and lighting again after each cleanse. Stay away from the arena edge and the boss’s shield blast.

  3. Damage, then reset

    Once all four are clear, damage Phalanx Echo. Kill Goblins shielding it. If immunity returns, repeat the mote cycle. After victory, gather on the central sand lift.

If the attempt breaks down

If the charge has the wrong color, find a matching uncleansed pillar or gather a new set. Never chase a fallen mote off the edge.
Encounter source & visual reference ↗

TRAVERSAL / WASTELAND

Clear the blights and follow the wisp.

Find the Taken blight groups among the ruins. Enter each blight’s dome to destroy its core, then approach the white wisp to continue. Repeat until the way opens and enter the pink-lit doorway to the cube.

02 / ENCOUNTER

Hexahedron — the cube

Rotate the room toward the white wisp.

Encounter list ↑
Hexahedron — the cube — Prophecy
Hexahedron — the cubeBungie · Shacknews / Sam Chandler

Encounter sequence

  1. Read the target wall

    Find the floating white wisp, commonly called Toland. The pillar beneath it determines the mote color you need.

  2. Create the right motes

    Kill Hobgoblins to spawn Knight Echoes. Clear threats, then kill the Knights from the required lighting and collect five motes.

  3. Cleanse and rotate

    Discharge at the target pillar. Regroup in the center lift to rotate. If the wisp is overhead, choose a wall to rotate first, then locate it again; reaching that face takes another turn.

  4. Finish the cube

    Continue following the wisp until the final room spawns two Centurion Echoes. Defeat them, collect the chest and return outside.

If the attempt breaks down

A wrong rotation adds work, not an automatic wipe. Read the wisp’s new position. Clear fresh snipers after Knight kills before crossing exposed ground.

Encounter source & visual reference ↗

TRAVERSAL / SINGULARITY

Follow the Kell, then descend the ribbons.

Back in the Wasteland, follow Kell Echo to the next doorway. Descend the ribbon paths and floating structures toward the lift. Walking is an option; a Sparrow is not required. Clear snipers before exposed crossings.

03 / ENCOUNTER

Kell Echo

Secure three corners, then chase the boss through the damage hall.

Encounter list ↑
Kell Echo — Prophecy
Kell EchoBungie · Shacknews / Sam Chandler

Encounter sequence

  1. Claim a safe corner

    Cleanse a corner’s pillar with five matching motes. Its Kell projection disappears and an Ogre spawns. Kill the Ogre and use that corner for cover.

  2. Clear the triangle

    Repeat for both remaining corners. Gather ammunition and reload before entering the center portal together.

  3. Advance during damage

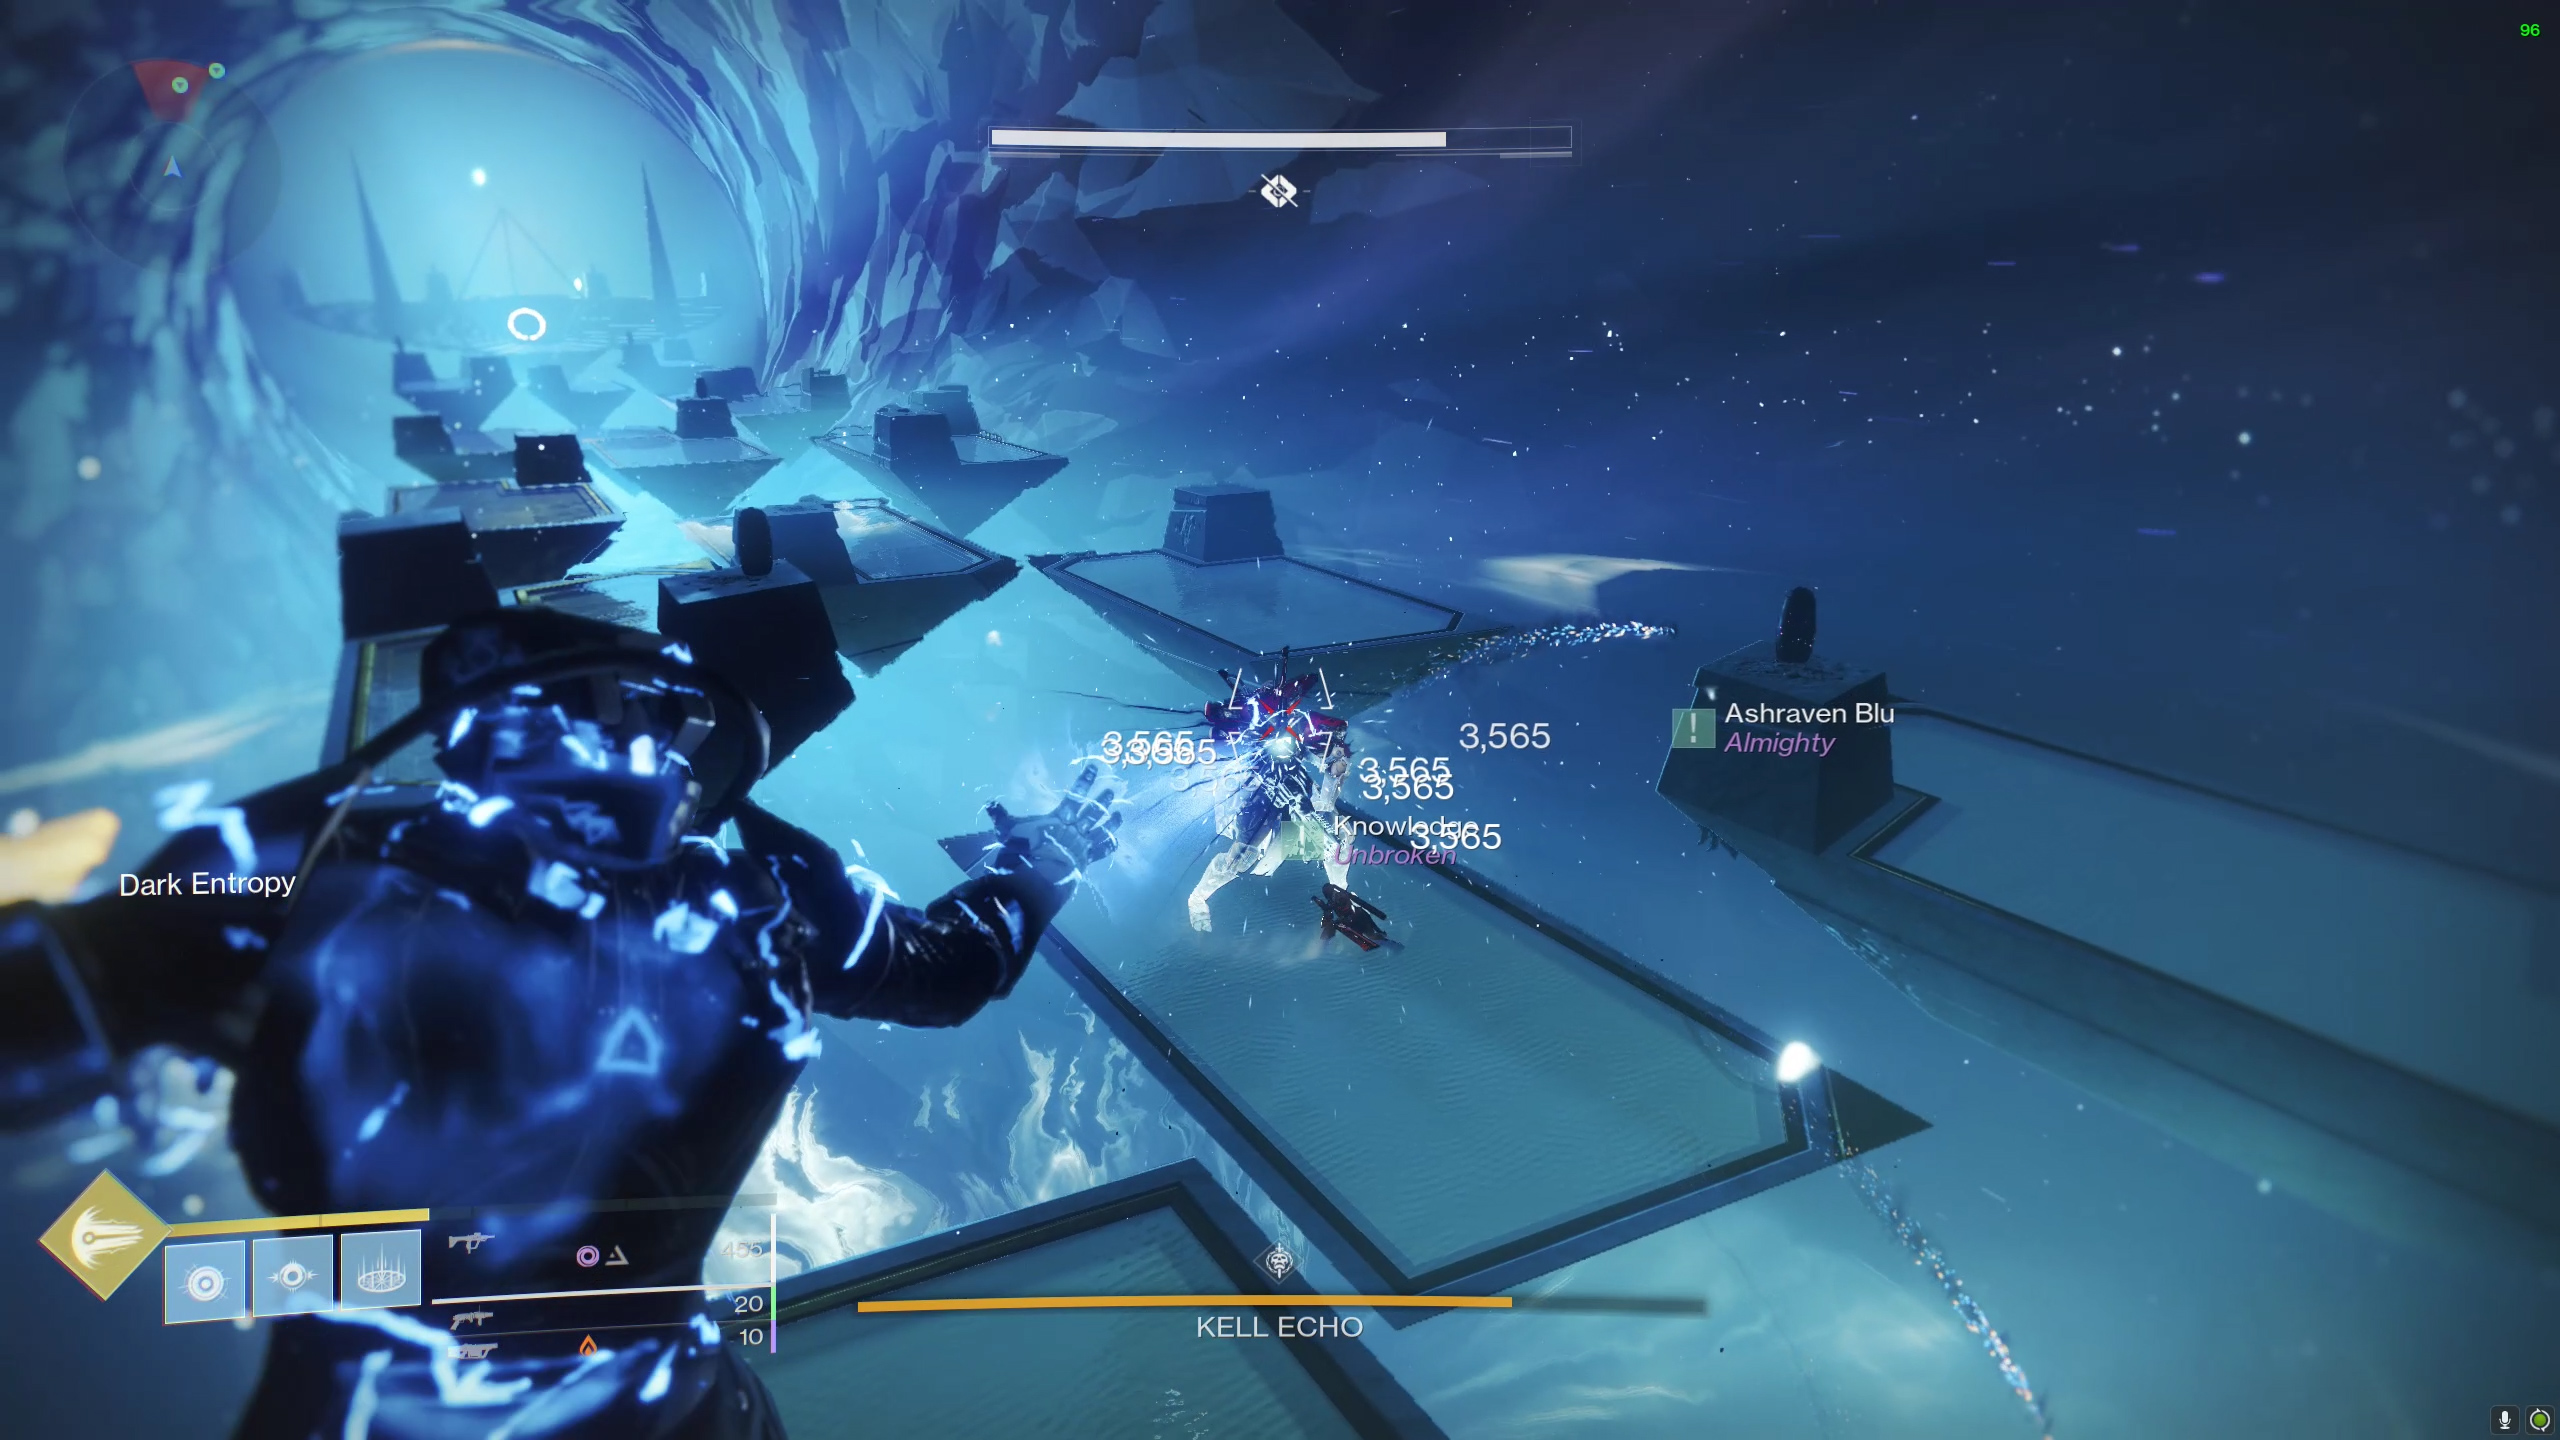
    Damage Kell Echo while moving between platforms. Stay within its aura to reduce Dark Entropy: ten stacks kill. Prioritize Hobgoblin snipers and dodge the wave that teleports you backward.

  4. Return and repeat

    When the boss leaves the far platform, follow the return portal. Read the new room’s pillars and repeat until the boss dies. Collect the final reward in the Emissary’s chamber.

If the attempt breaks down

If teleported backward, prioritize catching up over damage. Do not stand still firing while Dark Entropy climbs.

Encounter source & visual reference ↗

02 / SOLO & FLAWLESS

Keep a safe next move.

One charge at a time

Clear Psions before collecting. In the cube, watch for the new sniper after a Knight dies. At Kell Echo, secure one corner before tackling the rest.

Move before you shoot

Practice the damage hall platform route. For a solo flawless attempt, start fresh and remain in the activity; survival takes priority over an extra shot.

03 / REWARDS & SECRETS

Choose optional stops before launch.

Hidden chests

Optional chest routes branch from the Wasteland and the final small pyramid of Singularity. Check the linked route reference before leaving those areas.

Completion records

Solo, flawless and solo flawless are distinct objectives. Read the in-game requirements. Current loot pools and reward schedules are outside this clear guide.

04 / SOURCES

Keep the reference close.

Released 9 June 2020. This guide covers the standard clear. Source review excludes old Power targets, weapon rankings and reward schedules. Detailed optional routes are linked below.