← All dungeons

DUNGEON / CLEAR GUIDE

Pit of Heresy

Read the runes. Hold the totem. Descend to Zulmak.

Players
1–3
Setting
The Moon
Route
5 stages

Full route / first editionSource review: 25 September 2026 · awaiting in-game verification

00 / BRIEFING

Prepare for the whole route.

Before launch

Check the Director for access and modifiers. Bring healing, crowd control and accurate ranged damage. Agree whether the run includes the separate Xenophage quest.

Share the work

Assign a rune reader and relic carrier. At the Chamber, keep one player on the plate while the others retrieve charges and cover the balconies.

FIELD REFERENCE

One relic, three answers

One relic, three answers
DiscipleRelic action
Knight / MightLight melee attack
Wizard / OmenRanged heavy attack
Shrieker / OracleGuard to reflect its projectiles

01 / ENCOUNTERS

The encounter route

01 / ENCOUNTER

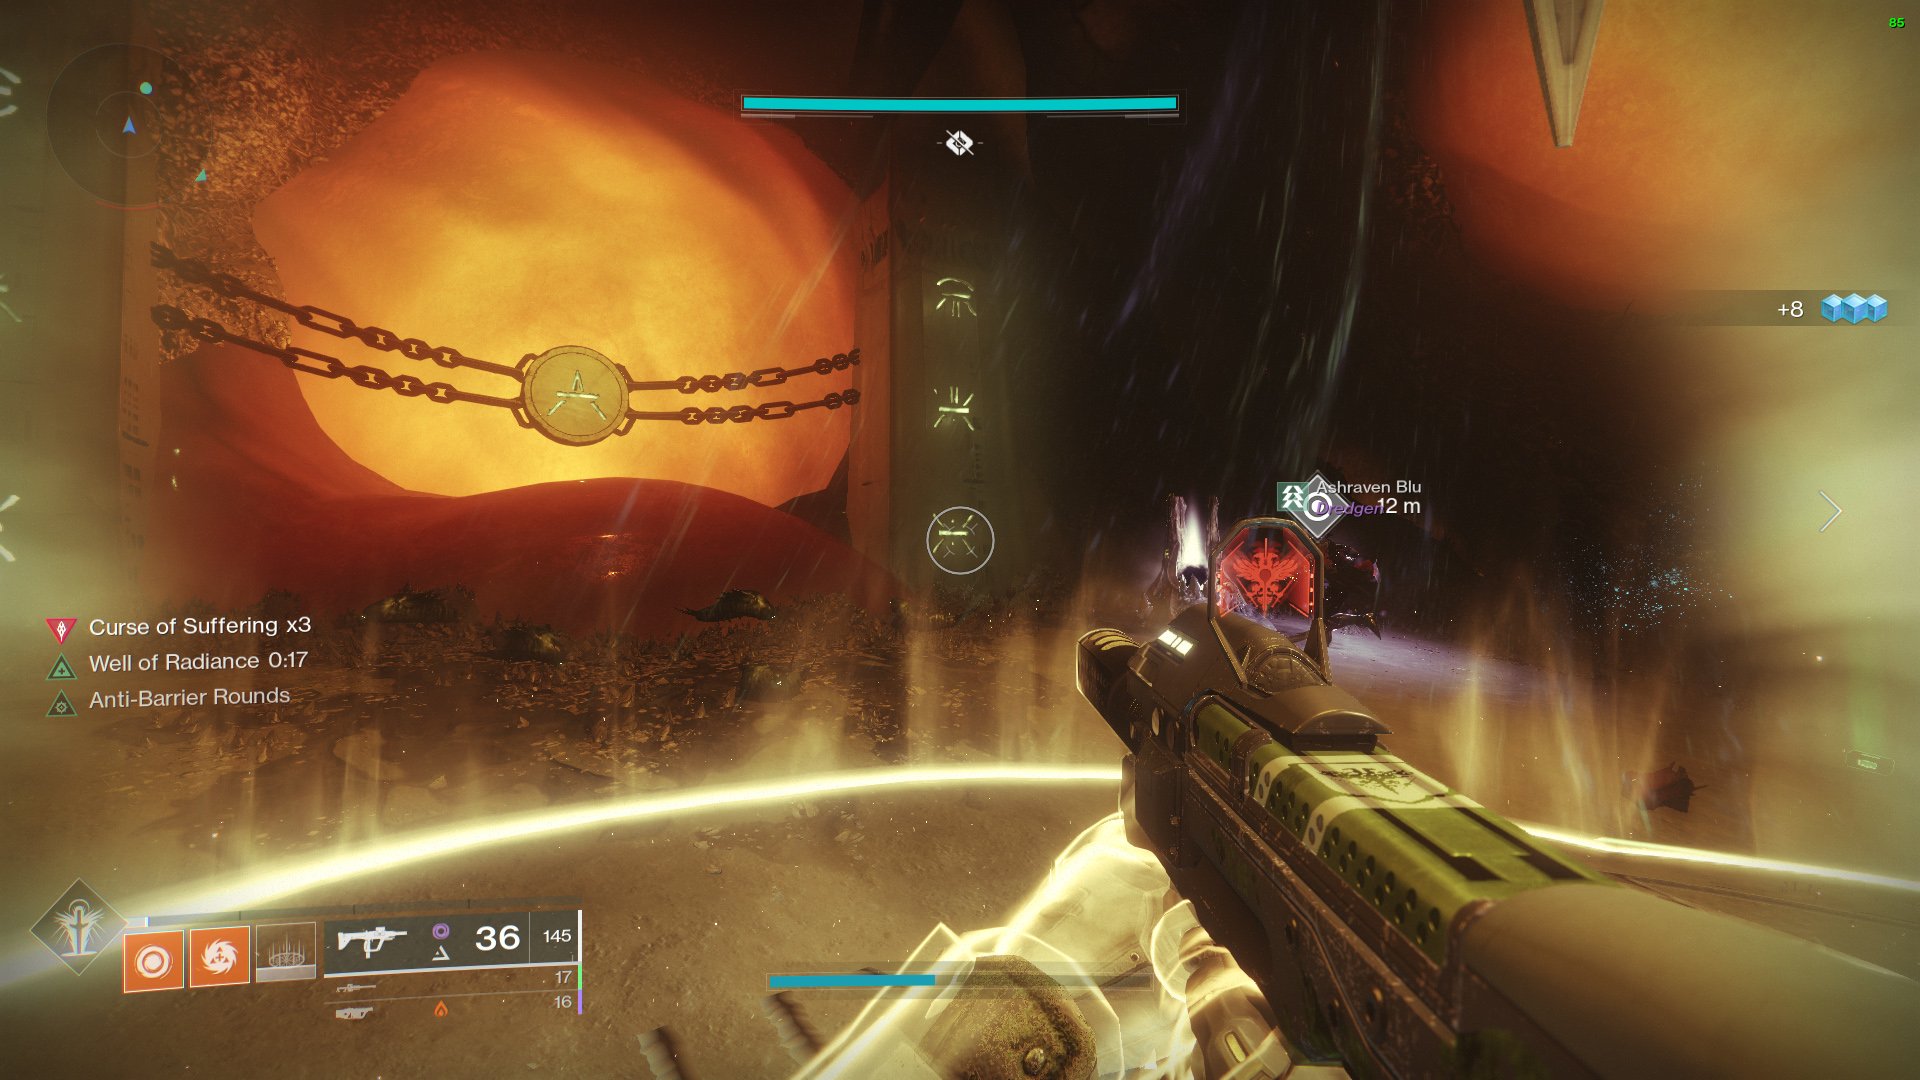
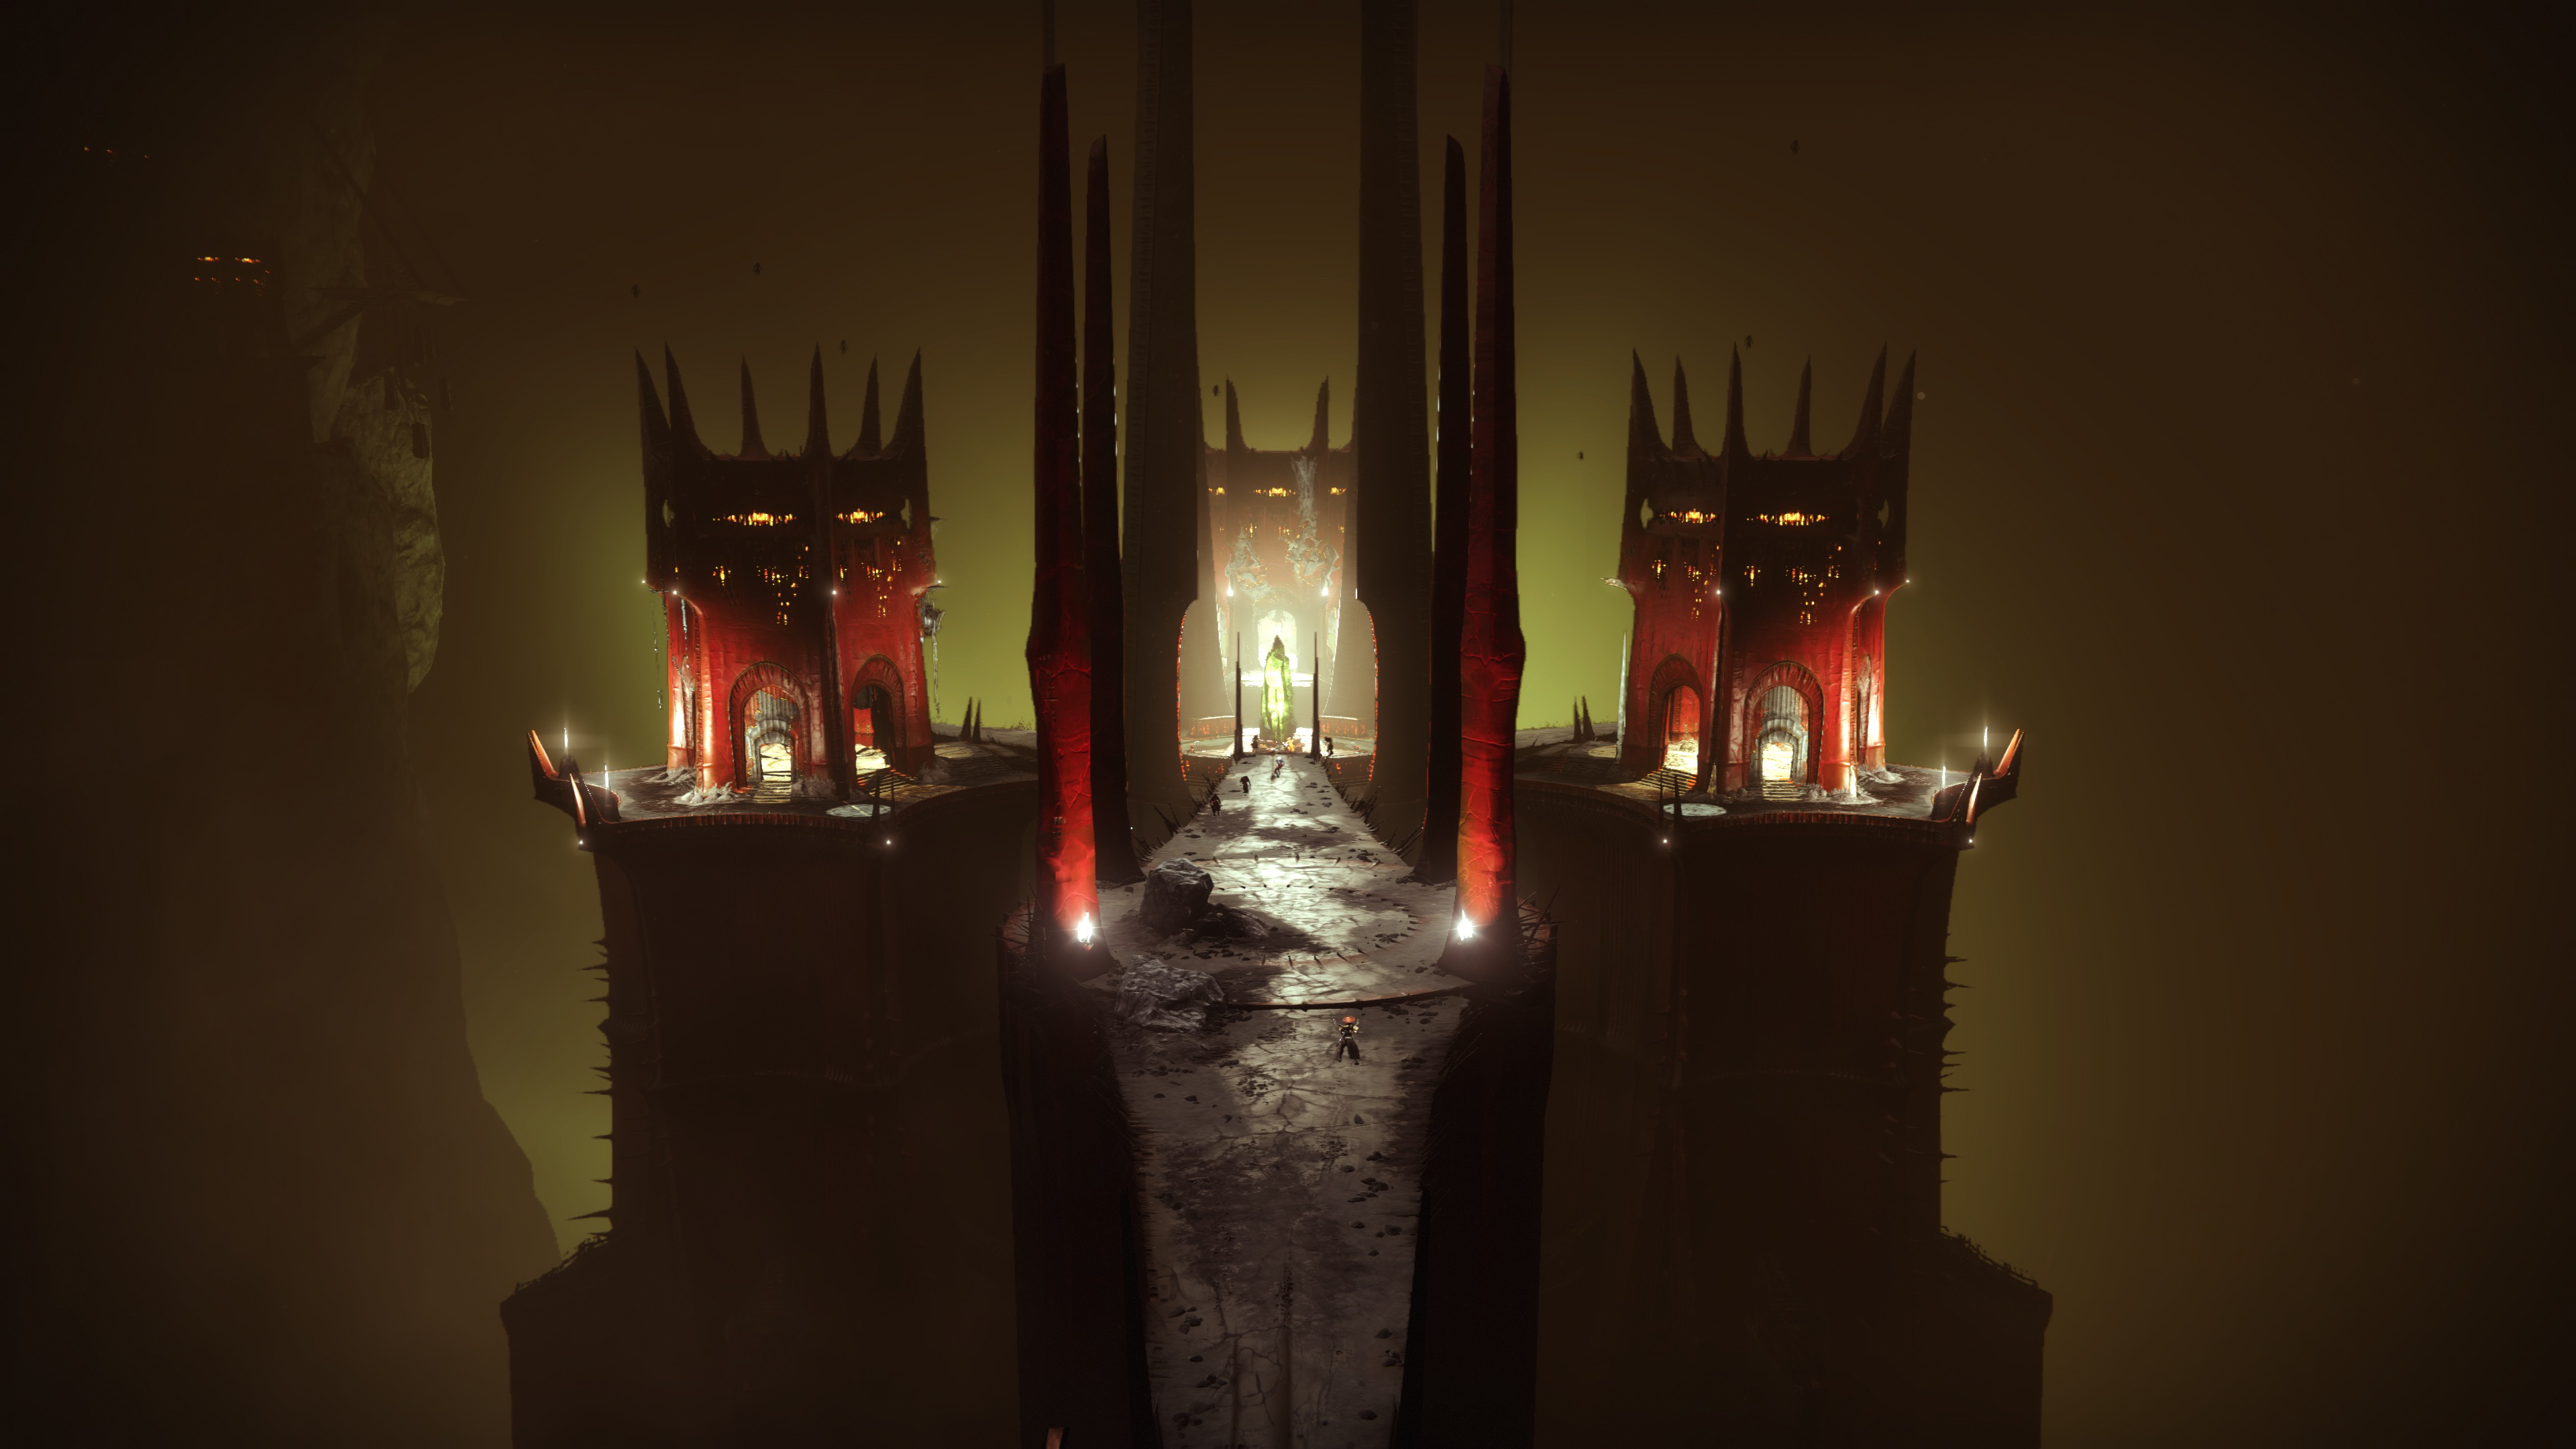
Necropolis

Match three towers and defeat their disciples.

Encounter list ↑
Necropolis — Pit of Heresy
NecropolisBungie · Shacknews / Sam Chandler

Encounter sequence

  1. Read the chamber

    Enter the initial tower and record its three chained runes. Find the matching large symbols above the outer towers.

  2. Take a sword

    Kill an Accursed Swordbearer for its Hive relic. Clear supporting enemies before challenging a disciple.

  3. Use the matching attack

    Defeat each marked tower’s disciple using the relic action in the table above. Clear all three and follow the green exit beam.

If the attempt breaks down

Immune damage usually means the wrong relic action. Replace an exhausted sword before trying again.
Encounter source & visual reference ↗

TRAVERSAL / WALL OF DOORS

Look beside the doors.

At the broken bridge facing the wall of doors, find the opening to the right. The obvious doorways can launch you into the abyss. Descend carefully into the tunnels.

02 / ENCOUNTER

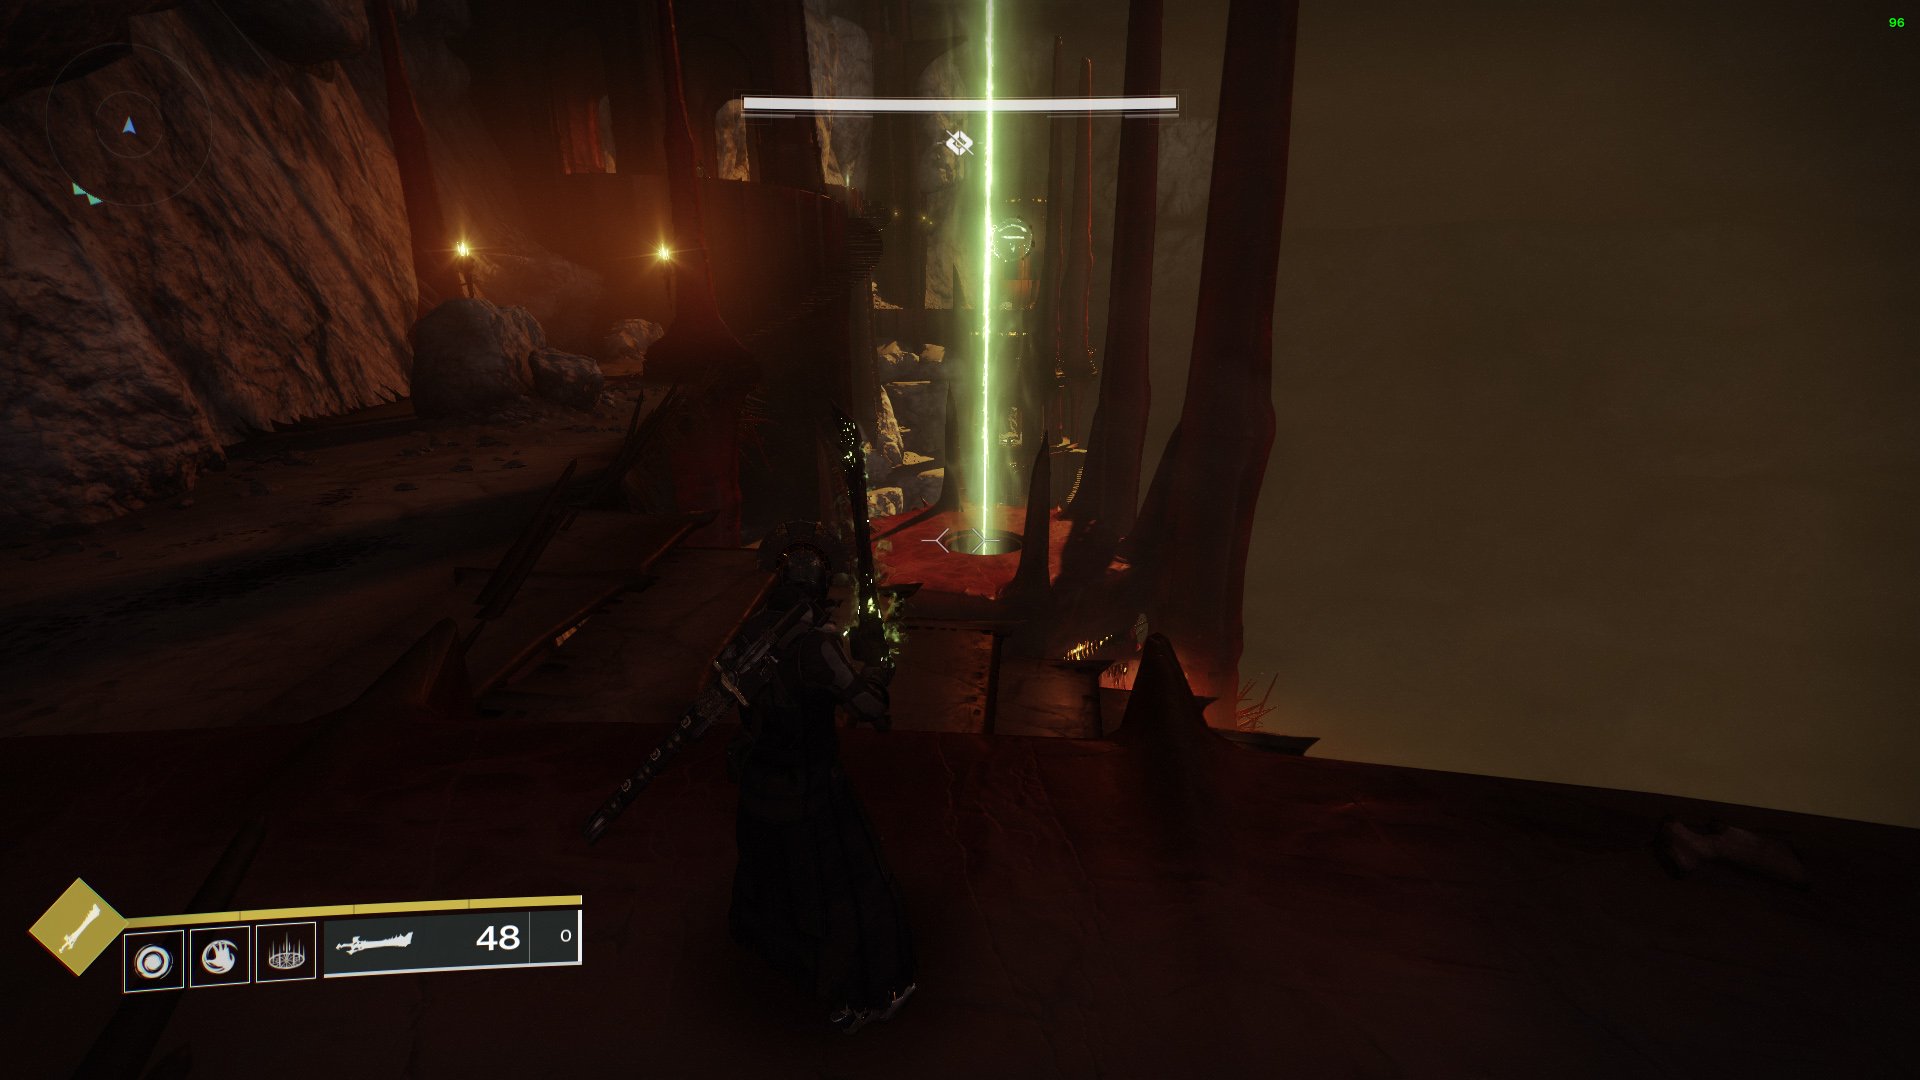
Tunnels of Despair

Open three gates while avoiding invulnerable Ogres.

Encounter list ↑
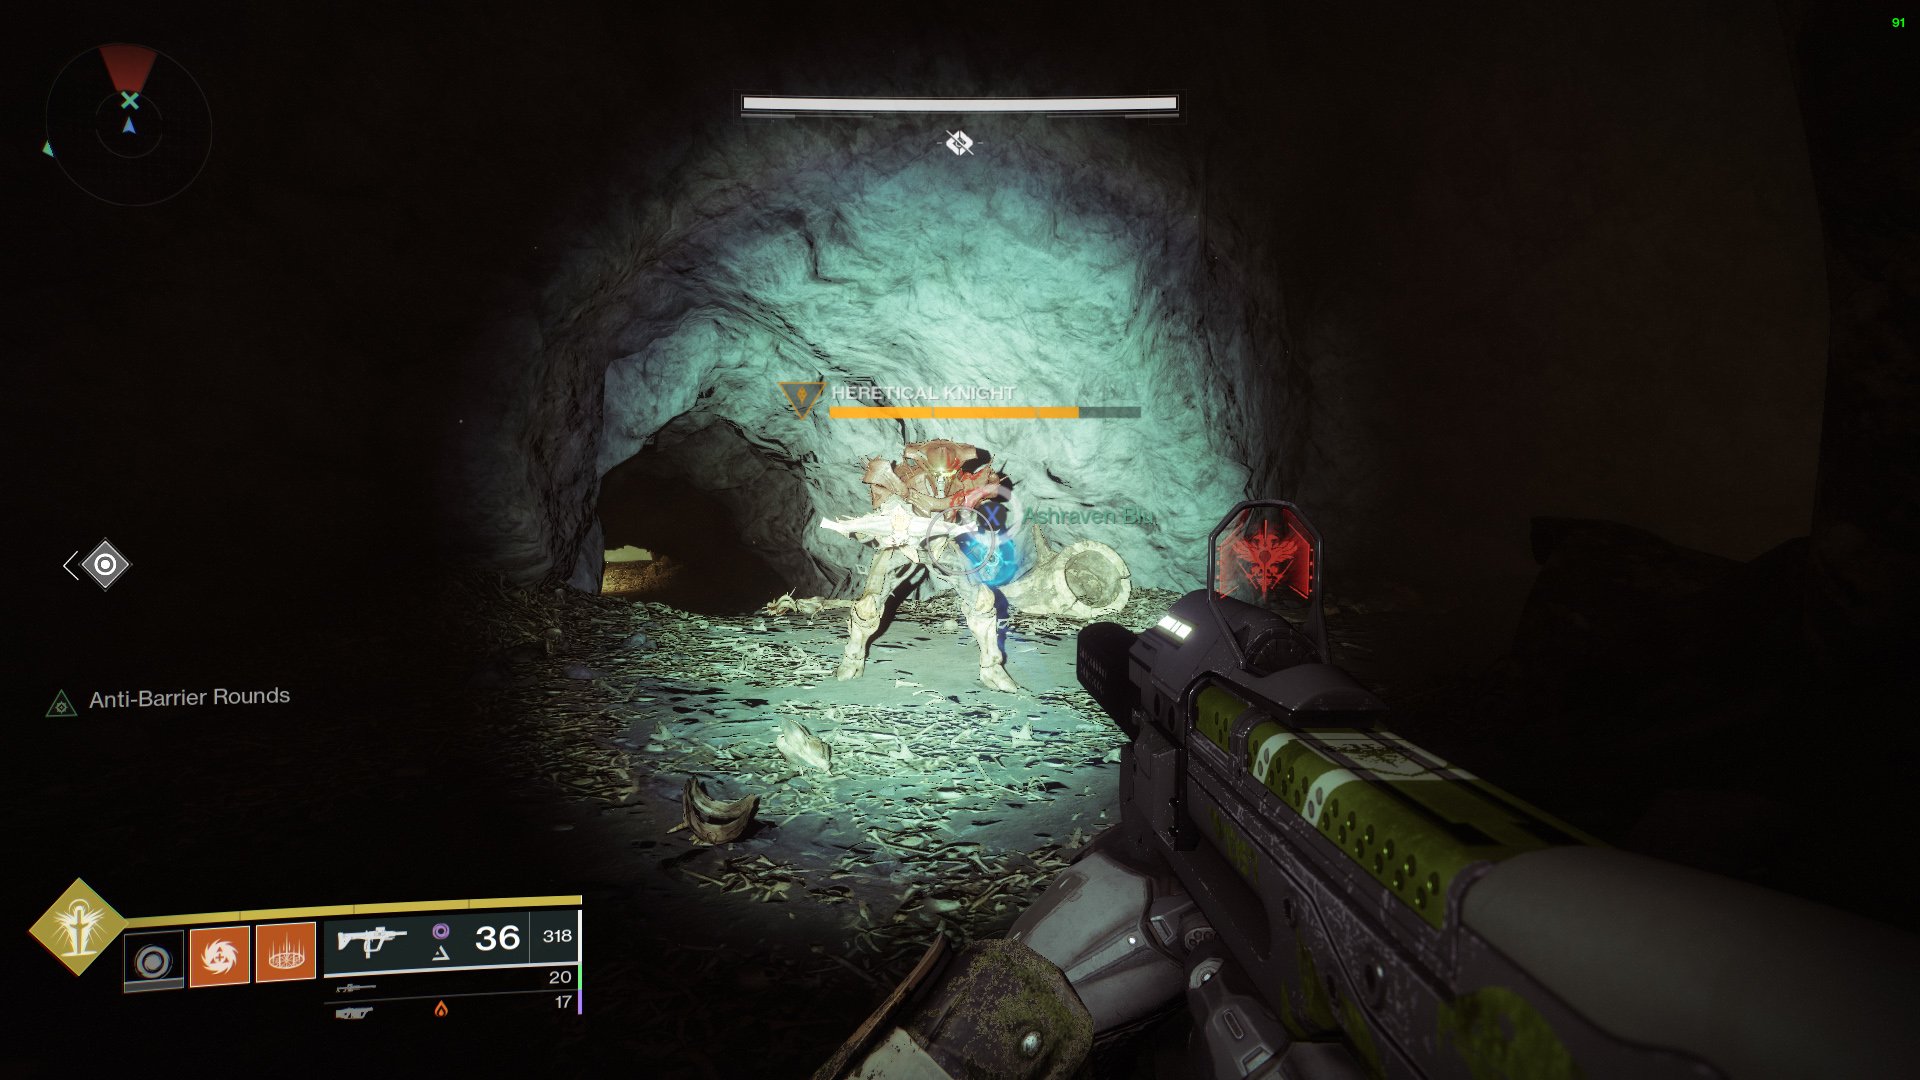
Tunnels of Despair — Pit of Heresy
Tunnels of DespairBungie · Shacknews / Sam Chandler

Encounter sequence

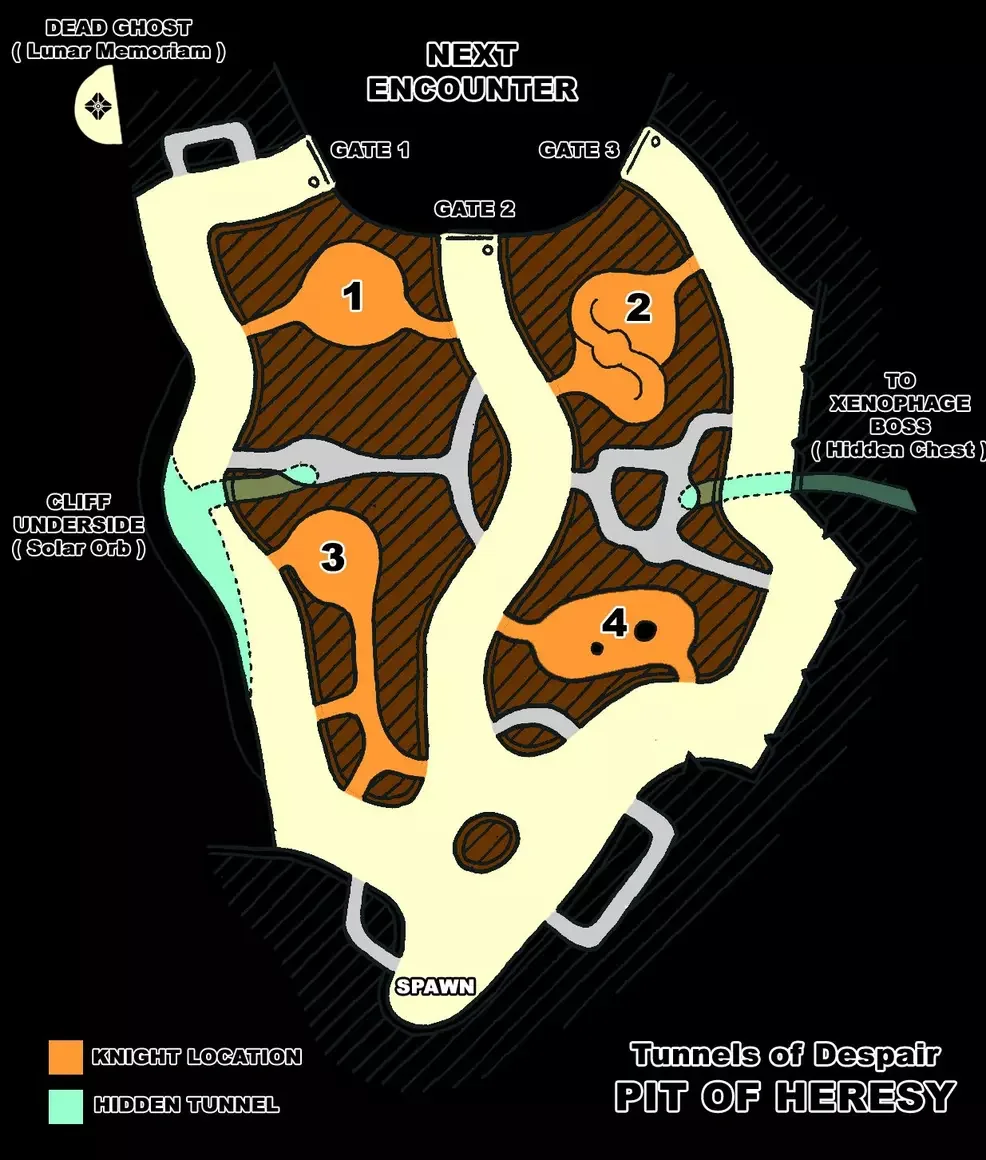
  1. Use the small passages

    Shoot the Hive membranes and enter the side caves. The large patrol lanes belong to the Harrowing Pariah Ogres; they cannot be killed.

  2. Recover a charge

    Kill a Heretical Knight inside a cave. Take its Void charge only when the route to a sealed gate is clear.

  3. Open every gate

    Deposit at the gate’s receptacle. Repeat at the other two sealed gates, using the caves between crossings.

If the attempt breaks down

If an Ogre blocks the deposit, retreat into a cave and wait. Check which barriers remain before carrying another charge.

Encounter source & visual reference ↗

03 / ENCOUNTER

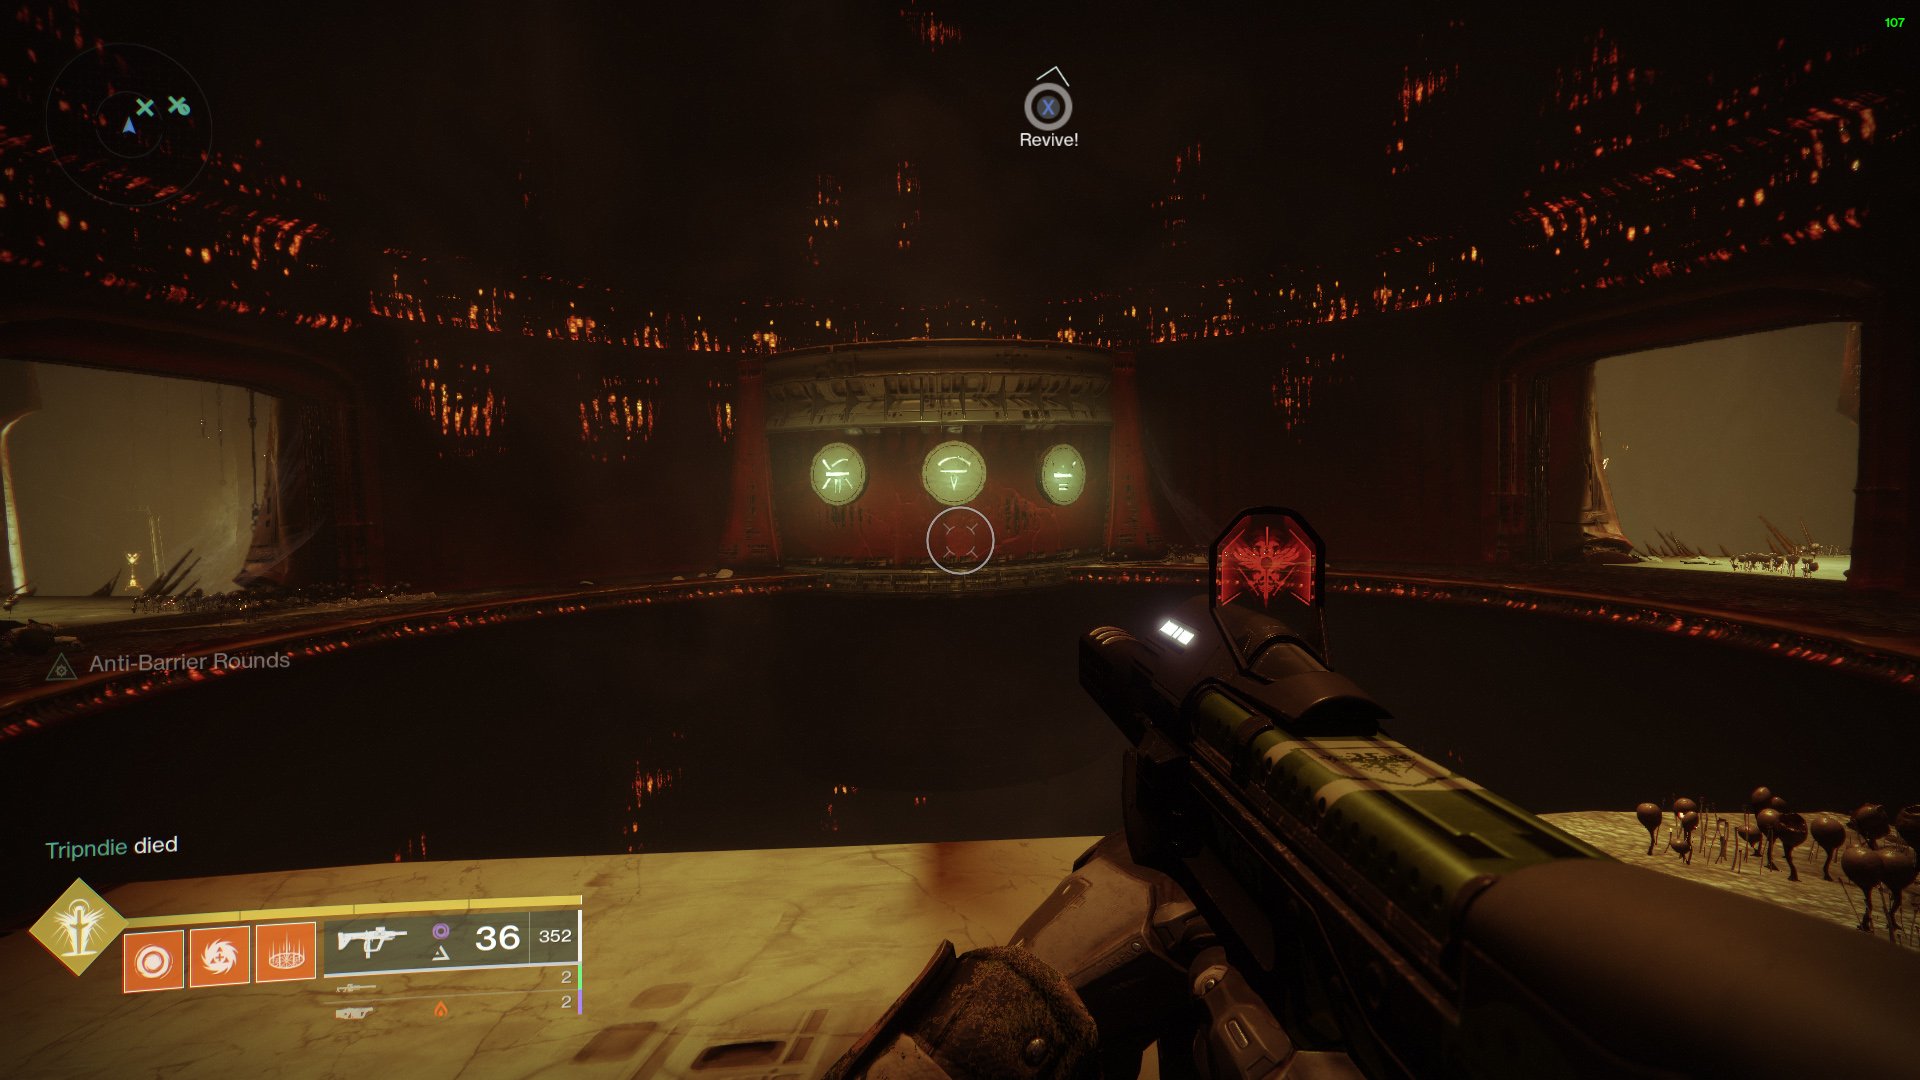
Chamber of Suffering

Hold the plate and deliver six charges.

Encounter list ↑
Chamber of Suffering — Pit of Heresy
Chamber of SufferingBungie · Shacknews / Sam Chandler

Encounter sequence

  1. Keep the totem quiet

    Stand on the plate beneath the Annihilator Totem. Leaving it unattended lets it charge toward a wipe.

  2. Deliver a Knight’s charge

    Runners kill Heretical Knights and deposit their Void charges beside the sealed exit. Each deposit removes a rune and resets Curse of Suffering.

  3. Stabilize after deposits

    Kill the upper Boomer Knights and nearby Thrall. Repeat until all six runes are gone. Curse stacks increase incoming damage while you wait.

If the attempt breaks down

Plate presence controls the totem; deposits control the Curse. If the defender falls, a runner must take the plate before attempting a distant revive.

Encounter source & visual reference ↗

04 / ENCOUNTER

The Harrow

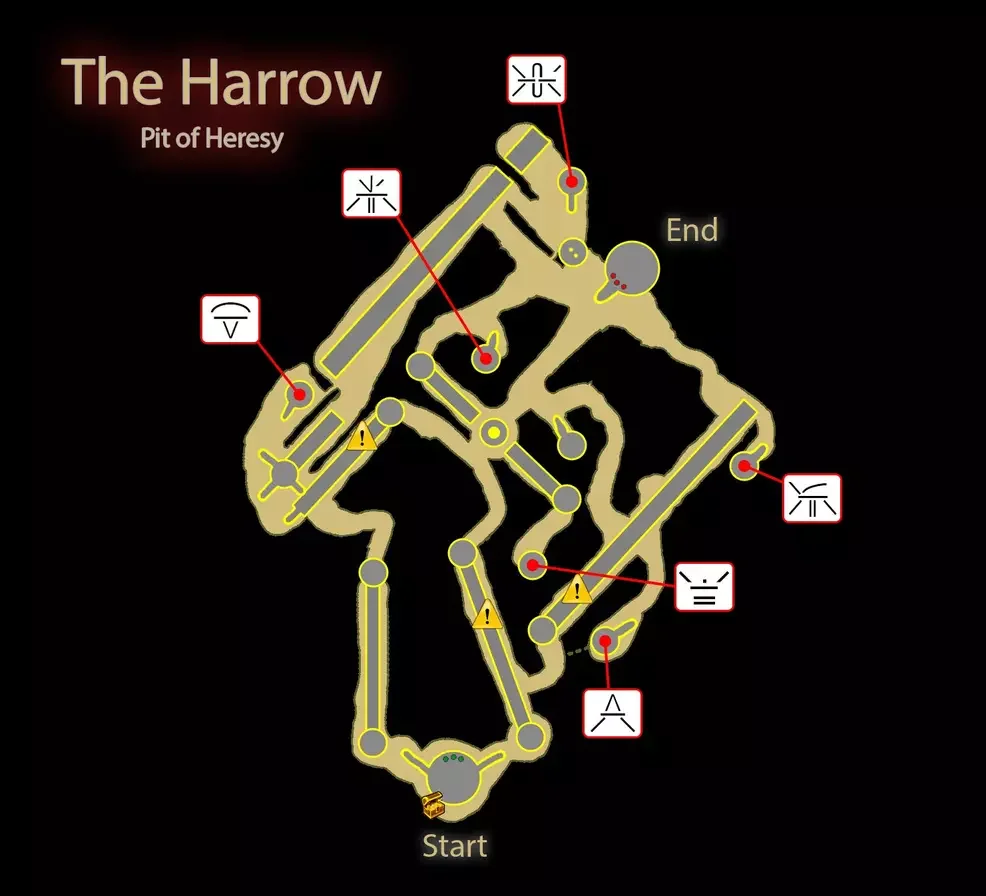
Find three matching runes among the traps.

Encounter list ↑
The Harrow — Pit of Heresy
The HarrowBungie · Shacknews / Sam Chandler

Encounter sequence

  1. Read before descending

    After the Chamber, descend past the rotating hazards and record the three wall runes above the maze.

  2. Find the Ritualists

    Locate each matching symbol and defeat its Malevolent Ritualist Wizard. Use stable ledges between trap cycles.

  3. Take the opened route

    Once all three seals break, continue to the Cradle of Damnation.

If the attempt breaks down

A missing seal means a required Wizard remains. Recheck the recorded symbols instead of clearing random towers.

Encounter source & visual reference ↗

05 / ENCOUNTER

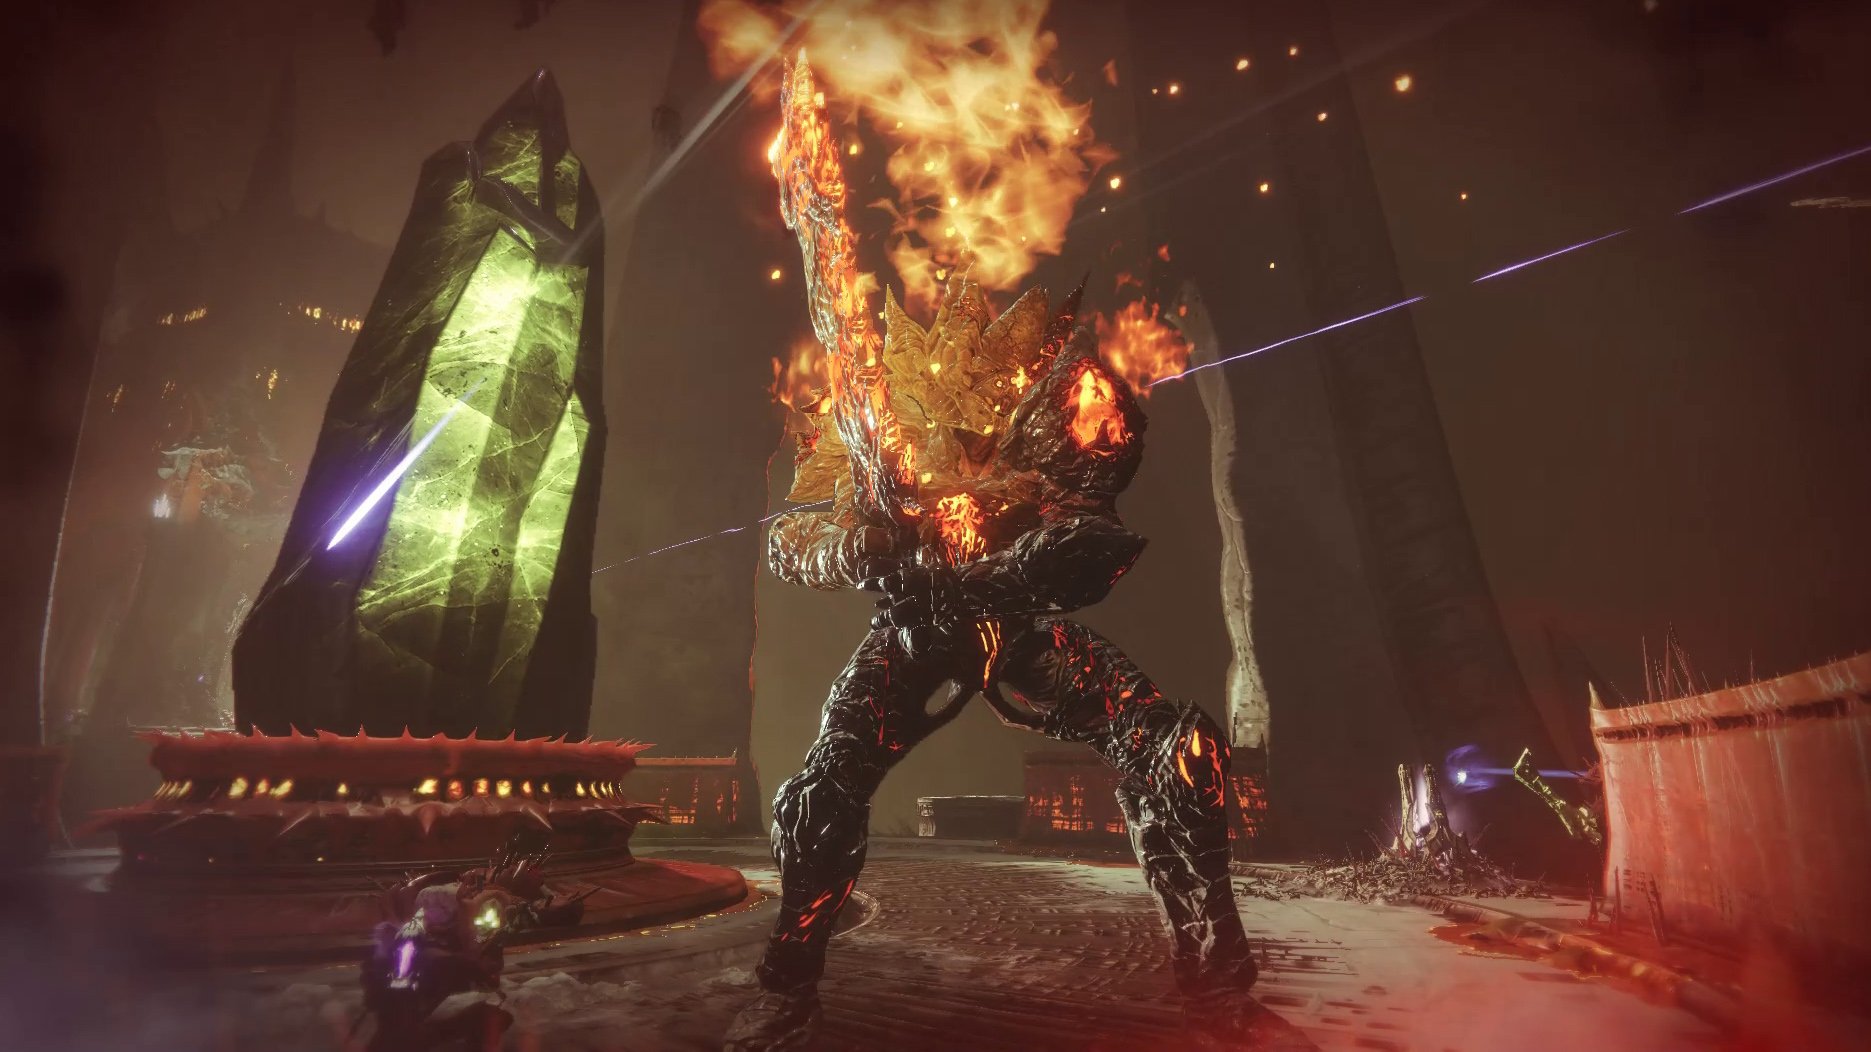
Zulmak, Instrument of Torment

Three disciples, three charges, one damage ring.

Encounter list ↑
Zulmak, Instrument of Torment — Pit of Heresy
Zulmak, Instrument of TormentBungie · Shacknews / Sam Chandler

Encounter sequence

  1. Repeat the relic rules

    Kill Swordbearers, take their swords, and defeat the outer Knight, Wizard and Shrieker with the correct attacks.

  2. Prepare the third deposit

    Carry each disciple’s Void charge to a central receptacle. Confirm everyone is ready before depositing the third.

  3. Damage inside the ring

    Stand in the active central ring to damage Zulmak. Avoid his fire and clear rushing Cursed Thrall.

  4. Leave before the blast

    When Zulmak kneels and charges the crystal, exit the ring. Repeat the disciples and deposits if he survives.

If the attempt breaks down

Stop shooting and leave when the crystal charges. An extra damage cycle is safer than staying for the detonation.

Encounter source & visual reference ↗

02 / SOLO & FLAWLESS

Keep a safe next move.

Short trips from the plate

In the Chamber, weaken a Knight from the plate, collect its charge quickly, deposit, then return. Clear balcony threats before the next trip.

Practice the descent

For a solo flawless attempt, start fresh and stay in the activity. Rehearse the traps and safe Ogre crossings first; read the current triumph text before launch.

03 / REWARDS & SECRETS

Choose optional stops before launch.

Xenophage is a separate route

The Journey includes optional dungeon steps and Volmâr. Killing Zulmak alone does not complete that quest; use the linked quest reference and your quest log.

Loot and records

Check the live reward and triumph descriptions before planning a farm. This guide covers the standard clear, without orb duplication or traversal skips.

04 / SOURCES

Keep the reference close.

Released 29 October 2019. This guide covers the standard clear. Source review excludes old Power targets, weapon rankings and reward schedules. Detailed optional routes are linked below.