← All dungeons

Grasp of Avarice

Released
Location
Cosmodrome
Power
300 / 300Combatant / Activity
Route
3 encounters

Full route / first editionSource-reviewed · Not yet verified in game · Updated · What changed

Change history (3)
  1. New

    Sparrow mines: Full write-up: the gate, timer extenders, the A to D route, the gravity cannon to the skull, roles, recovery and solo notes; where sources disagree, the page says so.

  2. Cosmetic

    Encounter list: The encounter list now also links the approach and traversal sections.

  3. New

    Whole guide: Published with the full route, roles, recovery and solo notes.

Main changes since the September 2026 rewrite, newest first. Corrections fix something that was wrong; site-wide layout changes aren’t listed. Source review means checked against the cited sources, not played.

Prepare for the whole route.

Before launch

Check access and modifiers on the activity card. This is the standard clear route. Bring healing, enemy control, boss damage and a Sparrow you handle confidently.

Assign the jobs

Name a Scorch Cannon operator and crystal guard. Everyone tracks their own Burden timer. At ten Riches, your Super refills; use it to secure pickups.

Riches and Scorch Cannons

Riches and Scorch Cannons
MechanicExecution
Burdened by RichesCursed engrams add stacks and refresh a lethal countdown.
Crystal depositStand close until every stack drains. Return before the timer expires.
Scorch receiverFire into the receiver, hold the trigger to charge, then release to detonate.
Damage cueWait for the boss to succumb to temptation; immunity means keep depositing.

APPROACH / SKYWATCH

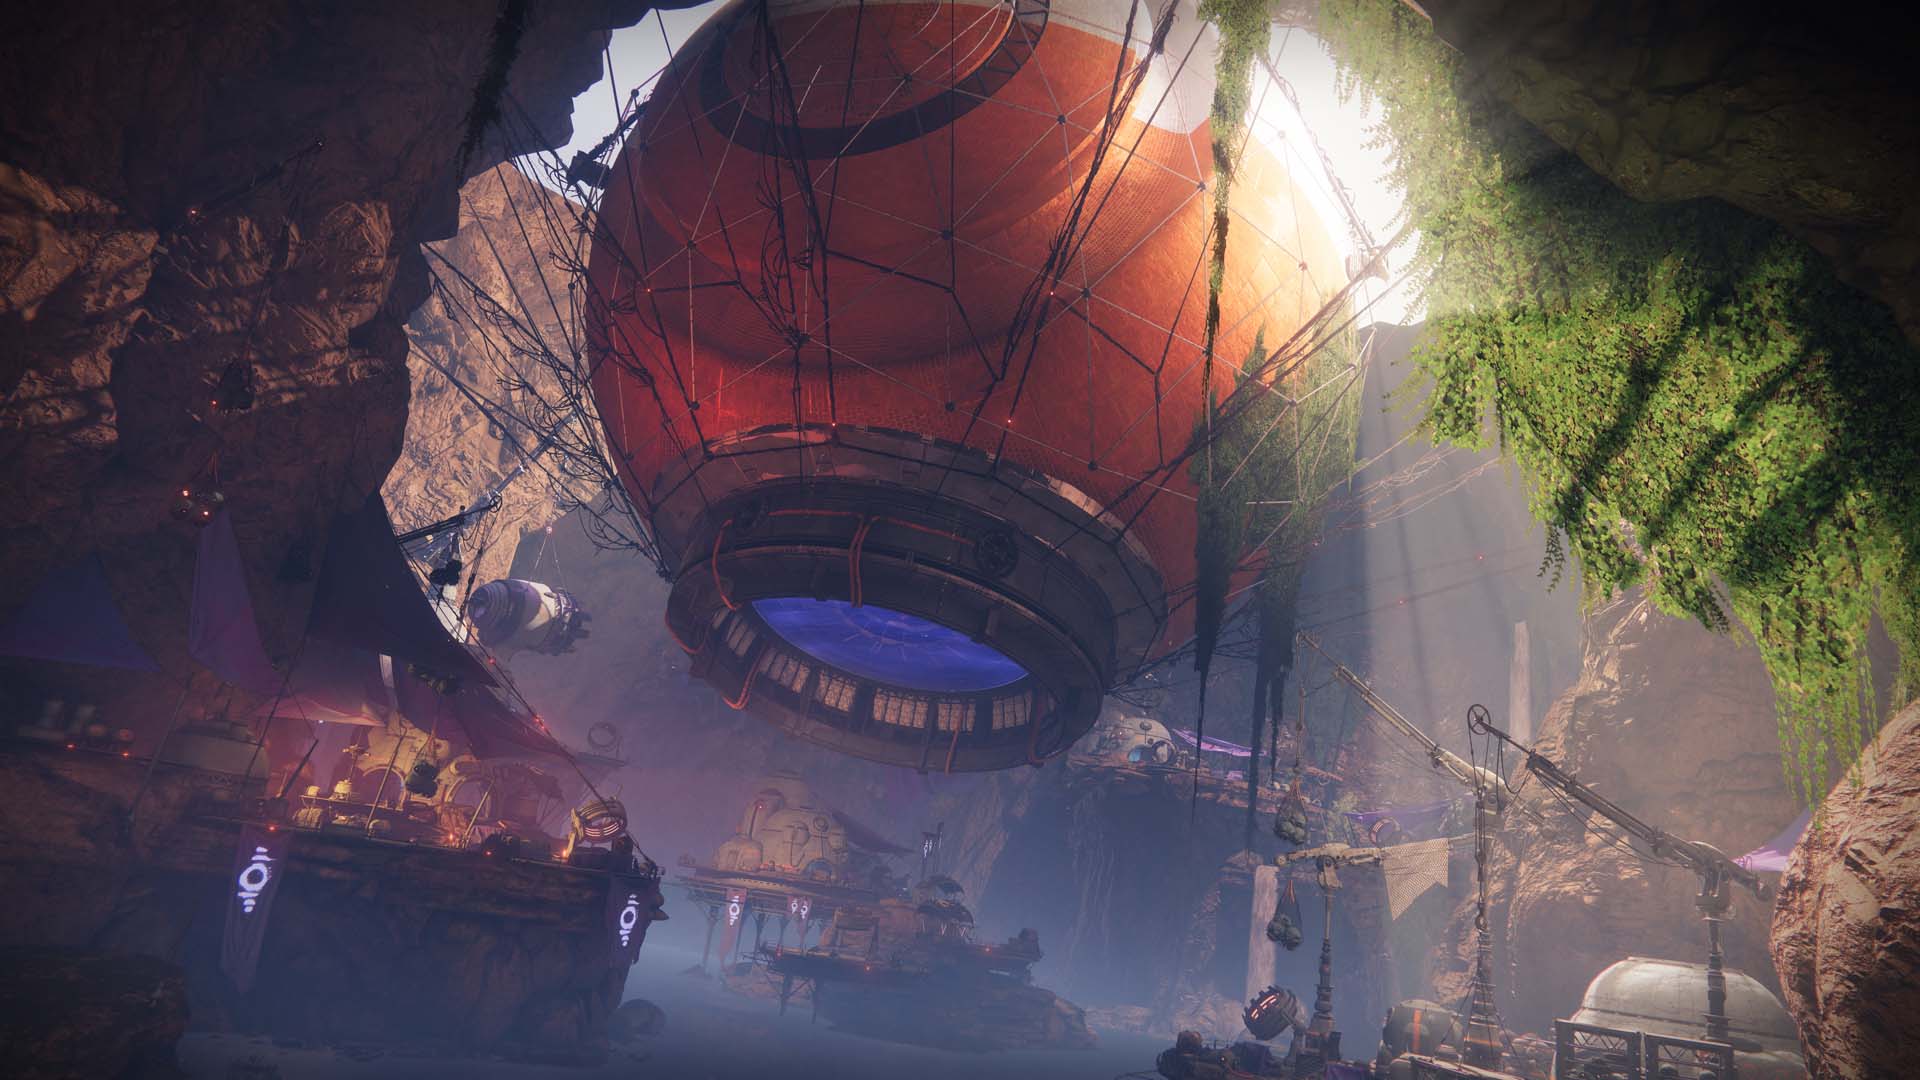
Feed the crystal in the loot cave.

Defeat the Hive, collect their cursed engrams and stand beside the cave crystal to drain Burdened by Riches. Deposit 50 across the team to open the floor. Another engram refreshes your timer; do not let it expire. Follow the new passage below.

Encounter list ↑

TRAVERSAL / RUSTED GANGPLANK

Look before touching a switch.

  1. Open the pipe

    Facing the two doors on the right side of the first facility room, use the left door. Jump over its pressure plate and pull the console lever.

  2. Find the lower console

    In the pipe room, the middle floor panels collapse. Drop from the left panel and jump toward the console beneath the right side. Activate it and return to the first room.

  3. Climb through the vents

    Use the wall fixtures to reach the newly opened upper passages. Take the lit passage, activate its progress plate, then climb beyond it while avoiding subsequent spike plates and collapsing floors.

  4. Follow the opened rooms

    In the flooded room, use newly opened side chambers and their levers. Clear Thrall and Shriekers. The last upper lever opens an end chamber; its switch opens the opposite end. Leave that room through the right doorway.

  5. Use doors 3 → 1 → 2 → 4

    In the circular room, the entry-side lever opens 3. Its lever opens 1, then 2. Take the Fallen Scorch Cannon and charge the receiver at 4. On the staircase, step into a side recess when the barrel rolls down; continue via the crate-side vent.

Route reference ↗

Encounter list ↑

The encounter route

01 / ENCOUNTER

Phry’zhia, the Insatiable

Open the side rooms, collect Riches and charge the crystal.

Encounter list ↑
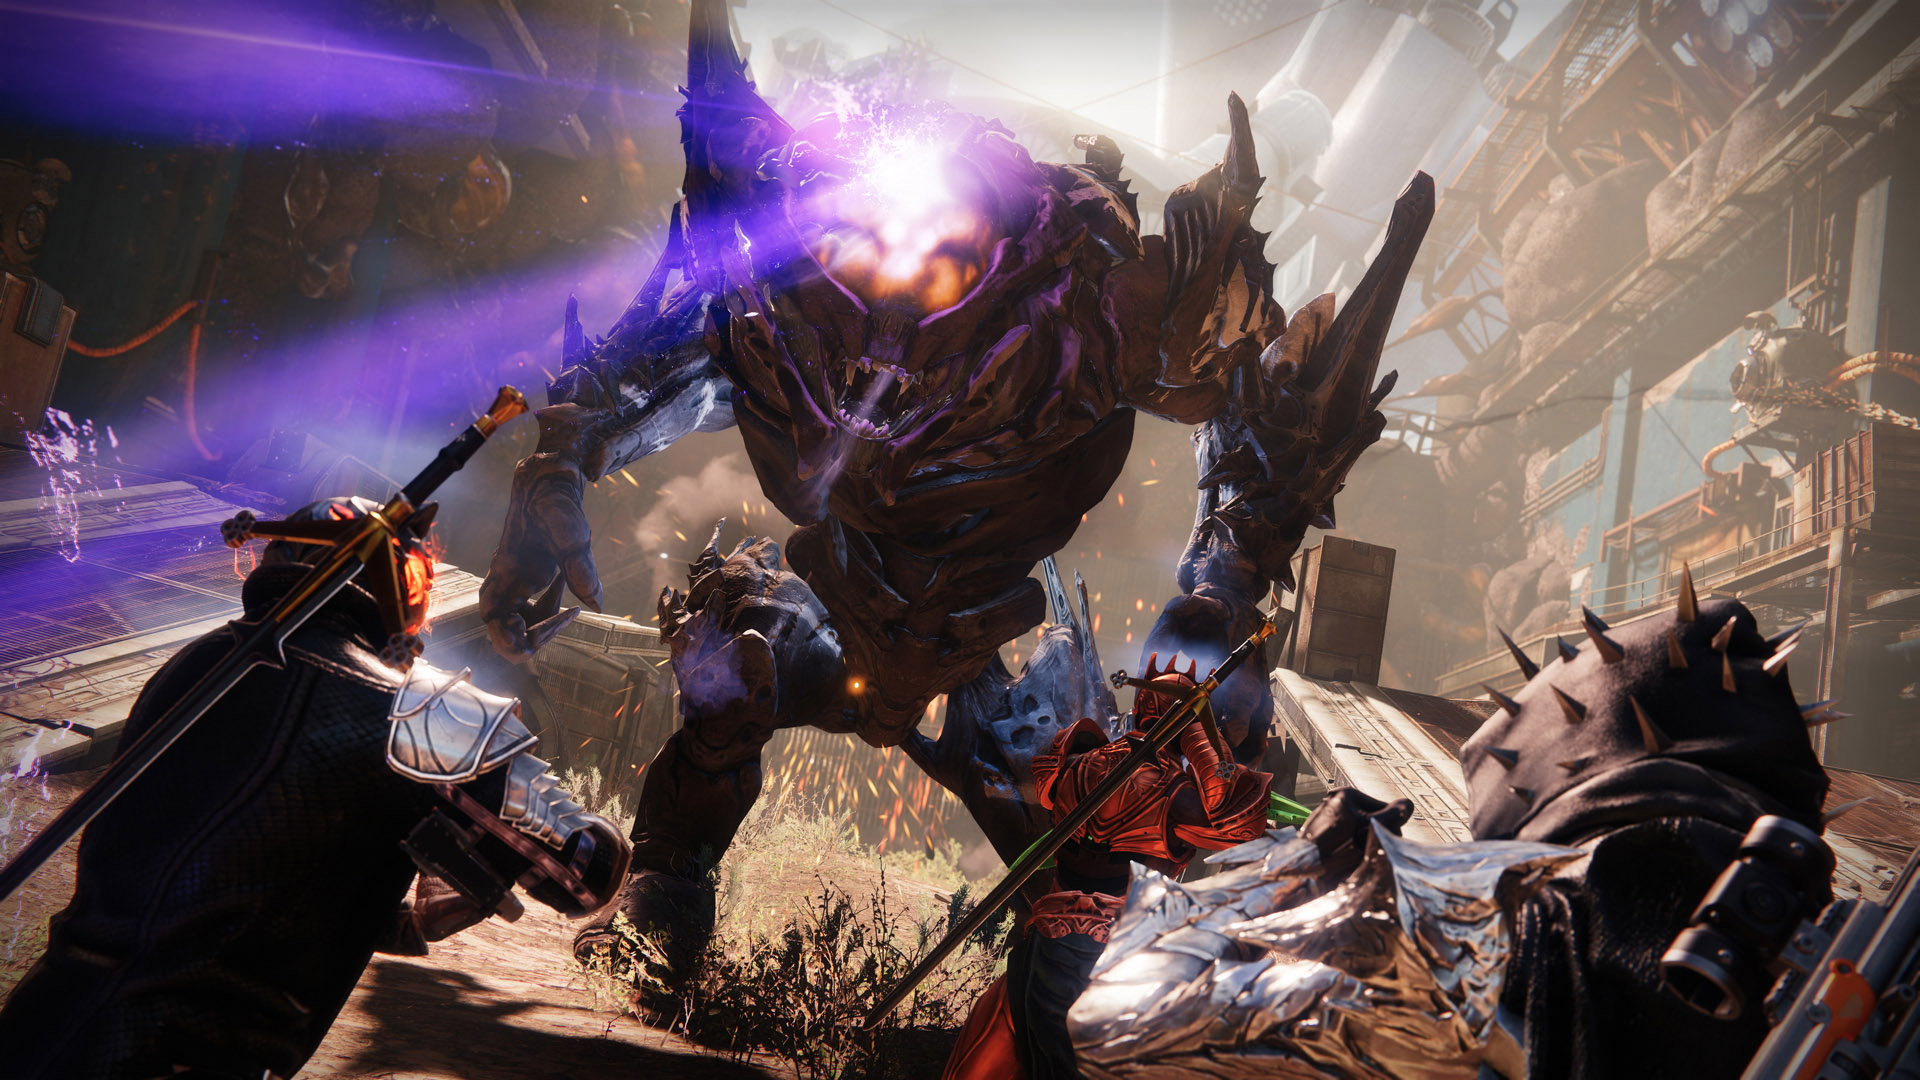
Phry’zhia, the Insatiable, Grasp of Avarice
Phry’zhia, the InsatiableBungie · Shacknews / Sam Chandler

Encounter sequence

  1. Open a side room

    Kill the Scorch Vandal and take its cannon. Charge the active receiver above a side doorway to open it.

  2. Collect and deposit

    Clear the Hive inside and take their engrams. Deposit at the entrance-side crystal; open the other room if needed. The standard threshold is 25 total Riches.

  3. Damage from cover

    When immunity drops, use the crystal or side-room cover while damaging the Ogre. Clear Thrall. If the shield returns, repeat the collection cycle.

If the attempt breaks down

If a door will not open, confirm the receiver is active and fully charge the shot. Return to the crystal early enough for all stacks to drain.

Encounter source & visual reference ↗

TRAVERSAL / SPARROW MINES

Disarm A, B, C and D in order.

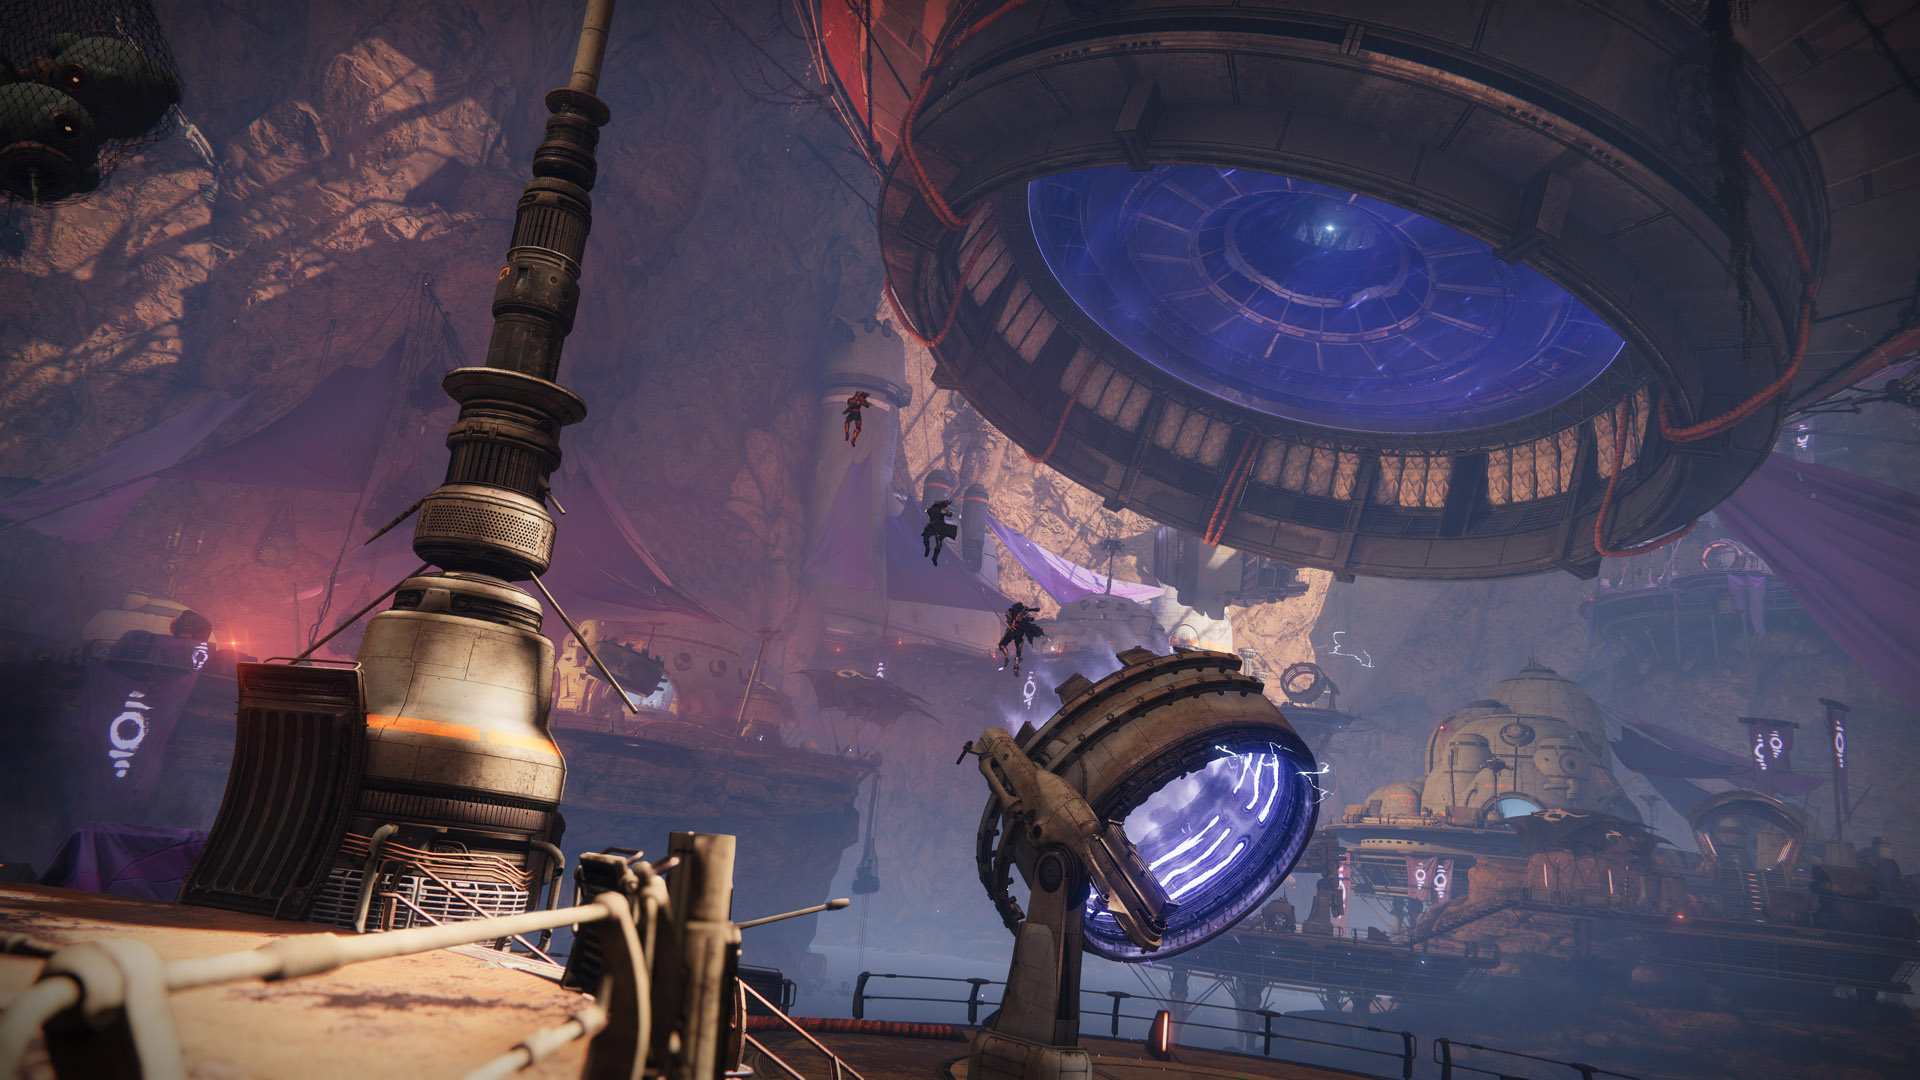
A timed Sparrow race through the Shroud. Four Fallen mines, A to D, sit along one route; reach each before its fuse runs out. Fuse extenders on the way buy time, and a gravity cannon carries you into the skull-shaped cave for the last mine.

Encounter list ↑

Route sequence

  1. Open the gate

    Past Phry’zhia’s arena, the corridor ends at a large door with two switches. The left one opens the door and starts the run. The right one is trapped; its floor panel shows the trap. Mount Sparrows before you pull the lever.

  2. Extenders

    Extenders are round red-and-white lights on the ground. Drive over or close to one and it turns green, a “Mine fuse extended” notice appears, and the mine timer gets more time. You don’t need to stop.

  3. Mine A

    When the door opens, bear right: there’s an extender under the ship wreckage on the right-hand side. Then cut left under the crashed ship to Mine A.

  4. Mine B

    Ride into the cylindrical crashed ship. Shacknews puts an extender inside on the right, before the hexagonal centre structure; GameSpot’s line keeps left along the wall to take another. Get back to the centre for the tight round opening ahead, which leads to Mine B.

  5. Mine C

    From B, bear left up the rocky wall and back inside the ship; the right side has a Fallen Walker. The ship’s round opening ahead has another extender, and Shacknews adds one behind wreckage in the middle of the route where the Walker drops in. Mine C is in the big rusted room beyond.

  6. Launch to Mine D

    After C, go through the triangular opening held by Fallen and bear right past the centre ramp. The ramp on the right ends at an extender just before two spinning gravity cannons. Take the higher one on the left: it carries you past the last extender into the skull-shaped cave. Mine D is just inside, and Shacknews calls it the hardest to reach.

  7. Hold the skull

    The Sparrow route ends at D. Disarm it, then clear the enemies in the cave. Continue through the crystal cave and drop into the Fallen Shield arena. A hidden chest sits in one of the skull’s eye sockets; climb the crystals inside the skull to reach it.

If the attempt breaks down

If a mine detonates, the team wipes and the encounter resets. Run the same line again, with the second rider covering whichever extender was missed.

Fallen shoot at riders and lay Web Mines, and a Sparrow can be destroyed mid-run. Bring a quick-summon Sparrow and a mod that shortens the Sparrow cooldown. If yours smokes, get off on stable ground and summon a new one at once. You can finish a mine on foot.

On Master, Shacknews suggests the Micro Mini Sparrow to draw less fire, Riskrunner and Arc resistance mods, and Blinding grenades near a mine (jump off the Sparrow before you reach it).

Shacknews: extender locations and screenshots ↗ GameSpot: route line ↗ PC Gamer: Sparrow section ↗ Destinypedia: mines and reset ↗ Vaexil: roles and solo ↗ CarrySquad: mine sequence ↗

02 / ENCOUNTER

Fallen Shield

Launch four Servitor shells into the shield nodes.

Encounter list ↑
Fallen Shield, Grasp of Avarice
Fallen ShieldBungie · Shacknews / Sam Chandler

Encounter sequence

  1. Reach the shielded Servitor

    Find the occupied island. Rotate a gravity cannon toward it and use a charged receiver shot to launch across.

  2. Break its immunity

    Collect enemy engrams and drain them at that island’s crystal until the Servitor becomes vulnerable. Kill it.

  3. Launch the remains

    Roll the shell onto the gravity cannon pad. Aim at an intact node on the central structure, then activate the receiver. Move promptly before the shell expires.

  4. Break four nodes

    Find the next shielded Servitor and repeat. After four hits, collect the central reward and launch upward into the sphere.

If the attempt breaks down

Set the aim before firing. If a shell expires or misses, prepare another Servitor rather than jumping after it.

Encounter source & visual reference ↗

03 / ENCOUNTER

Captain Avarokk the Covetous

Deposit 60 Riches to expose the captain.

Encounter list ↑
Captain Avarokk the Covetous, Grasp of Avarice
Captain Avarokk the CovetousBungie · Shacknews / Sam Chandler

Encounter sequence

  1. Secure the arena

    Approach the central engram to start. Remove the dangerous Shank R-M80 and Vandal Grisprax before committing to collection. Take a Scorch Cannon from its carrier.

  2. Release the engrams

    Fully charge a shot in an active receiver. Collect the engrams dropped around the perimeter and return to the center crystal. Alternate receivers as needed.

  3. Prepare the final deposit

    Drain 60 total Riches across the team. Gather for damage before the final stacks finish depositing; the boss then loses immunity.

  4. Damage and repeat

    Damage Avarokk while vulnerable. When immunity returns, stabilize the arena, trigger more drops and repeat. Claim the final chest after the kill.

If the attempt breaks down

If a receiver is unavailable, use another. Prioritize the crystal over distant engrams when your timer is low.

Encounter source & visual reference ↗

Keep a safe next move.

Deposit in safe batches

You perform the cannon, collection and defense jobs yourself. Clear a retreat route before collecting, and use the crystal to recover control.

Rehearse the movement

Practice the barrel, Sparrow route and shell launches before a flawless run. Start fresh and stay in the activity for a full solo flawless attempt.

Choose optional stops before launch.

Gjallarhorn and its catalyst

The dungeon clear is part of And Out Fly the Wolves, not the whole quest. The catalyst uses three Reaver Vandal chest steps after acquiring Gjallarhorn; plan that separate route before launch.

Collectibles and Master

Wilhelm’s messages and hidden chests are optional detours. Master adds combat difficulty and Champions; check the current activity card. This guide does not claim a current loot table.

Keep the reference close.

Released 7 December 2021. This guide covers the standard clear. Source review excludes old Power targets, weapon rankings and reward schedules. Detailed optional routes are linked below.