← All dungeons

Equilibrium

Released
Location
Venus and the Imperium fleet
Power
350 / 350Combatant / Activity
Route
3 encounters

Full route / first editionSource-reviewed · Not yet verified in game · Updated · What changed

Change history (2)
  1. Cosmetic

    Encounter list: The encounter list now also links the approach and traversal sections.

  2. New

    Whole guide: Published with the full route, roles, recovery and solo notes.

Main changes since the September 2026 rewrite, newest first. Corrections fix something that was wrong; site-wide layout changes aren’t listed. Source review means checked against the cited sources, not played.

Prepare for the whole route.

Prepare for moving fights

Bring reliable healing, precise ranged fire and a way to quickly defeat heavy Cabal. Reserve ammunition for boss openings.

Check your Shadow controls

Collect Taken pools to build Gathering Shadow. Use your mapped Renegade ability toggle to select Shadow Power, then cast its short-range pulse. Additional pools refresh the timed rank.

Shadow ranks and encounter cues

Shadow ranks and encounter cues
CueResponse
Shadow NoviceInterrupt a glowing Nameless Apprentice during its charged attack.
Shadow ApprenticeActivate Taken panels for doors, platforms and defenses.
Shadow MasterUse the Compel interaction on Blistered Shadows. This is separate from casting Shadow Power.
Harrow’s DecreeTurn toward Harrow and interrupt the charging blast.
Sere’s glowing handsShoot both hands to cancel the lightning attack.

APPROACH / PRAXIC TEMPLE

Clear the grounds and descend.

Defeat the Cabal around the temple, watching for drop pods. Follow the waterfall down and take the tunnel through the War Beasts to the first arena.

Route reference ↗

Encounter list ↑

The encounter route

01 / ENCOUNTER

Defeat the Barant Imperium Forces

Open the outer circuit, gain Shadow Novice and clear the landing zone.

Encounter list ↑
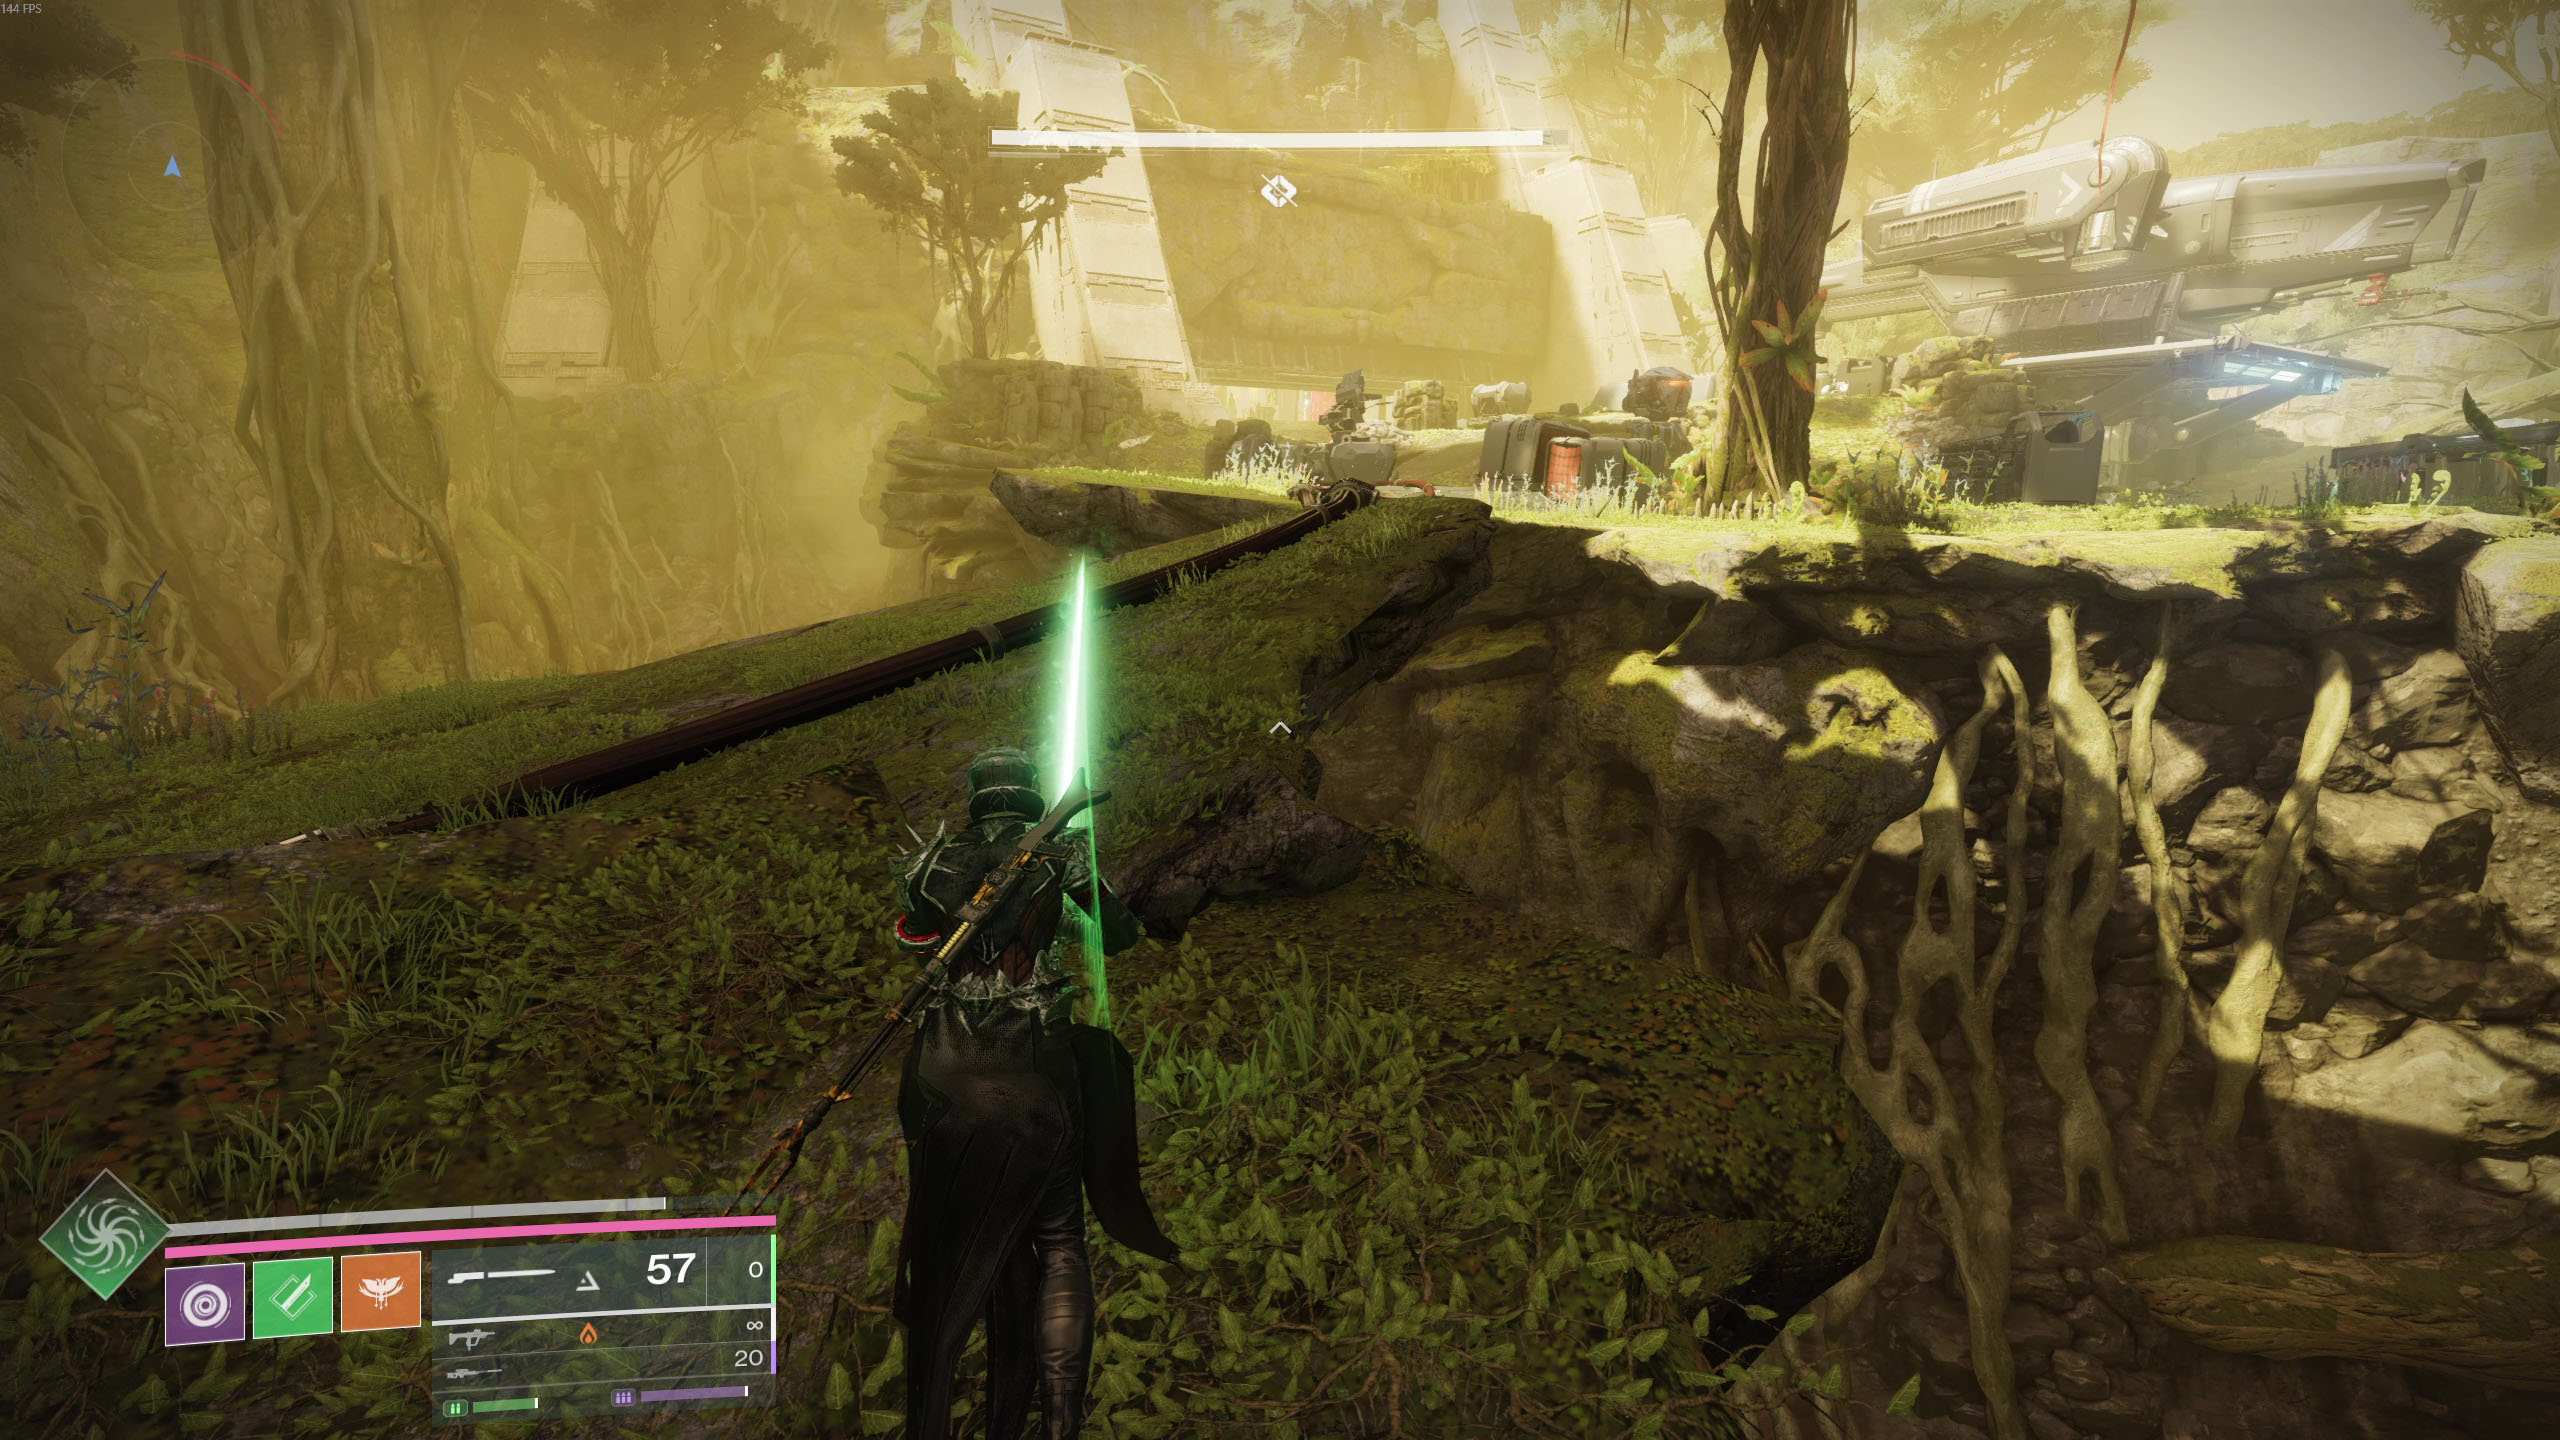
Defeat the Barant Imperium Forces, Equilibrium
Defeat the Barant Imperium ForcesBungie · Shacknews / John Schutt

Encounter sequence

  1. Expose an array

    Approach the docked Harvester to begin. Lure an immune Nameless Apprentice beside an Array Satellite near a red barrier. Activate the array during its charged blast so the explosion hits the briefly exposed device.

  2. Ride the circuit

    Enter the opened passage and mount a Pike. Ride through Taken pools until Shadow Novice appears; pools also reset the dangerous Creeping Shadows debuff. Return to the arena.

  3. Interrupt and defeat

    Cast Shadow Power into an Apprentice while it charges Hate of the Nameless. Its shield drops: finish it, then collect its pool to refresh your rank.

  4. Clear the reinforcements

    Repeat for all six Apprentices and destroy the Behemoth waves, including the final large walkers. Board the Harvester after the encounter ends.

If the attempt breaks down

If Shadow expires, ride the circuit again. Keep clear of drop-pod landing zones and face the charging Apprentice before casting.
Encounter source & visual reference ↗

TRAVERSAL / IMPERIUM CARRIER

Climb through the carrier.

Climb the hangar ships and suspended platforms to a breakable grate. Follow the vents, regroup at the team door and shoot three blue fuses to open the cargo-room exit. Outside, account for the ship’s sideways pull. In the red-barrier rooms, shoot the fuses to advance through the middle room and onward vents. Stand back from explosive grates; avoid shooting the large exterior window.

Route reference ↗

Encounter list ↑

02 / ENCOUNTER

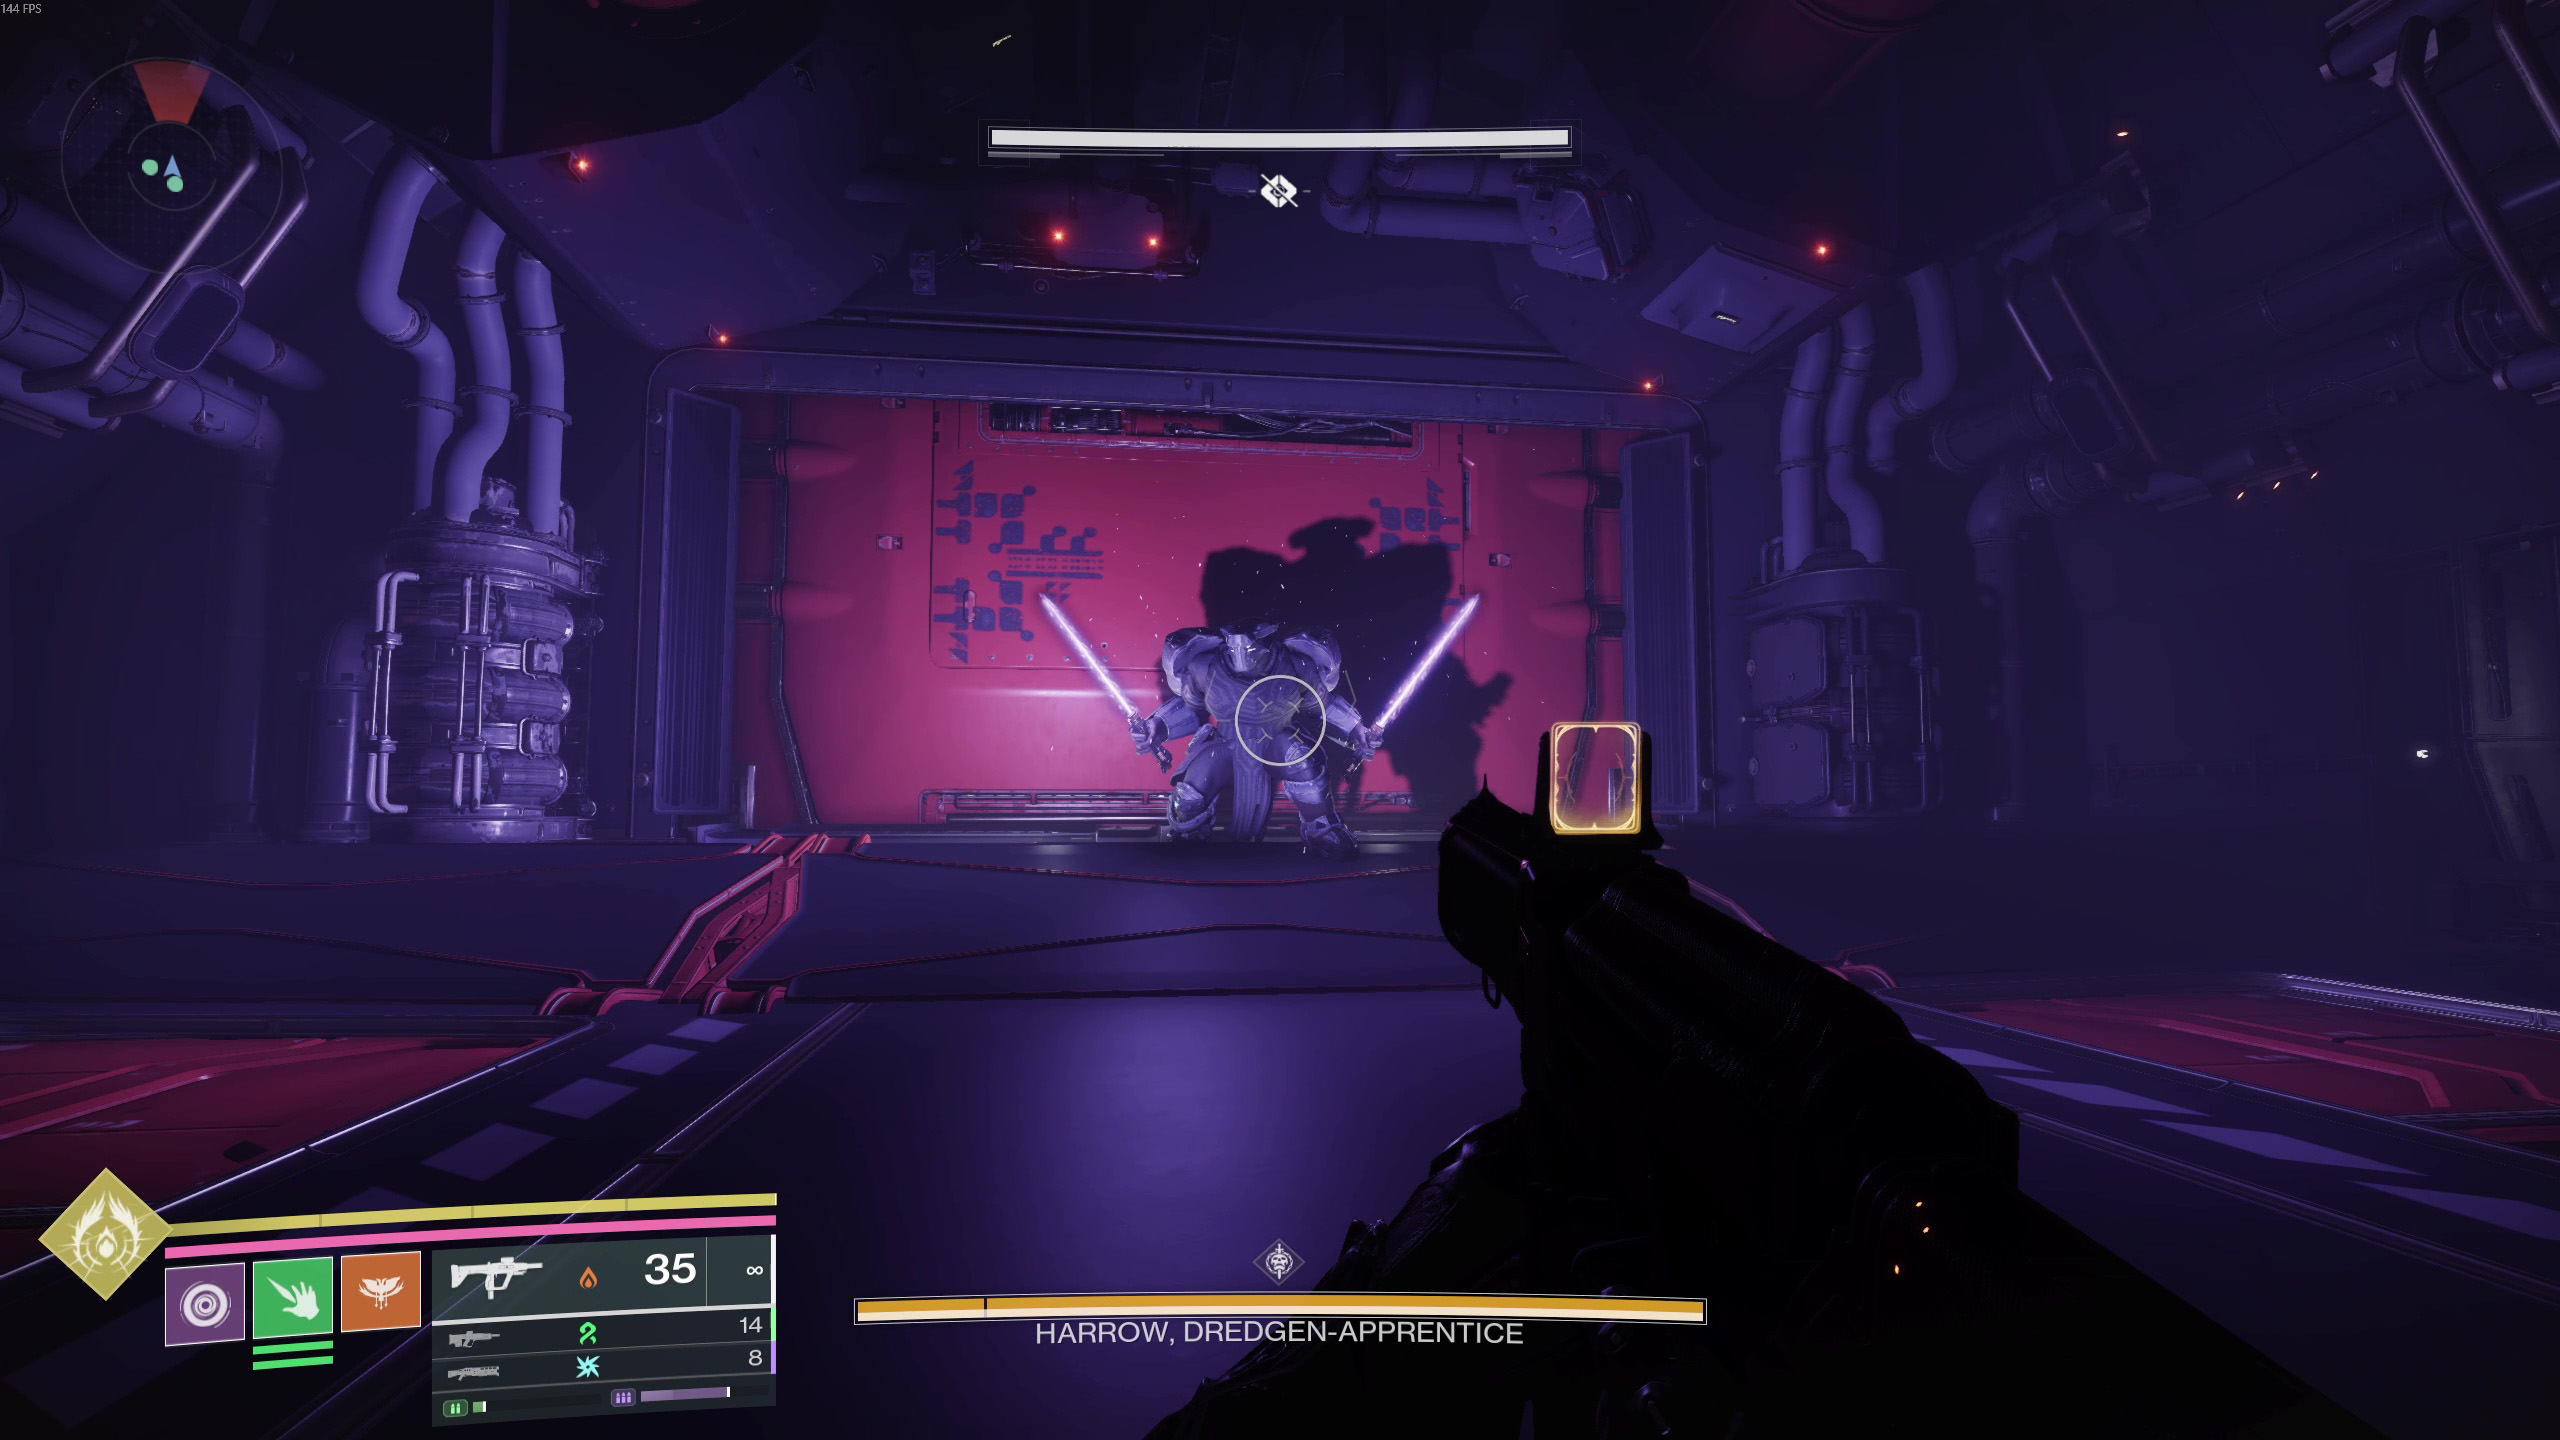
Harrow, Dredgen-Apprentice

Power the emergency systems and turn the ship’s traps against Harrow.

Encounter list ↑
Harrow, Dredgen-Apprentice, Equilibrium
Harrow, Dredgen-ApprenticeBungie · Shacknews / John Schutt

Encounter sequence

  1. Enter the outer hall

    Shoot the fuse behind the rally window to open the floor. After starting, follow incoming Cabal through a side door; hold the hall side for teammates. Kill Lackeys and gather their pools for Shadow Apprentice.

  2. Enable the subsystems

    Find all three Taken panels in each of the three outer rooms. Hit each room’s set quickly with Shadow Power; confirm its door lights turn green. Interrupt Harrow’s Decree whenever he appears.

  3. Use the traps

    Return together. Shoot the fuses above doors to open floor pits and lure Harrow across them. Alternatively, energize a conductor’s nearby Taken panels and bait his attack into it. Each successful trap damages his shield.

  4. Follow up and damage

    After a trap hits, immediately use Shadow Power during his brief vulnerability to reduce the remaining shield. Once empty, use normal weapons. Another charged conductor hit can extend damage.

  5. Pursue the retreat

    At the final health segment, follow Harrow through the broken rear wall. Clear turrets while crossing and finish him on the far platform. If his shield returns, use the available fuse, hatch and Shadow controls again.

If the attempt breaks down

Destroyed conductors stay gone. Repeat the three outer-room panel sequences to restore used pits. Locate every panel before starting a timed set.

Encounter source & visual reference ↗

TRAVERSAL / MALPHAS CONTEMPTUS

Board the command ship.

Rebuild Shadow Apprentice, activate the panels by the bay door and operate its switch. Wait for the next ship to arrive, then jump aboard. Follow exterior ledges to two red switches, descend and enter the vent. Clear the hangar and use its console to raise the moving platforms. Continue beneath the tank through the ventilation junction; only one grate leads onward. In the large platform chamber, build Shadow again and use the Taken panel to access the high pipe. Clear the remaining guards to reach Sere.

Route reference ↗

Encounter list ↑

03 / ENCOUNTER

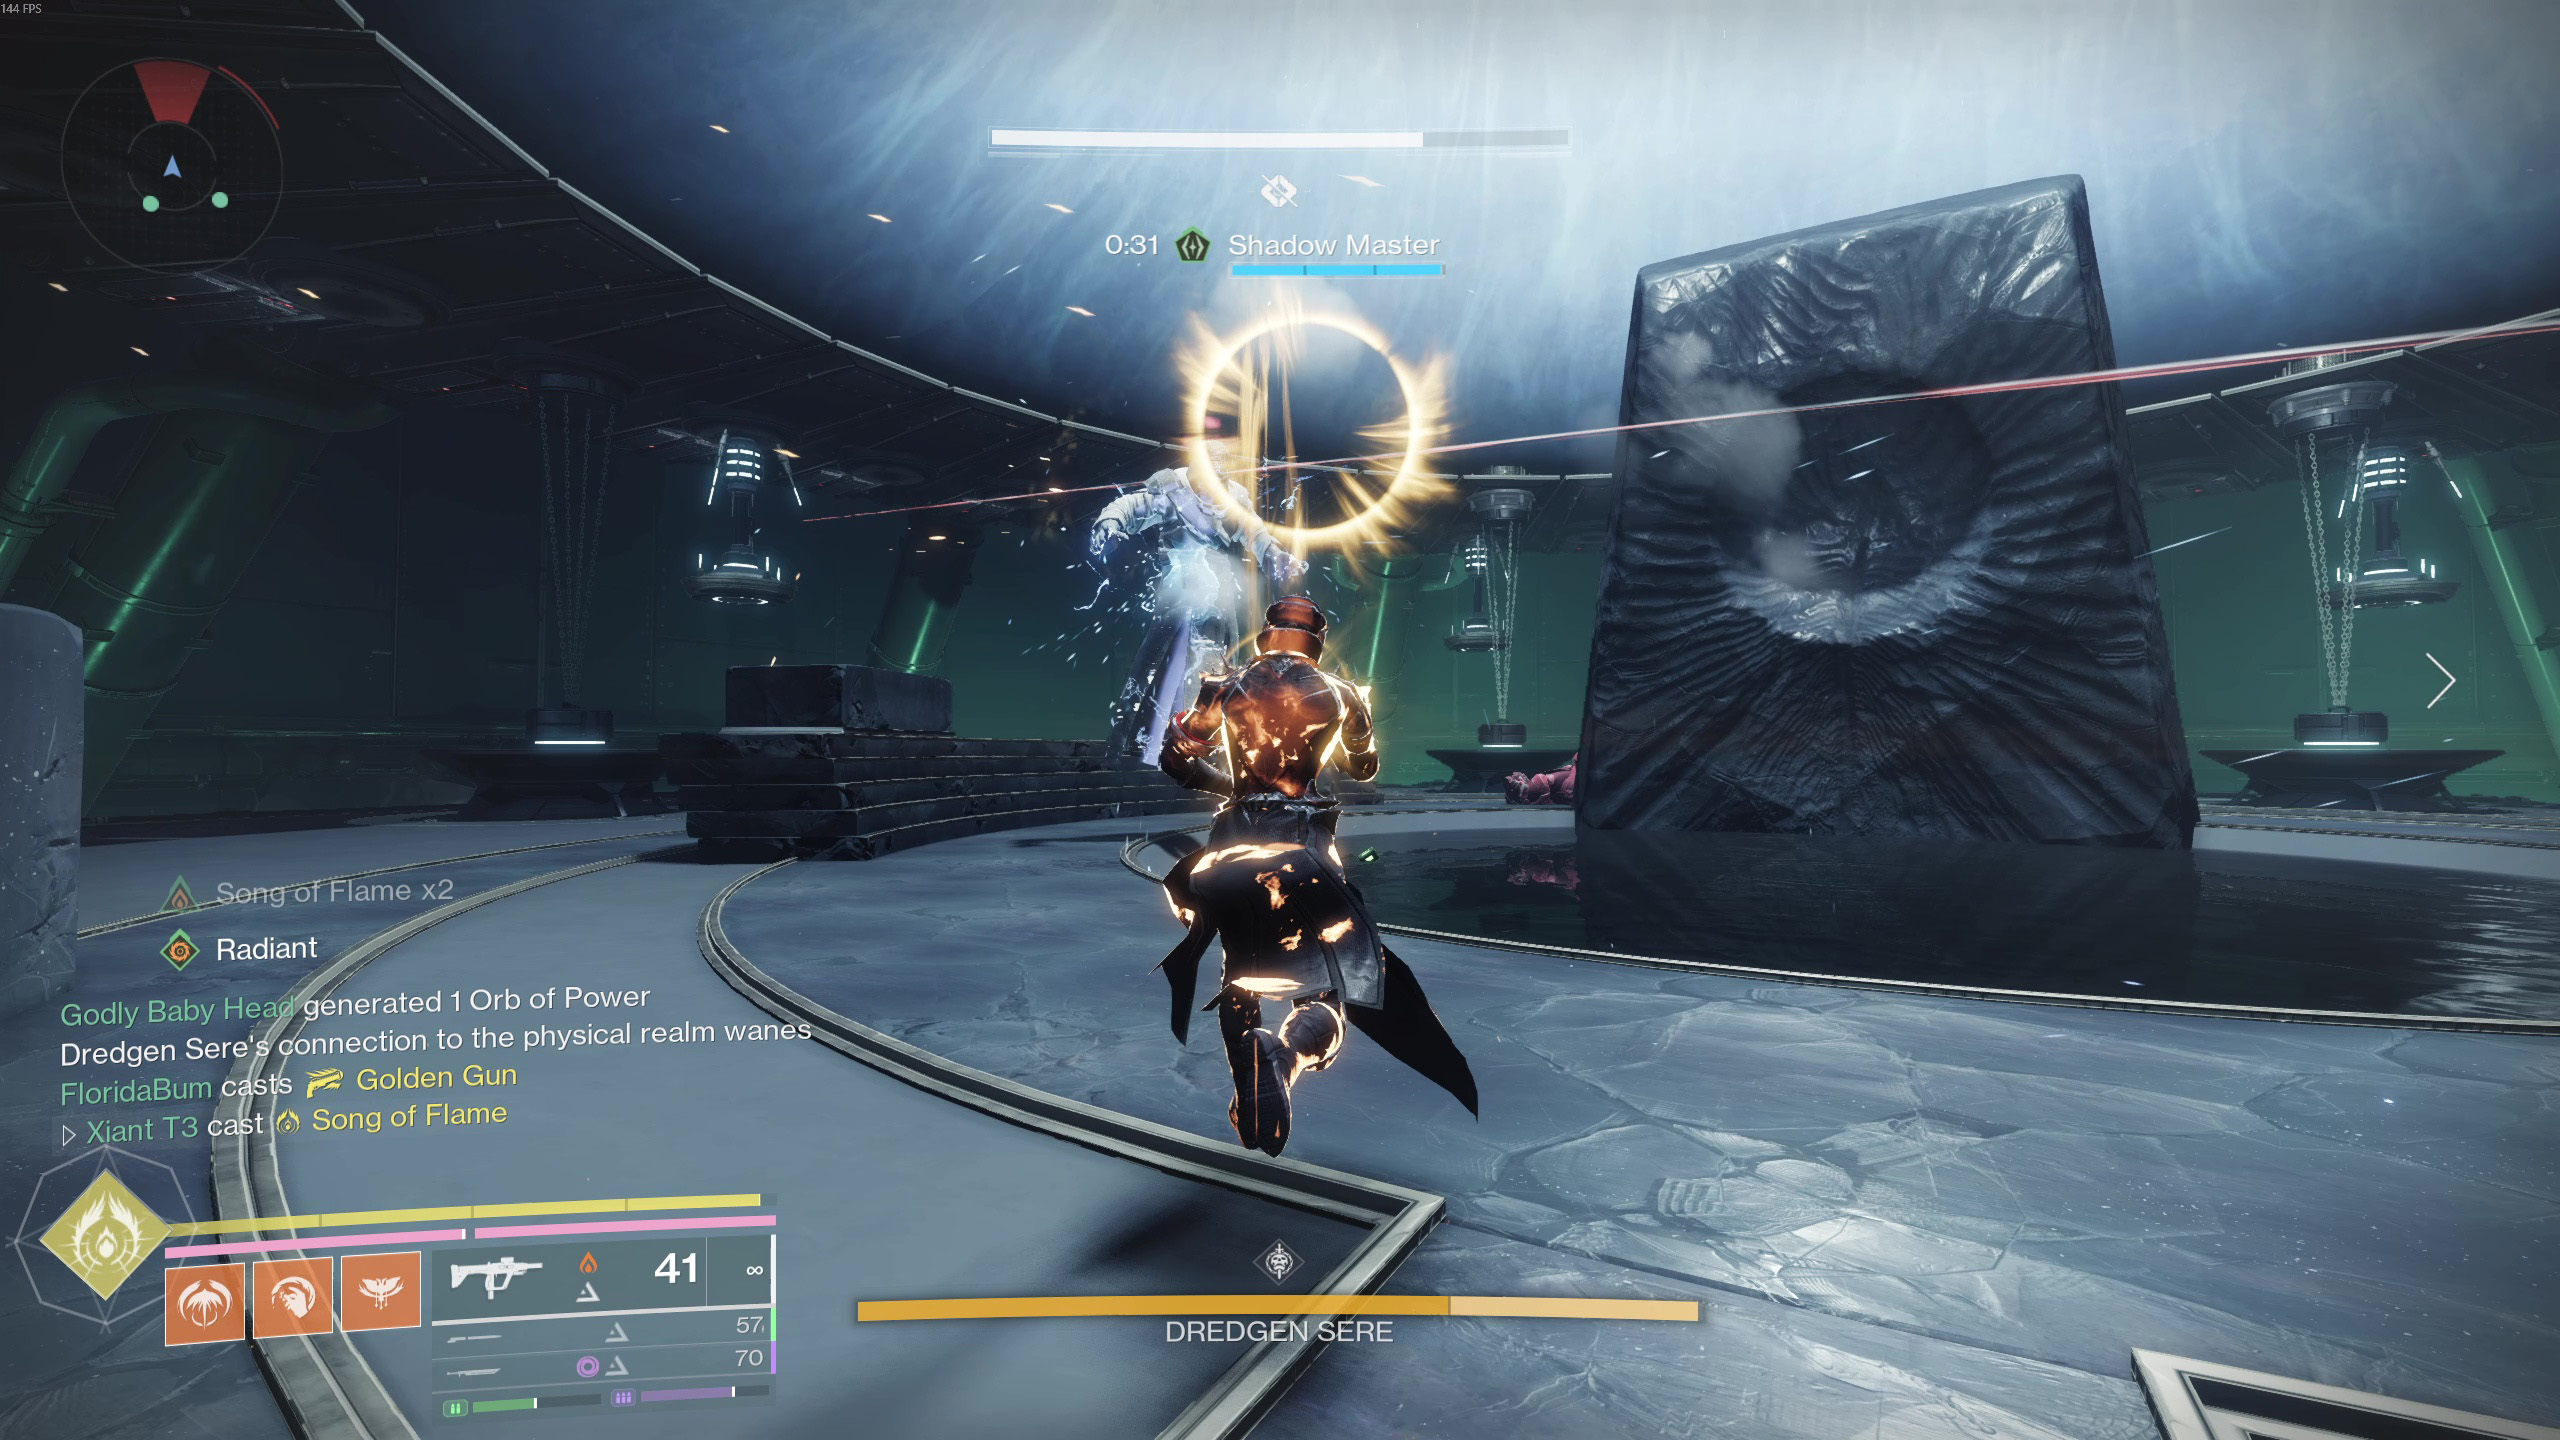
Dredgen Sere

Resolve five orbs in each realm, manage the coils and choose how to deal with the Shadows.

Encounter list ↑
Dredgen Sere, Equilibrium
Dredgen SereBungie · Shacknews / John Schutt

Encounter sequence

  1. Build Shadow and unlock orbs

    Stay back from the opening slam. Kill Lackeys for pools. Interrupt charging Nameless Apprentices with Shadow Power, then defeat them to unlock the five physical-realm Taken orbs. Destroy unlocked orbs to extend Lure of the Dark.

  2. Resolve the Ascendant realm

    The timer transfers the team. Resolve all five Blistered Shadows: kill them, or reach Shadow Master and use Compel. Use Taken panels to create the platform route to the upper Shadow. Destroy each unlocked Ascendant orb.

  3. Choose time or damage

    More kills permit a larger health segment but a shorter damage window. More Compels give longer windows with smaller health caps. Track five orbs per realm; completed progress persists within this cycle.

  4. Prepare the final orb

    Retract lowered Arc coils by using Shadow Power on their linked panels. Shoot Sere’s glowing hands to interrupt lightning. Hold the tenth orb until everyone is ready: destroying it starts damage.

  5. Damage and repeat

    Damage ends at the timer or the permitted health threshold. If the floor electrifies, retreat to the outer ring and retract the coils. Repeat both realms until Sere falls.

If the attempt breaks down

Immunity with time remaining can mean the health cap was reached. A missing Compel prompt means you should check Shadow Master and use interact at close range.

Encounter source & visual reference ↗

Keep a safe next move.

Keep the next action clear

Clear dangerous enemies before committing to a panel route. Refresh Shadow before the timer becomes an emergency.

Reset before damage

Reload, heal and identify your escape route before exposing a boss. A safe extra cycle is better than losing the run.

Choose optional stops before launch.

Heirloom

Sere can award the Exotic combat bow. Consult the activity’s live reward information for current drop and farming conditions.

Optional return routes

Hidden chests, audio collectibles and The Way Between add separate objectives. Use the linked detailed route when pursuing secrets; this page covers the standard clear.

Keep the reference close.

Released 13 December 2025. This guide covers the standard clear. Source review excludes old Power targets, weapon rankings and reward schedules. Detailed optional routes are linked below.